Office - Config - Screengroup Designer
Table of Contents
Overview
Screen Group Designer is a tool used to build various POS menus that will be utilized throughout the club. Screen Group buttons can be customized in terms of their position on screen and color.. Various types of buttons can be created within a Screen Group. These Button Types include Item Category, Individual Item, Modifier, Modifier Groups, Specials, Item Combo, and Screen Group.
In this guide we will discuss how to create a new Screen Group, how to add each type of button created within a Screen Group, how to customize the look and feel of a Screen Group, as well as how to apply a Screen Group to a specific Area.
Required Permissions
Add/Edit/Delete POS Screengroup
Add/Edit/Delete Area
Accessing the Tool
Launch into your Mobile Point of Sale, enter your pin.
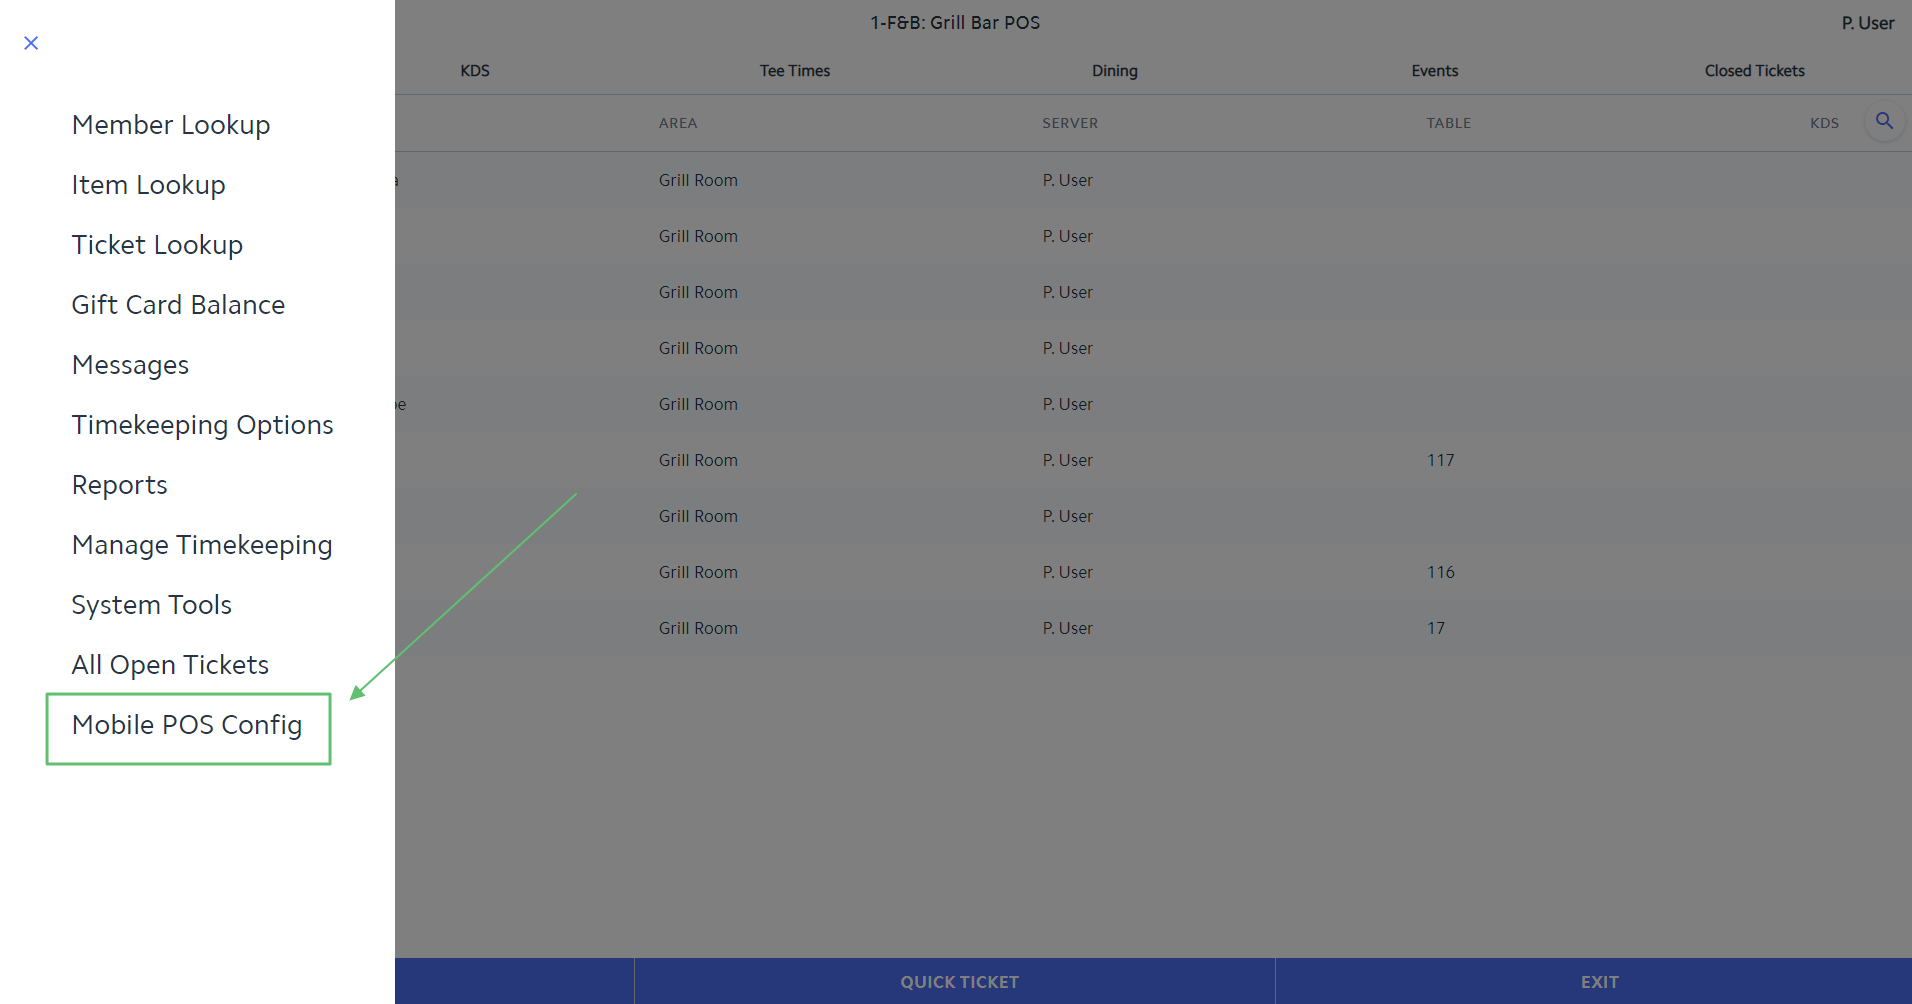
Select the Flyout Menu.
Choose Mobile POS Config.
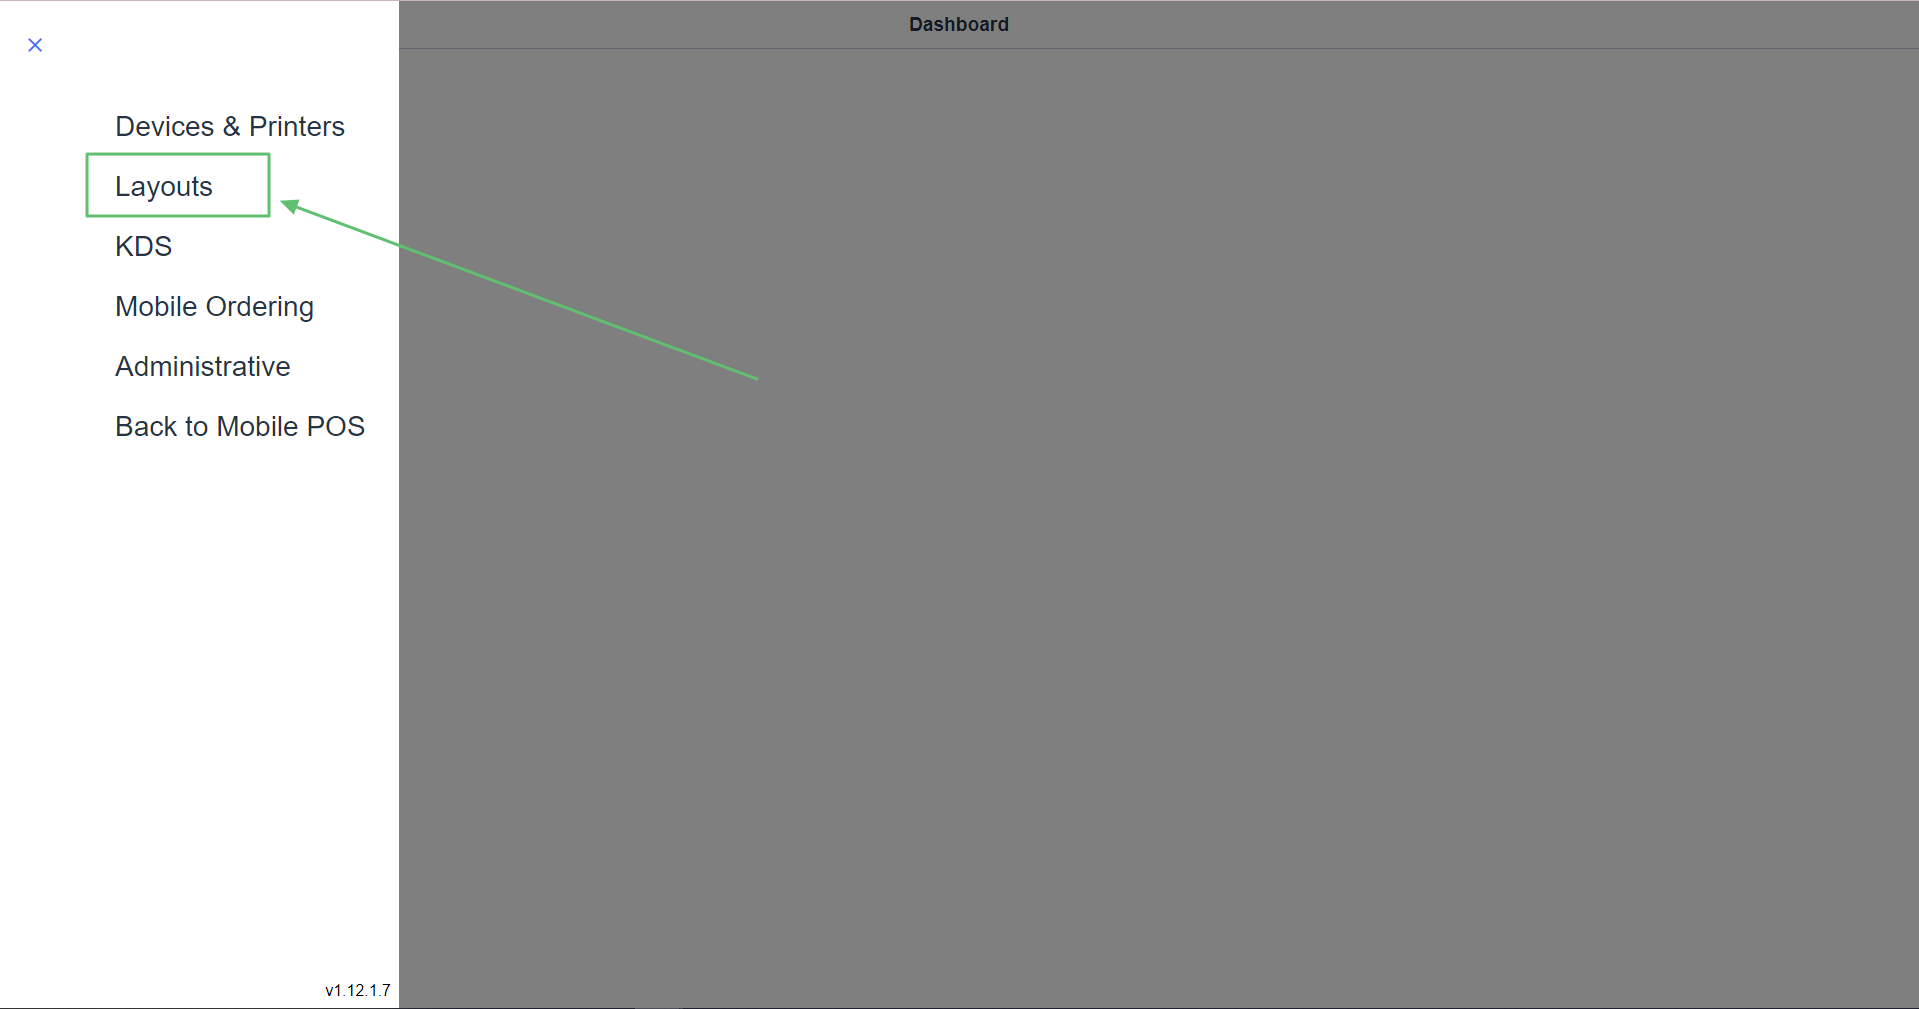
Choose Layouts.
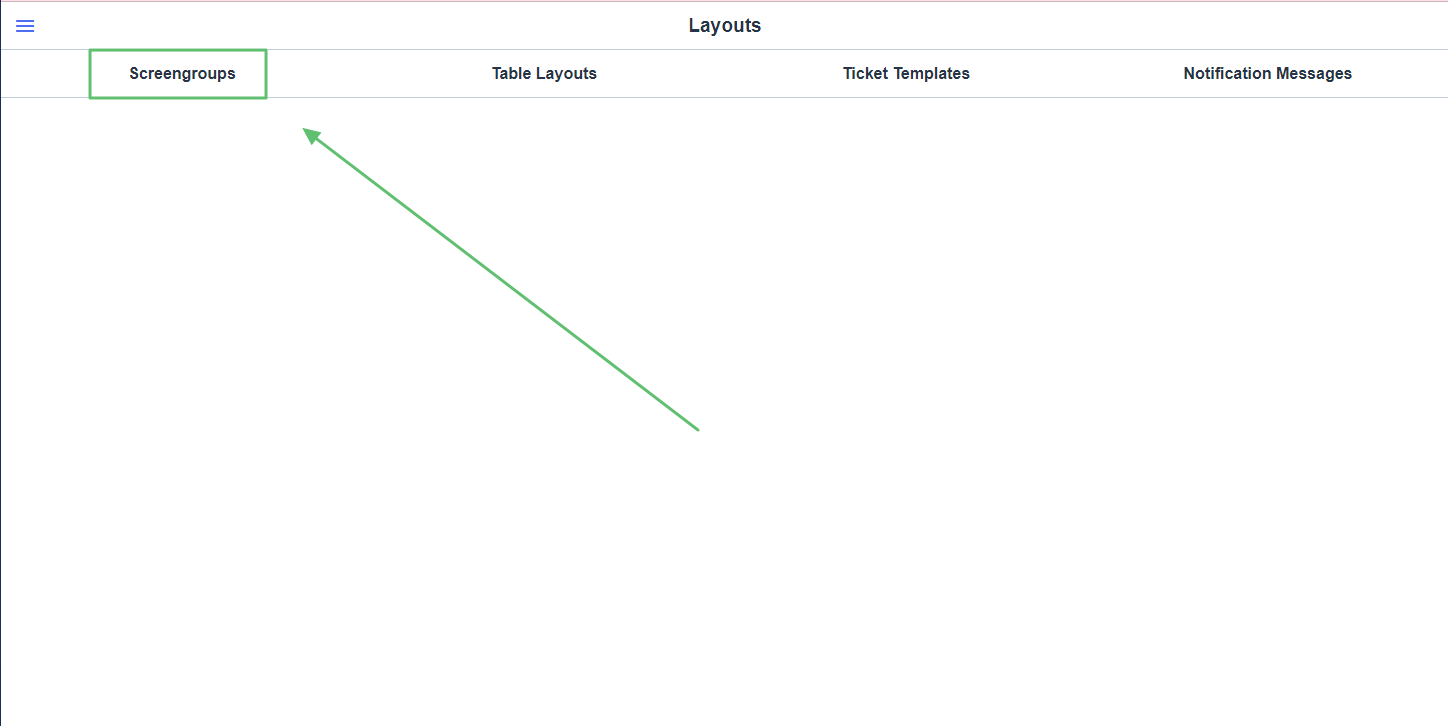
Select the Screengroup tab.
Creating a New Screengroup
Select the New Button
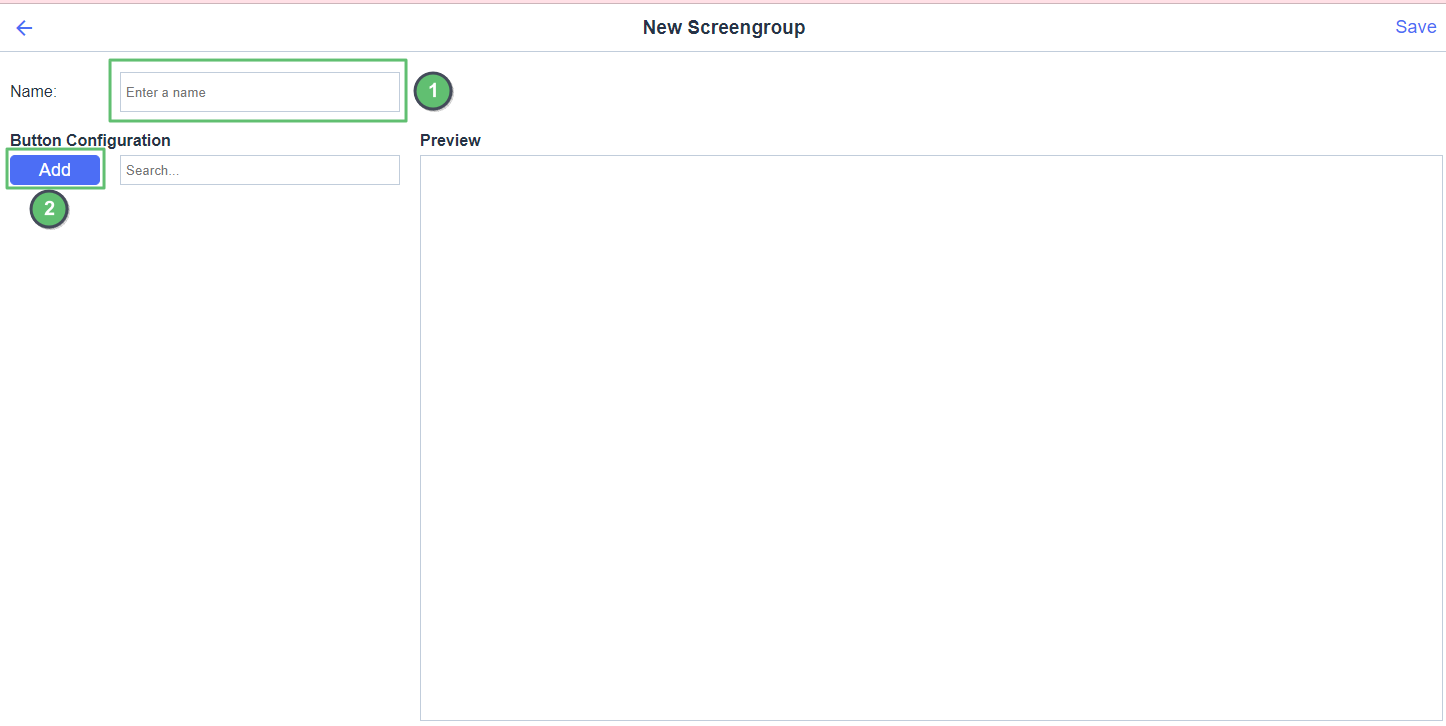
Name the Screengroup
Select the Add button to add your first button.
Button Options
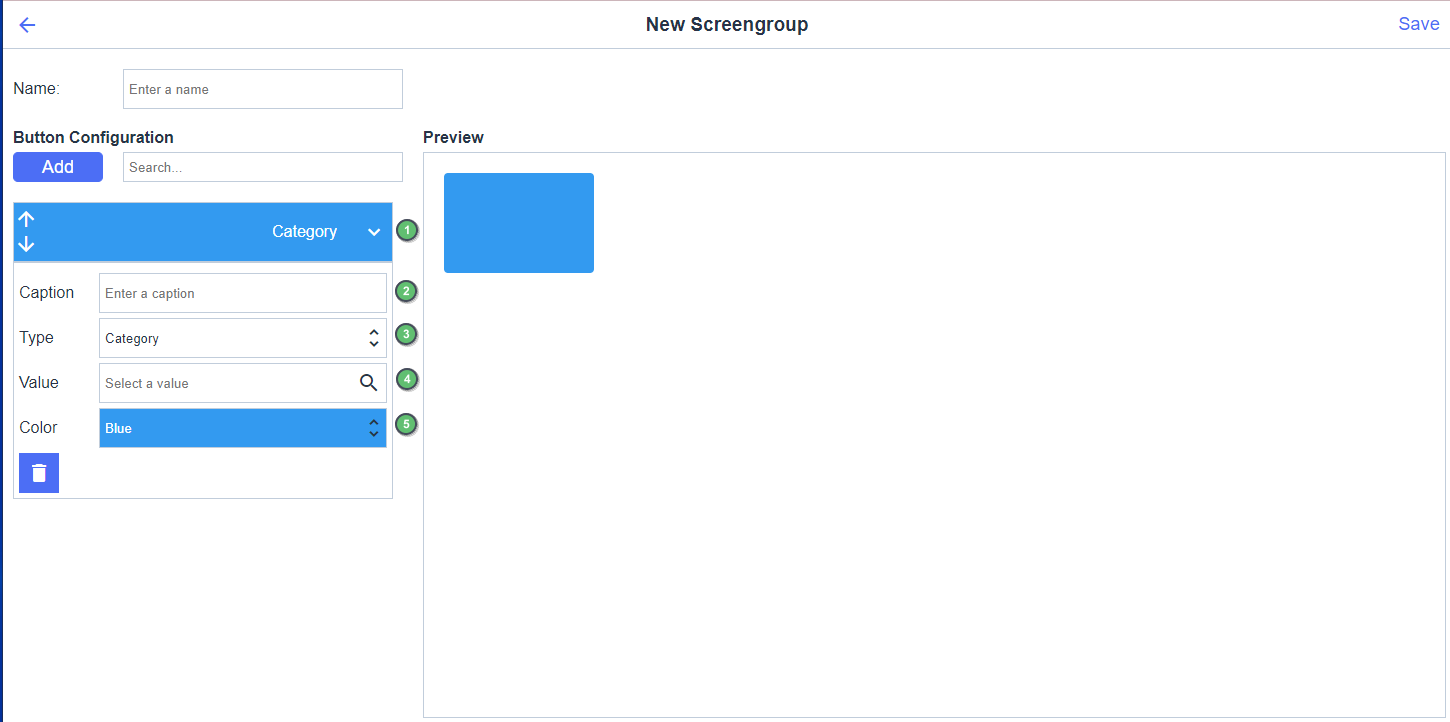
Collapse or Expand button options.
Set the Caption that you want to show on the button..
Choose the Button Type that you want this to be.
Category - Used to apply an overall Category button, this button when selected in an active POS, will show all items within this category that have not been set to not display in POS.
Combo - Used to set a button containing an Item Combo. Each item that is set to the combo will then be added with the prices set for the combo.
Item - Will set the button to be a specific Item.
Screengroup - Used to set a button that will link to an entirely separate screengroup that you have built. (If you want to combine key items from multiple Categories but do not want to have both Categories you can create a separate Screengroup to attach to this button).
Modifier - Used to quickly apply Modifiers to a ticket.
Modifier Group - Used to load the list of Modifiers set to the modifier group.
Special - Used to show all Items marked as Special in the item’s setting.
4. After you have decided what type of button you want to use, you can then select the Magnifying Glass icon within the Value section to choose any of the Items, Categories, Combo, Ect. that you wish to use for that button.
5. Choose the Color you wish the Button to be .
Repeat this process to add as many Buttons that you wish to have and then save the Screengroup.
Moving Position of Buttons
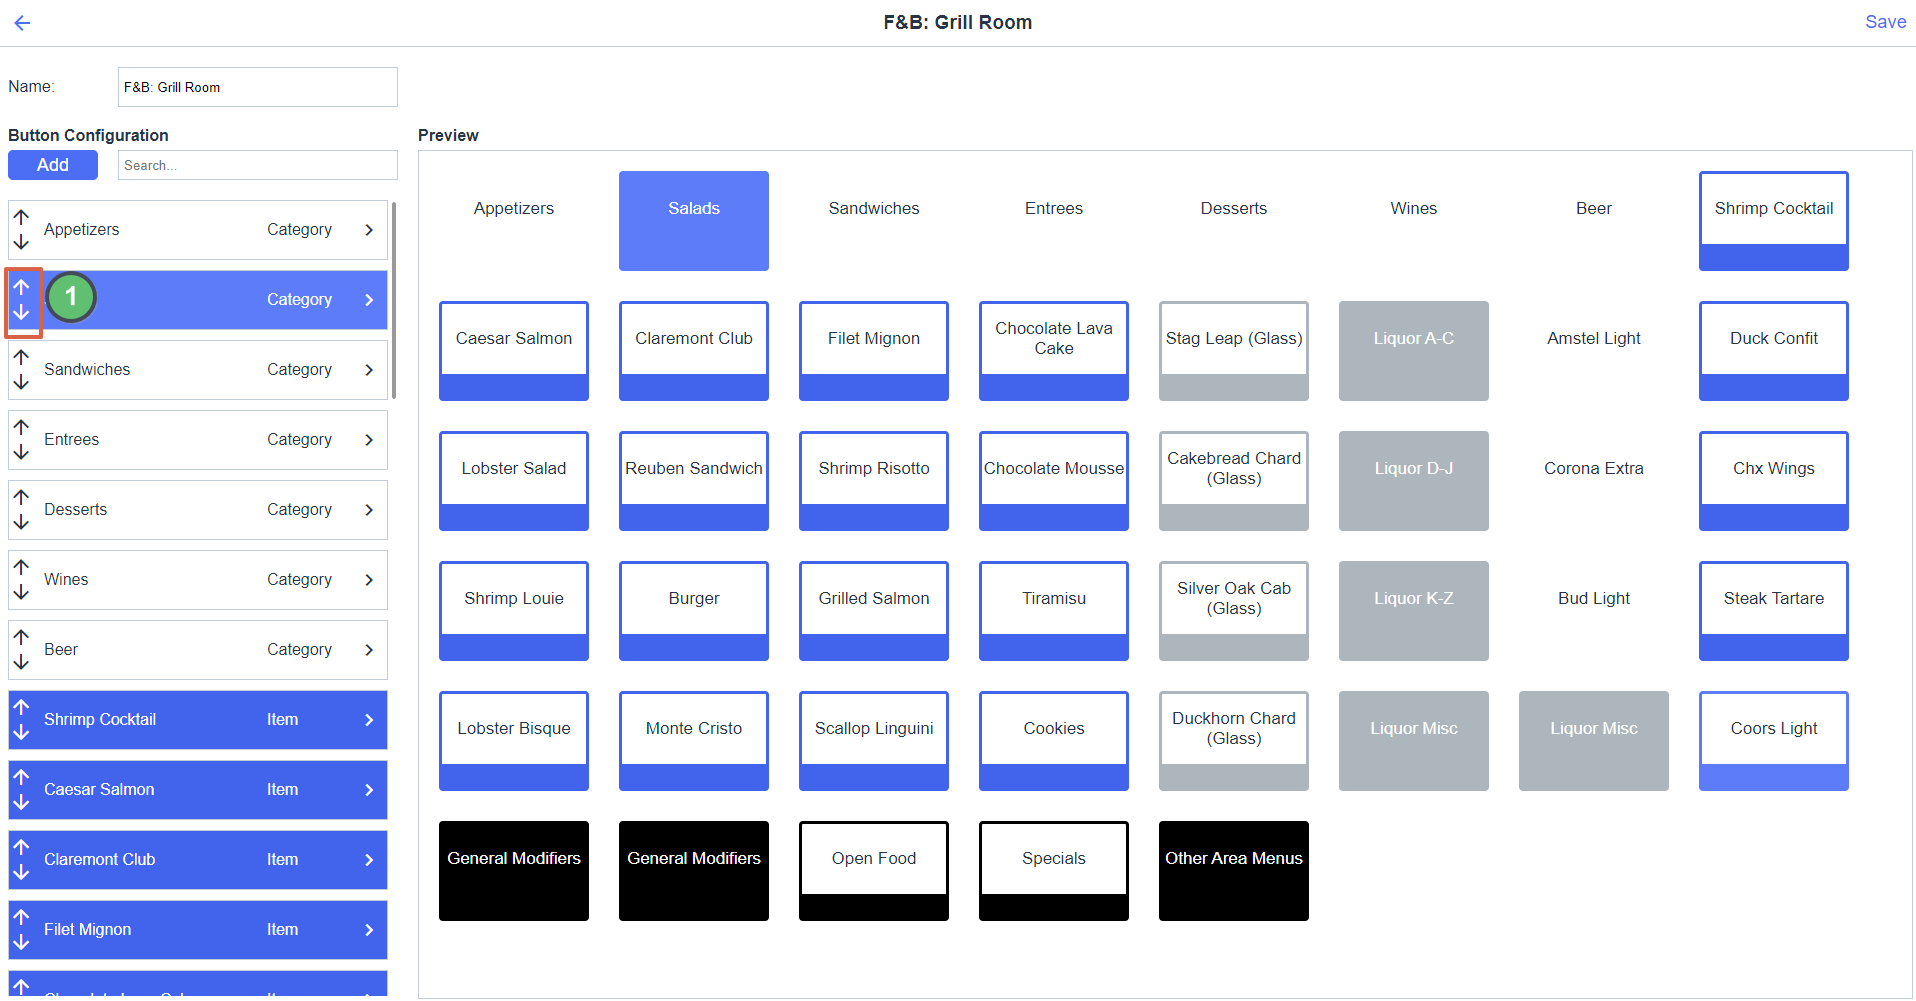
From the button list on the Left beneath the Add Button icon you can select the button you wish to move and then press the Up or Down icon to move the buttons placed on the Screengroup.
Deleting Buttons
Select the button that you wish to delete, then choose the Trash Can Icon to delete the button.
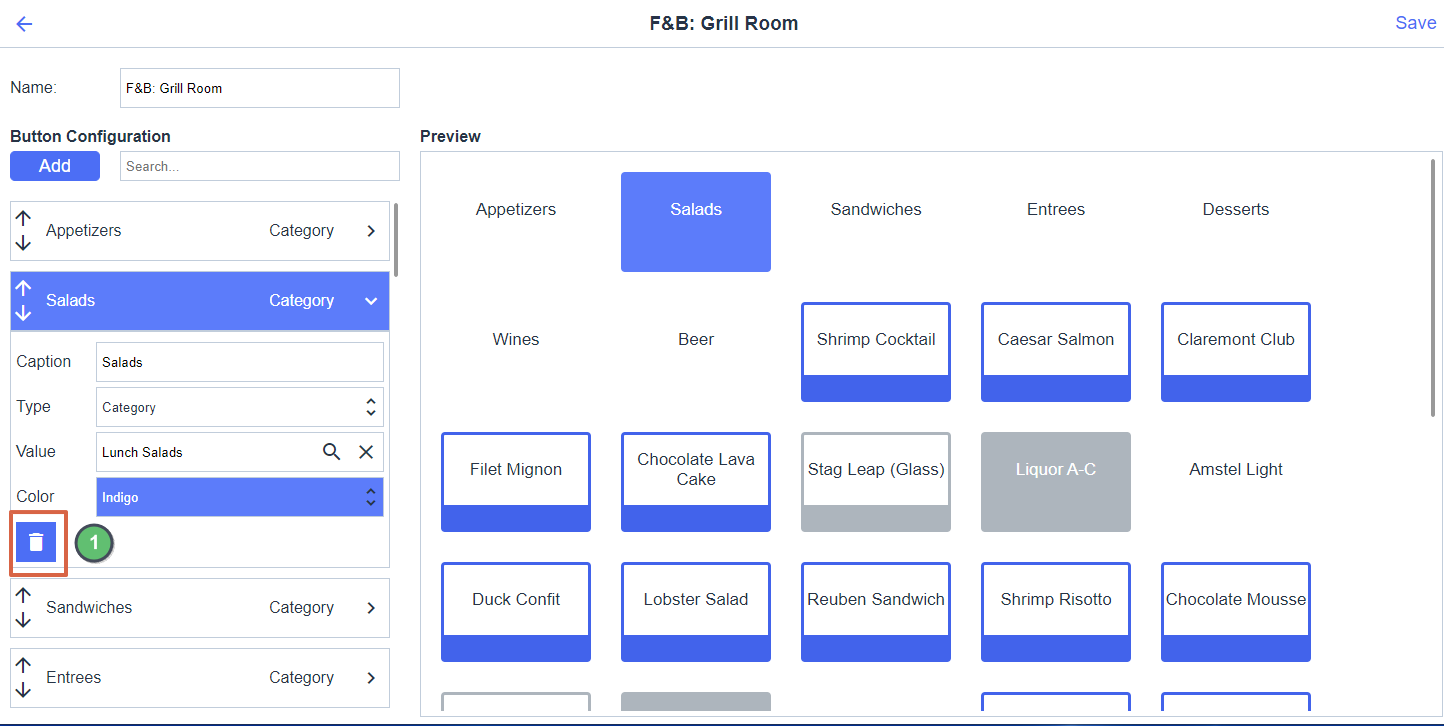
Editing or Deleting Screengroups
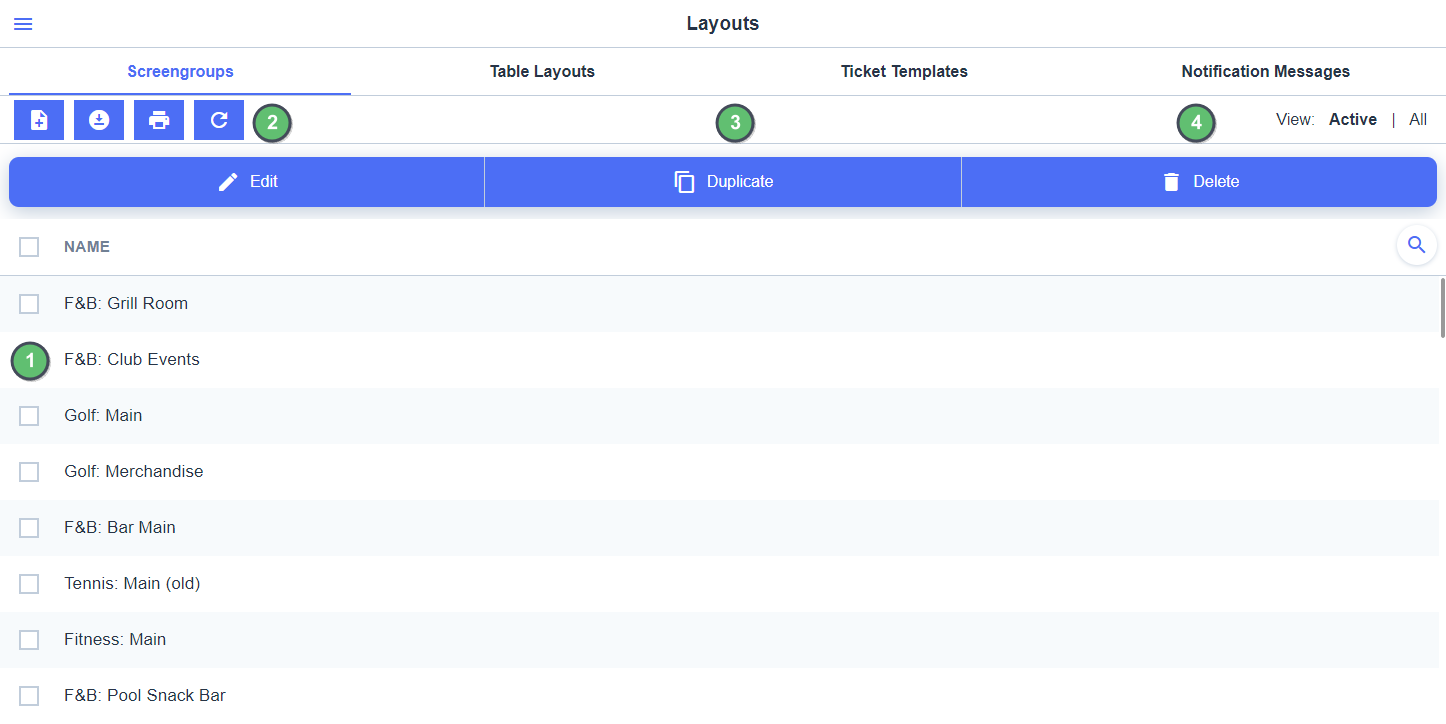
From the Screengroup homepage, check the box on the left side of the Screengroup
Edit Screengroup.
Duplicate Screengroup (will need to give duplicate a name).
Delete Screengroup (confirmation box will appear).
Attaching Screengroups to Areas
Once the Screengroup has been created, select the Area option within the Config site and attach your new screengroup to the area it belongs in.
Best Practices
Some Clubs find it useful to add buttons for frequently ordered Items, such as Diet Coke on their home screens. For more information on Items, please see our Items Manual.
At this time only the Screegroups created prior to Config upgrade can be used. Ensure that all Screengroups needed are created in CMA prior to the conversion to the Config Site. Update to allow edits and new Area Layout Builds are coming.
FAQs
Q: How do I create the Item Combo I want to link with a button?
A: While Item Combos allow users to sell multiple items with a single charge at the POS, they must be created prior to being assigned to a button. For more information on Item Combos, please see our Items Manual.
