Office - Manage Item Receipts
Table of Contents
- 1 Overview
- 2 Required Permissions
- 2.1 Navigation
- 2.2 Header Info
- 2.3 Add Items Received
- 2.3.1 Adjust Cost Variance
- 2.4 Allocate Shipping
- 2.5 Memo Field
- 2.6 Save, Close, Print
- 3 Best Practices
- 4 FAQs
Overview
The Manage Item Receipts function is used as a control to ensure Items are received prior to payment being issued for them. This function applies to Items marked in the system as Inventoried Items.
Required Permissions
Accounts Payable
Add/Edit/Delete Item Receipts
Navigation
To Receive an Item Into Inventory:
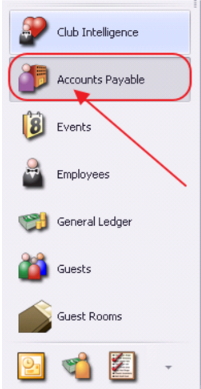
Click on “Accounts Payable”
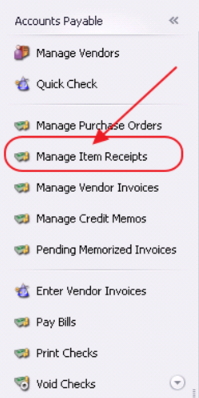
Click on “Manage Item Receipts”
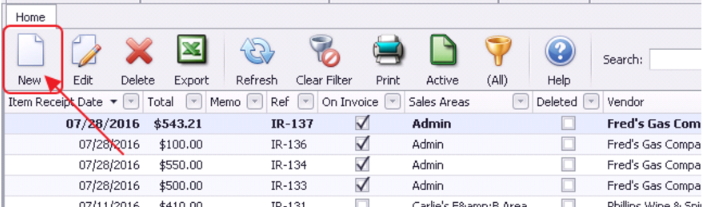
Then, click, “New.”
Header Info
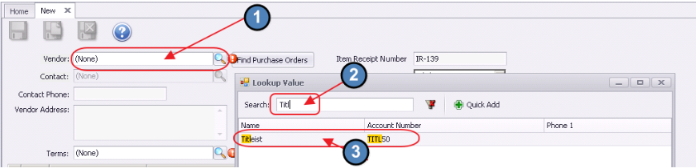
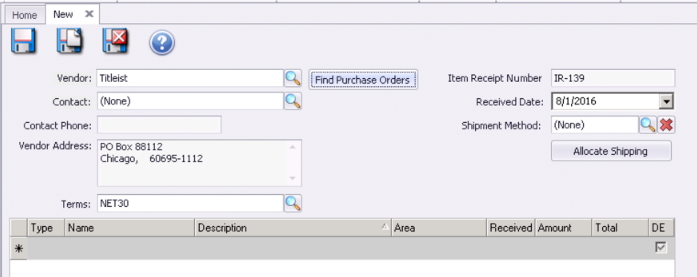
The Manage Item Receipts screen will launch.
Enter the Vendor that goods are being received from. Use the Lookup Value screen to help locate Vendor, and then select Vendor name to populate field.
Note: If utilizing the Purchase Order System, select the appropriate Purchase Order from the list.
The system will automatically assign an Item Receipt Number, and will populate screen heading with details from the Vendor Masterfile as well as Items from the Purchase Order, if utilized.
Add Items Received
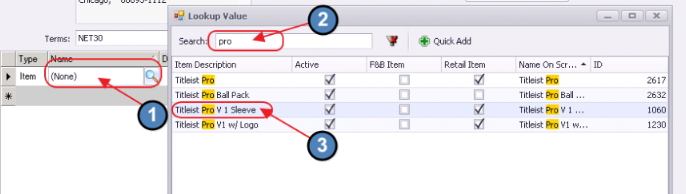
To add an Item to receive, select “Item” from the drop-down “Type” field.
Next, select the appropriate Item in the Name field.
Note: If receiving Item for the first time and Item does not yet exist in the Item file, use the “Quick Add” feature to launch the Item Setup screen. It is preferred to leave the IR screen and create the item via the Items Module.
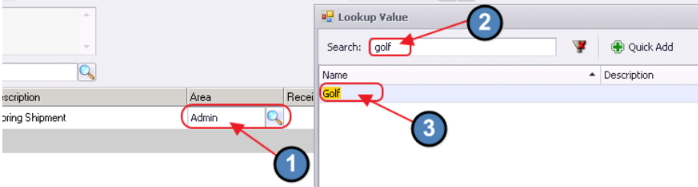
Once Item exists, and has been selected in the Name field, Description field will auto-populate. This field may be edited if desired. For instance, Description could be overridden to indicate these balls were ordered as part of the Spring Shipment.
Next, select the appropriate sales area if more than one Inventoried Area exists for the Club.
Then, enter the appropriate received quantity and unit amount. Total field auto-calculates.
If the cost is beyond the Variance Set up, you will receive a warning alerting you that the cost entered is either too high or low based on variance settings.
Adjust Cost Variance
Select, System > System Settings.
Choose “Accounts Payable.” Then, within the Inventory section, adjust Cost Variance Percent to desired level.
More Items may be added to the receipt as needed.
Allocate Shipping
When all Items are added, and shipping costs need to be allocated to the Items;
Click the “Allocate Shipping” button.
Enter the total amount of shipping.
Click, “OK.”
Memo Field
Populate the Memo field (if desired) with additional reference information, such as the Invoice number, or a special note.
Save, Close, Print
When complete, click, Save and Close.
If there is a cost variance identified, the system will provide warning. Click, “Yes” to continue, or investigate and edit as required.
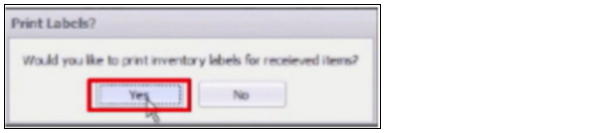
Print Inventory labels if desired.
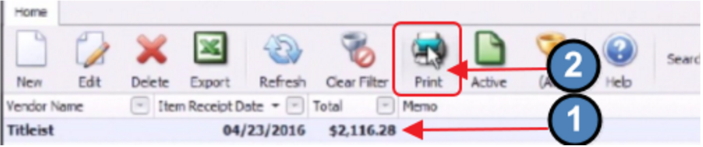
Upon save, the new Item receipt appears at the top of the Item Receipt grid.
Print Item receipt report by clicking on the Item Receipt, and then clicking the “Print” button.
If desired, print or export report to Word, Excel, or pdf format.
Best Practices
Item Receipts immediately add inventory into your retail inventory area. Be sure to complete the IR when you have the physical inventory, completing early will tell CMA that you have items that are not really there.
Item Receipts can only be deleted if they are not attached to an Invoice. If the invoice is paid, please use the Inventory Adjustment Wizard to remove the receipted quantity.
FAQs
How do I adjust the variance amount that triggers the Yellow Highlighted (Item) lines?
Go into System, System Settings, Accounts Payable Option, Inventory Section, and change the "Cost Variance Percent" field to desired percentage. Item line will turn yellow when variance exceeds this amount.
