...
| Table of Contents | ||||||||
|---|---|---|---|---|---|---|---|---|
|
Overview
A Club builds new Members in their system as they join the Club to ensure they can communicate with them effectively, manage their billings and related payments, and include them in Club offerings such as the Club Website, Reservations system, POS System, and the Club App. Use Case A new Member joined the Club today. He would like to be set up with access to view the Club’s website. He would also like to be a part of the Men’s Golf Group, and would like to pay his club dues via ACH. The Membership Director ensures the new Member's information is input into the Clubessential Office system to facilitate Club communication, billing, and other Club offerings. |
Video
This video contains highlights from a training Webinar given on Managing Members.
...
| Widget Connector | ||||||
|---|---|---|---|---|---|---|
|
Content
|
|---|
Navigation
To access the New Member Wizard,
...
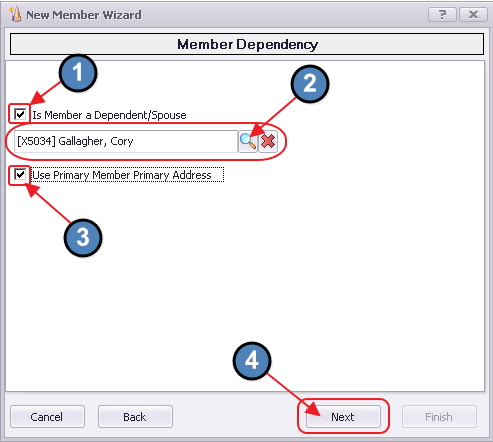
Member Dependency
Check Is Member a Dependent/Spouse IF account being created is to be linked to another account for billing purposes.
IF this box IS CHECKED, then complete the empty box below to designate the account to which this Member should be linked.
Most Dependents will use the same Address as the Primary Member. If this is the case, check Use Primary Member Address.
Click Next to proceed.
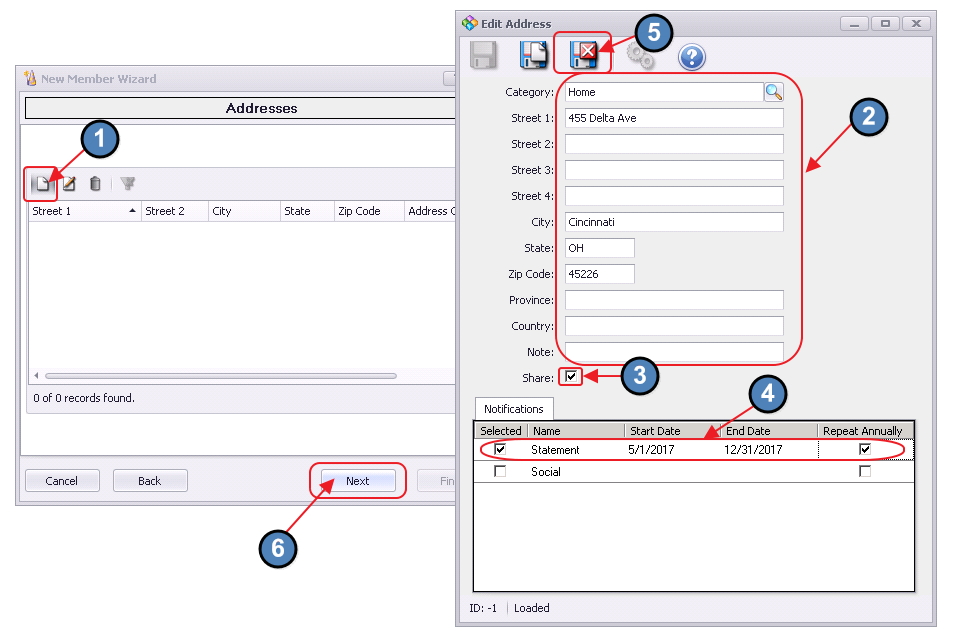
Addresses/Contact Info
Enter a new Physical Address by selecting the New icon. (Note this step is optional and can be completed at a later time if desired).
Enter all applicable address information.
Check Share if address will also apply to spouse and dependents.
Select Notifications if notifications are to be sent to this address.
If Statement is selected, then a paper statement will be printed for this account. If not selected, then an email statement will need to be sent. Note, if the physical address applies only for a designated time period (for instance the Member will live in one residence for 7 months, and another for 5 months), designate the appropriate Start and End Dates that the address will apply for the Member. If the Member has this schedule every year, click the Repeat Annually button. Leaving these fields blank will designate that this address applies for the whole year.
Click Save and Close when complete. Add additional addresses as required.
When finished, click Next to proceed.
Emails
Enter a new Email Address by selecting the New icon. (Note this step is also optional and can be completed at a later time if desired).
Enter the Email Address and add a Note if desired.
Default will be checked for the first email address entered. This can be changed; however, one email address must be marked as the Default, as it will predominantly be used when sending emails through Office.
Select Notifications as needed.
If Statement is checked, an electronic statement will be sent for to this email address. (Note: A Spouse Account can can also receive a copy of the Primary Member’s emailed statement. To do so, check Statement on the appropriate email address within the Spouse’s Member accountadd the Spouse's email in the secondary email field and ensure both primary and secondary email addresses are checked to receive statements. When statement emails are sent, the Spouse will receive the same email as the Primary Member. Dependents other than Member’s Spouse cannot receive an emailed statement.)
Note, if the email address applies only for a designated time period, designate the appropriate Start and End Dates that the email address will apply for the Member. If the Member has this schedule every year, click the Repeat Annually button. Leaving these fields blank will designate that this email address applies for the whole year.
Click Save and Close when complete. Add additional email addresses as required.
When finished, click Next to proceed.

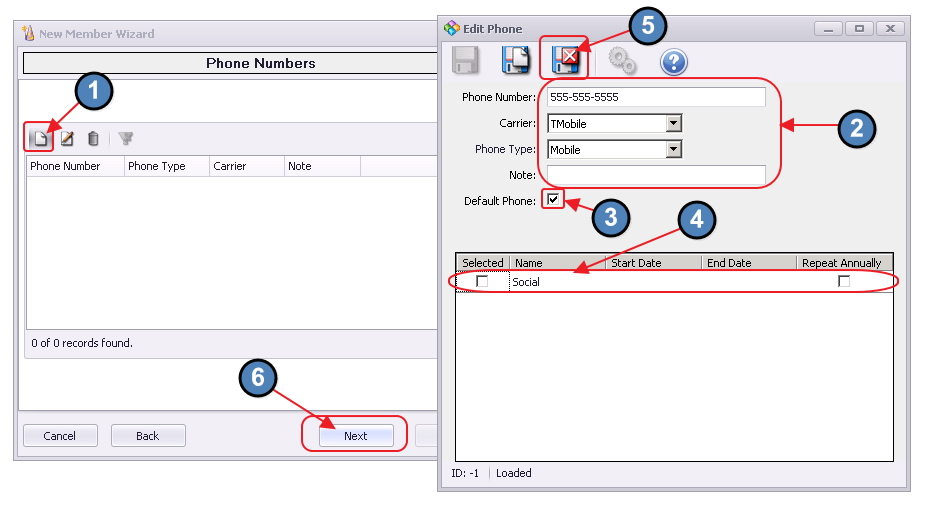
Phone Numbers
Enter a new Phone Number by selecting the New icon. (Note this step is also optional and can be completed at a later time if desired).
Enter the Phone Number, Carrier, Phone Type, and add a Note if desired.
If Mobile is selected, be sure to specify the Carrier. To send text messages to Members through Office, please see Marketing Wizard document.
Default will be checked for the first Phone Number entered. This can be changed; however, one number must be marked as the Default, as it will predominantly be used for communication purposes.
Select Notifications as needed.
Note, if the phone number applies only for a designated time period, designate the appropriate Start and End Dates that the email address will apply for the Member. If the Member has this schedule every year, click the Repeat Annually button. Leaving these fields blank will designate that this phone number applies for the whole year.
Click Save and Close when complete. Add additional phone numbers as required.
When finished, click Next to proceed.
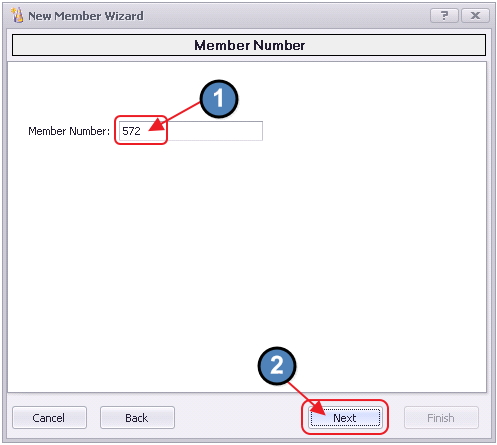
Member Number
Enter Member Number. If Member is Spouse or Dependent, be sure to include proper suffix (ie -1 or -A).
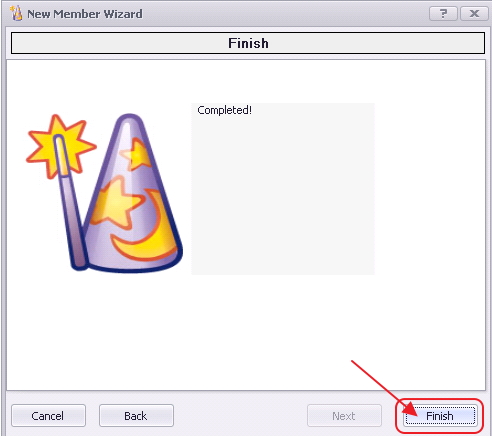
When finished, click Next to proceed, and Finish to confirm completion.
Additional Tabs for Member Info
Once New Member Wizard is complete, the New Member Account is displayed and available for further editing.
Membership Section
The Membership Section contains an opportunity to populate additional information about the Member. For instance the following fields can be found on the Membership tab.
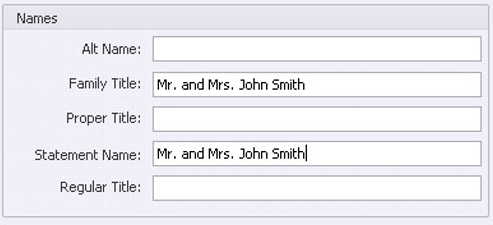
Names
Alternate Names/Titles
These fields are primarily utilized when printing Membership Address Labels. For instance, if Family Title is the selected Display Name when printing labels, Family Title must be entered for the label to print properly.
Statement Name can be used to override the name that appears on the statement (ie - Mr. and Mrs. John Smith). If left blank, the first and last name of the Primary Member will appear on the statement.
Dates
Approval Date, Birth date, Join Date and Wedding Date can be entered for new members. (Initiation fee can be entered in amount field to the right of Join Date).
Note: For Clubessential/Axis Website users, IF Join Date is utilized, remember to set this to a date less than or equal to the present date. Otherwise, the Member will not show on the Website Roster.
If Join Date is blank, the system knows to add the Member to the Roster as normal.

...