...
The Split Ticket feature enables users to split an existing ticket in a variety of ways:
After splitting a ticket, adjustments can me made if you decide you want to split the ticket in a different manner or need to make corrections. The Split Ticket feature also enables users to combine tickets. Example Use Case(s)
|
...
- Split by Creating New Tickets (and select the items items to be moved to each new ticket)
- Split Item
- Split by Quantity
- Split by Seat
- Split by Course
- Split by Member
- Split by Amount
Split By Creating New Tickets
...
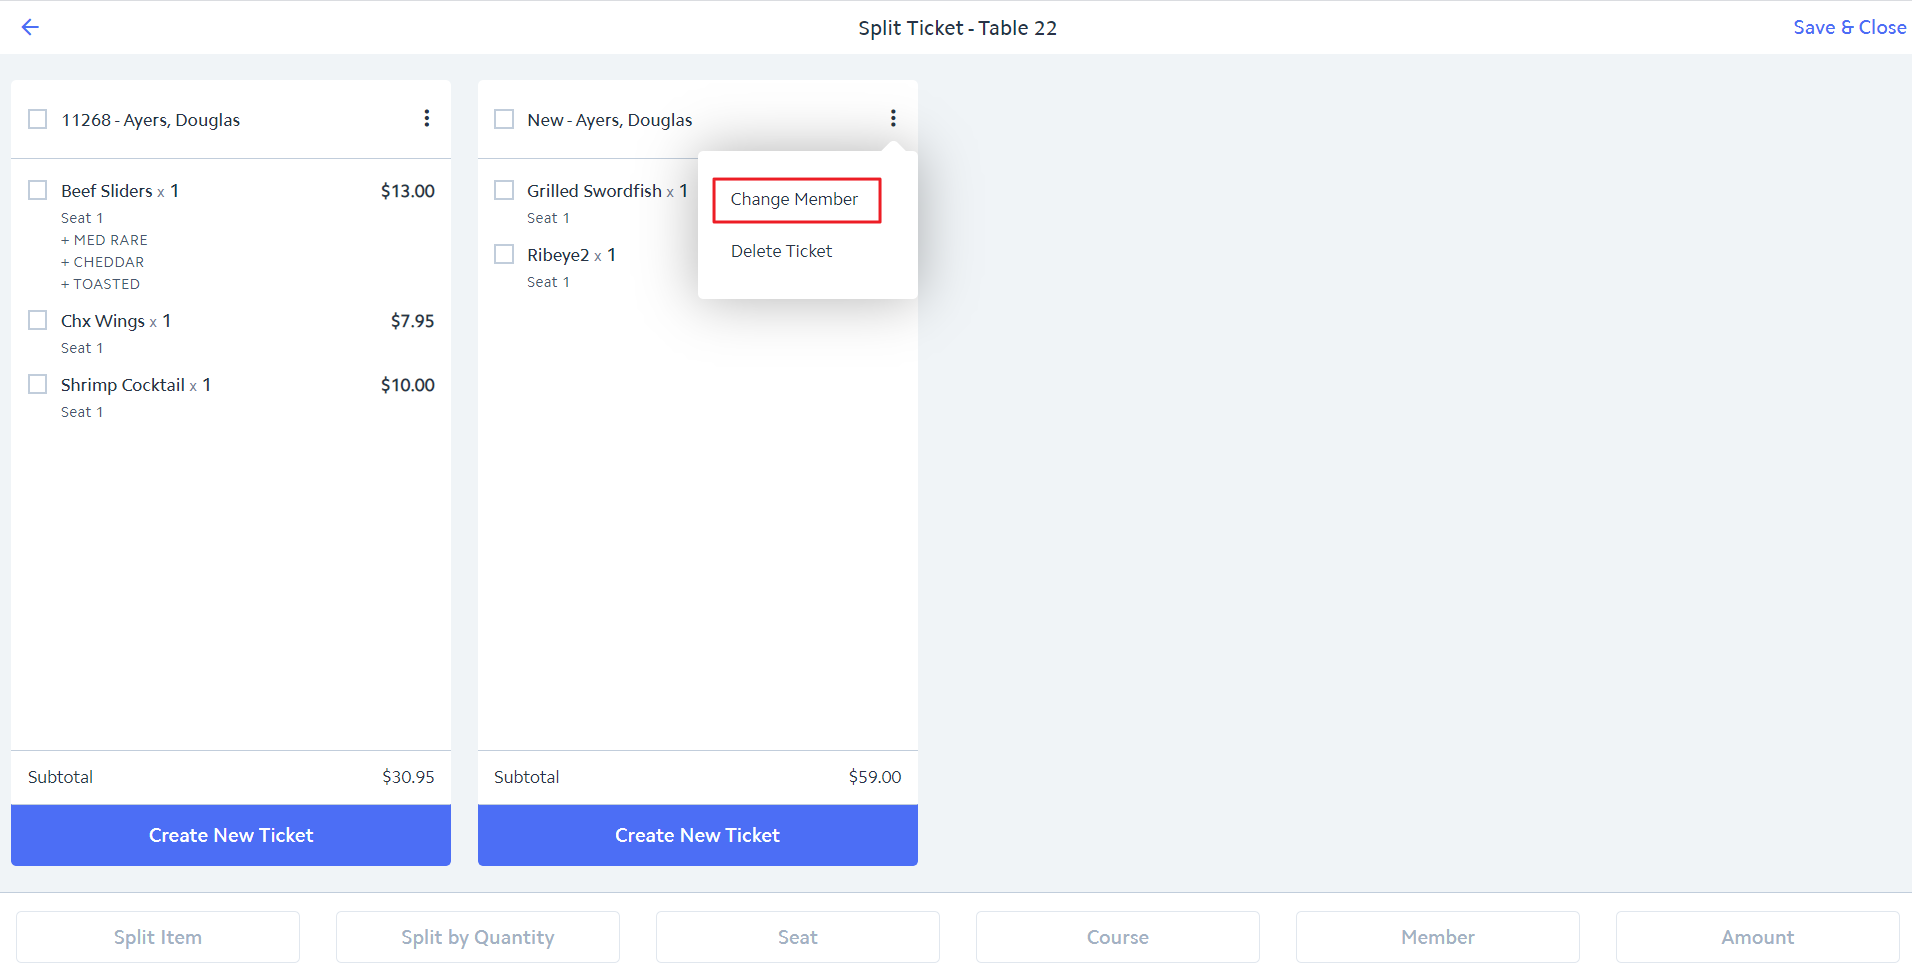
4) Change the member assigned to each ticket as necessary by clicking the 3 dots at the top right of the ticket, then selecting Change Member. Follow the prompts to select the member.
5) Click Save & Close to save your changes.
Split By Member
Split by Member allows the user to split a ticket by member when the "Prompt for Member on Seat in POS" option is turned on for the Area in CMA. Note: This option can only be used when utilizing the Prompt for Member on Seat in POS.
Use Case: Three members are dining at the same table. The "Prompt for Member on Seat in POS" is turned on. The server selects the member assigned to each seat as items are added to the ticket. Upon settling, each member requests their own ticket.
1) Assign a member to each seat on the ordering screen when adding items to the ticket for that seat. Note: The "Prompt for Member on Seat in POS" option must be turned on for the Area in CMA in order to assign a member to a seat. When turned on, the system will automatically prompt you to assign a member to each seat on the ticket. When you are ready to create the ticket for the table, select Split Ticket.
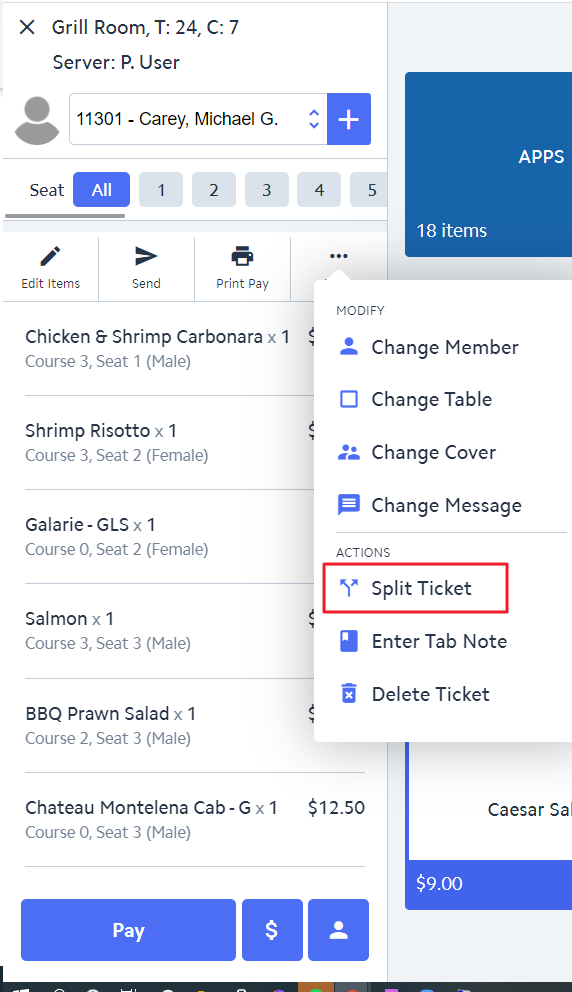
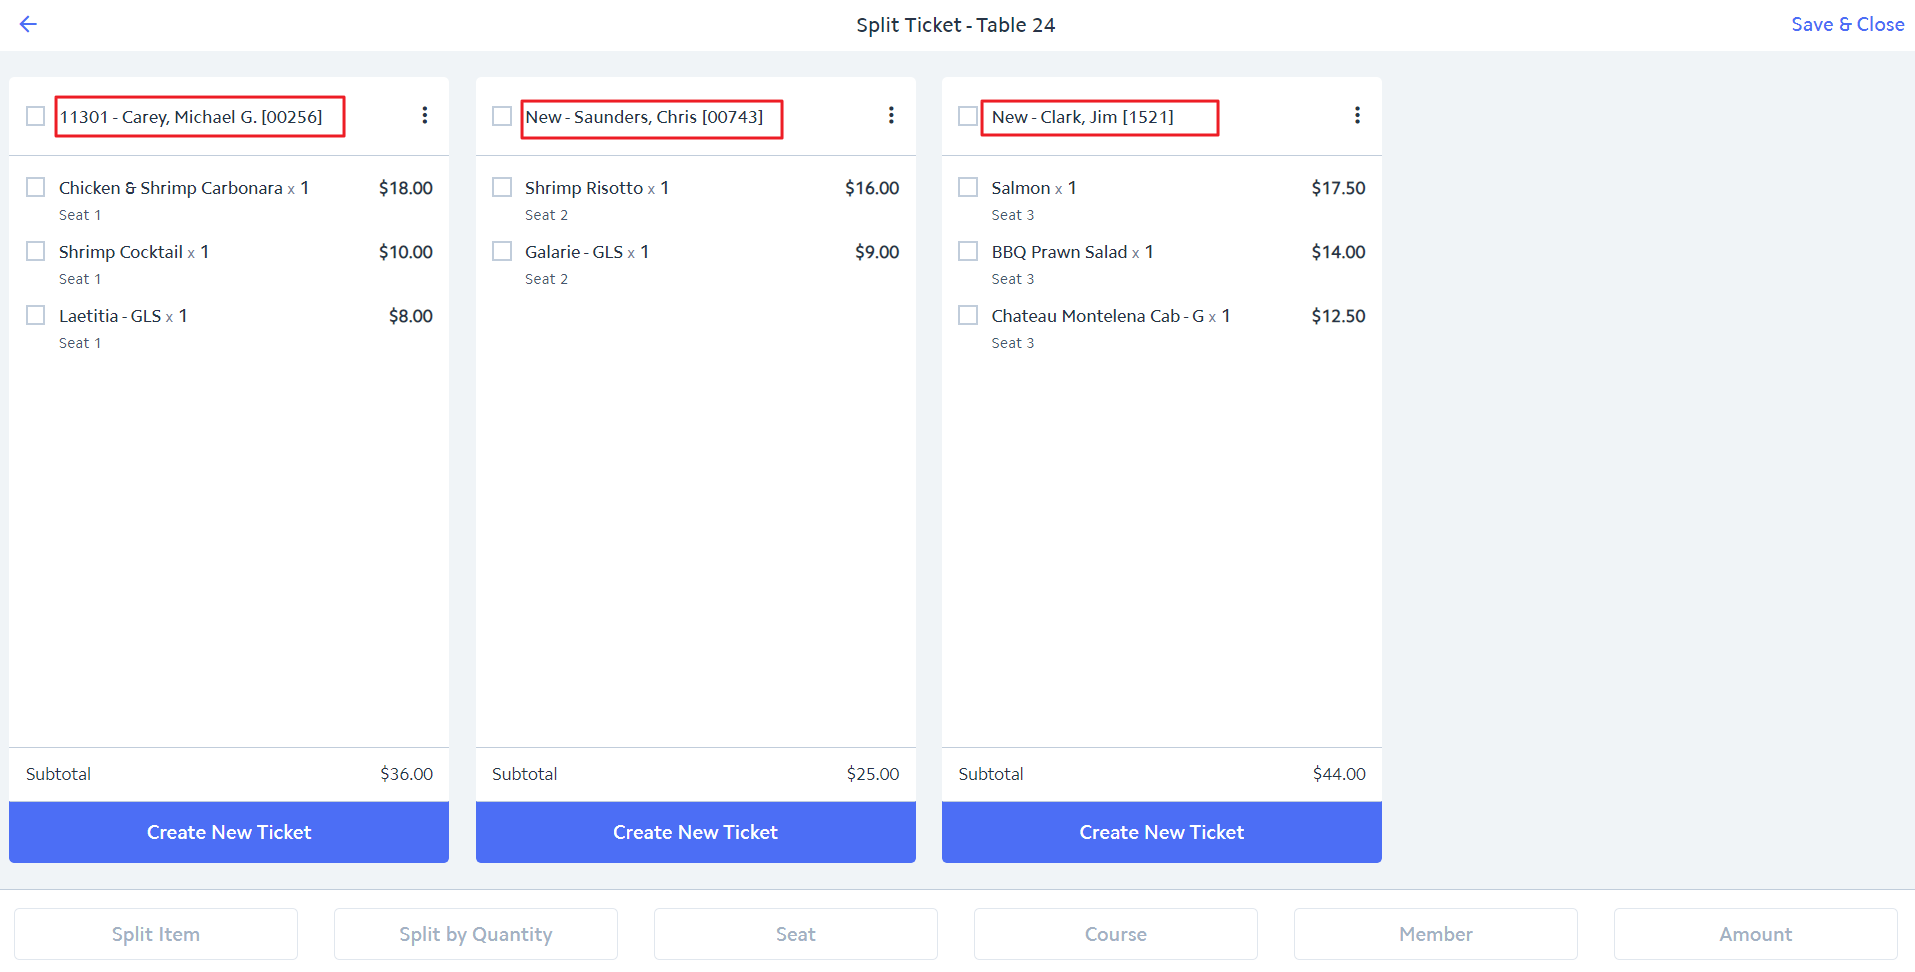
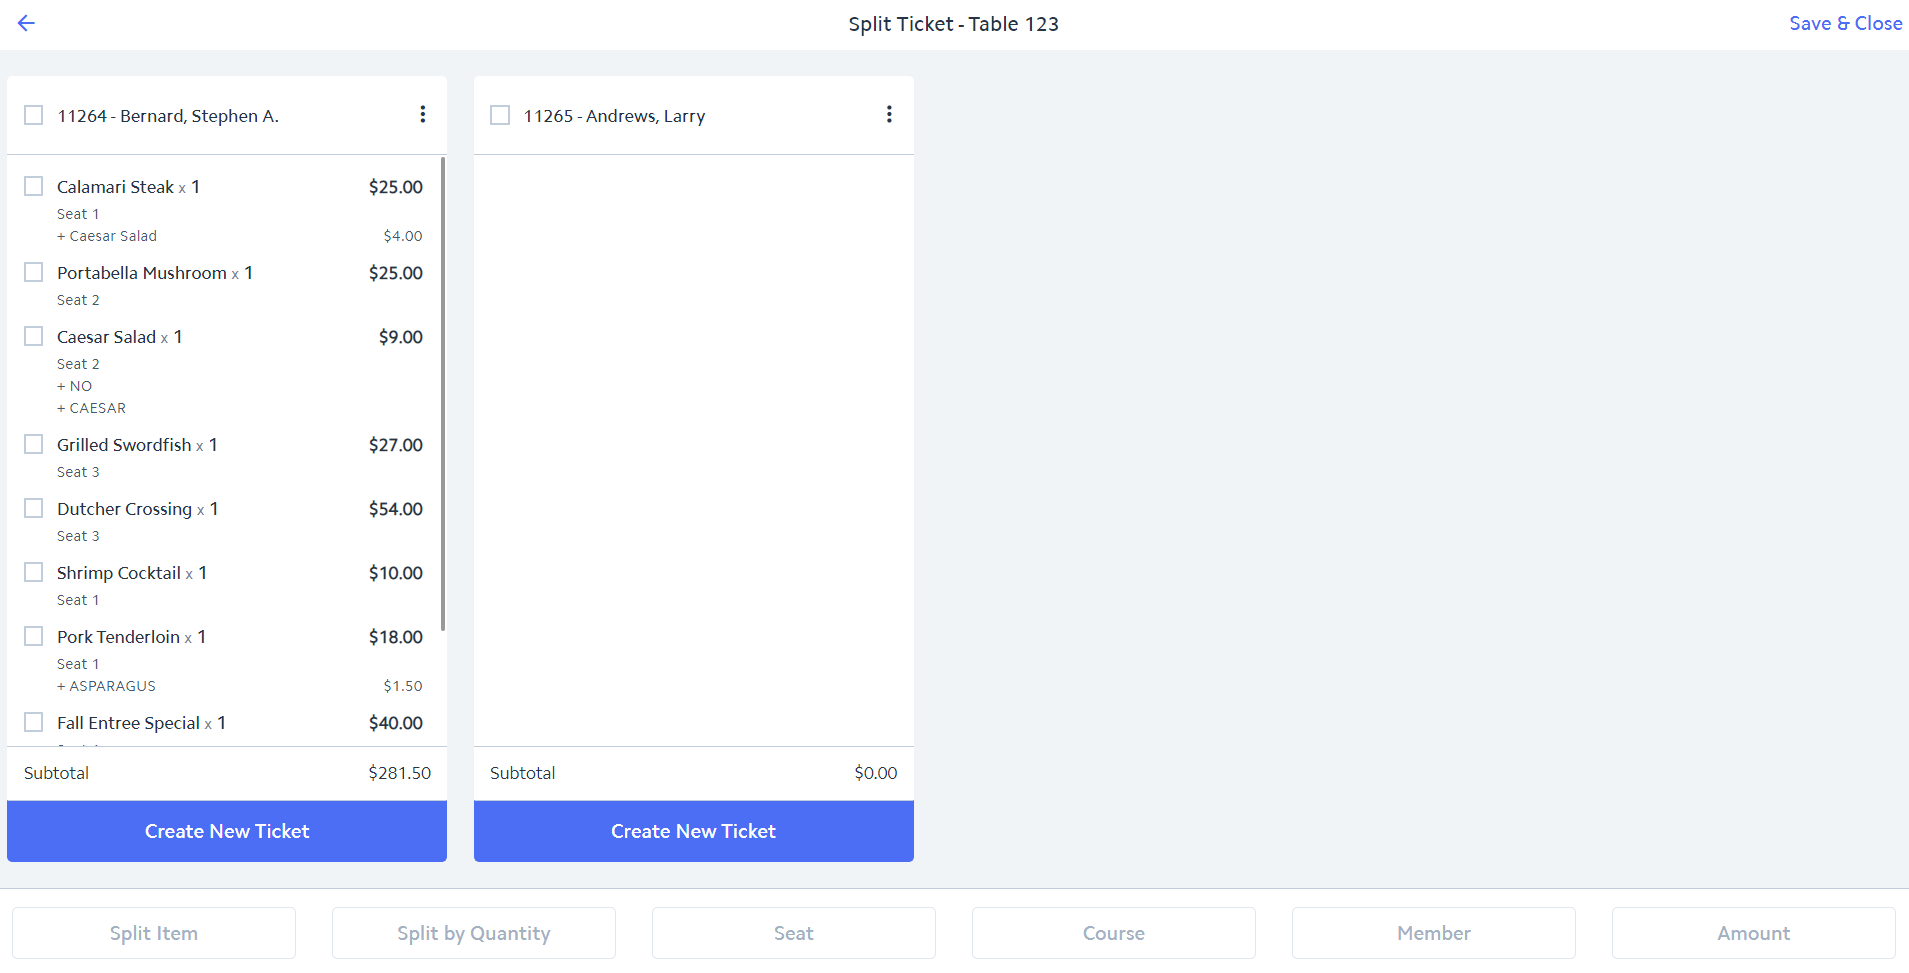
2) Within the Split Ticket screen, check the ticket itself in the upper left hand corner, then select Member.

3) The system will create a ticket for each different member.
4) Click Save & Close to save your changes.
...
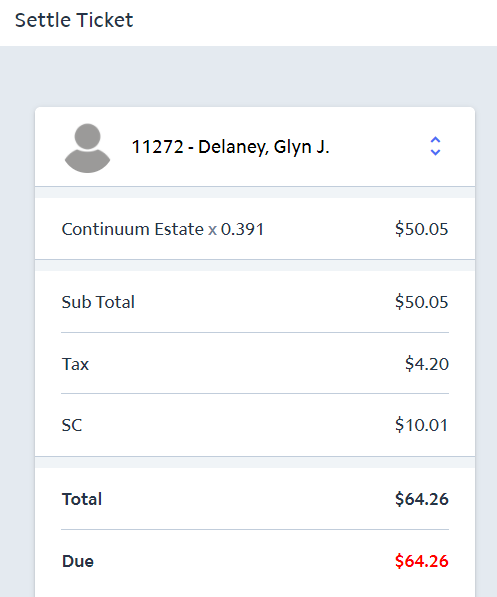
When settling, tax and service charge will be added to the Subtotal.
Combining Tickets
In the event a member decides to pay for another member sitting at a separate table, the Split Ticket feature can be used to combine the two tickets into one. Please note that in order to combine the tickets, the tickets need to be on the same table. Therefore, the non-paying member's ticket needs to be moved to the paying member's table.
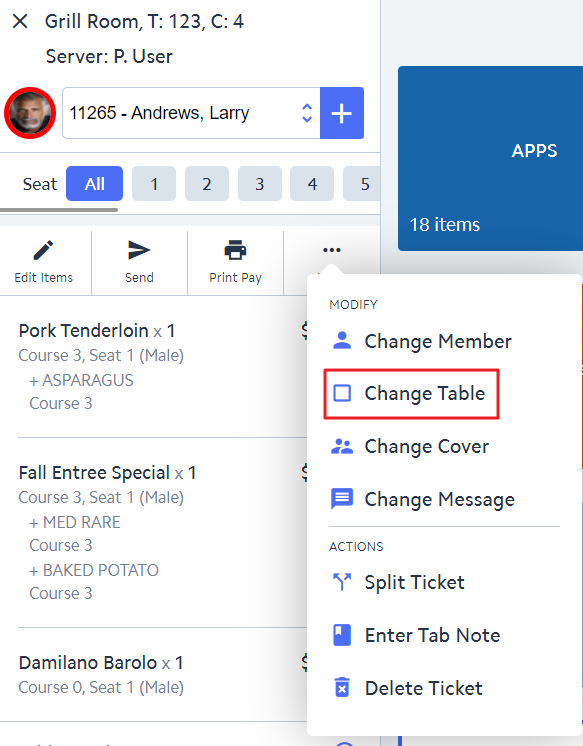
1) Use the Change Table feature to move the non-paying member's ticket to the paying member's table.
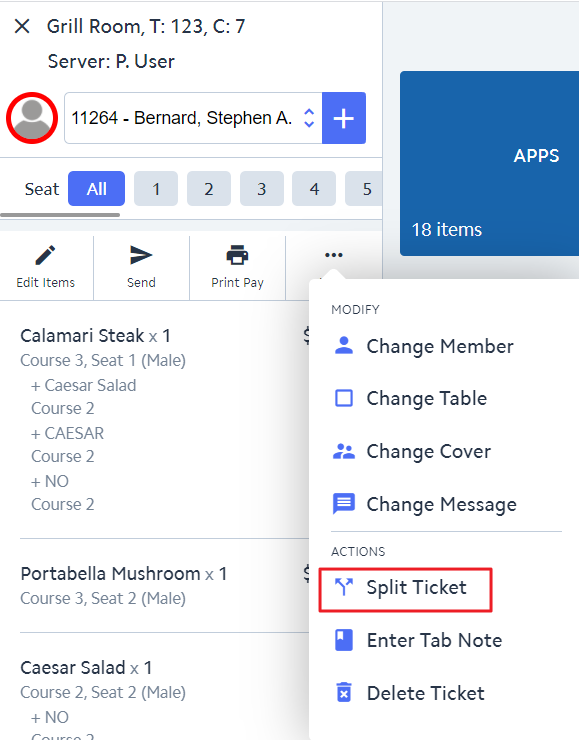
2) Once the two tickets are on the same table, select Split Ticket.
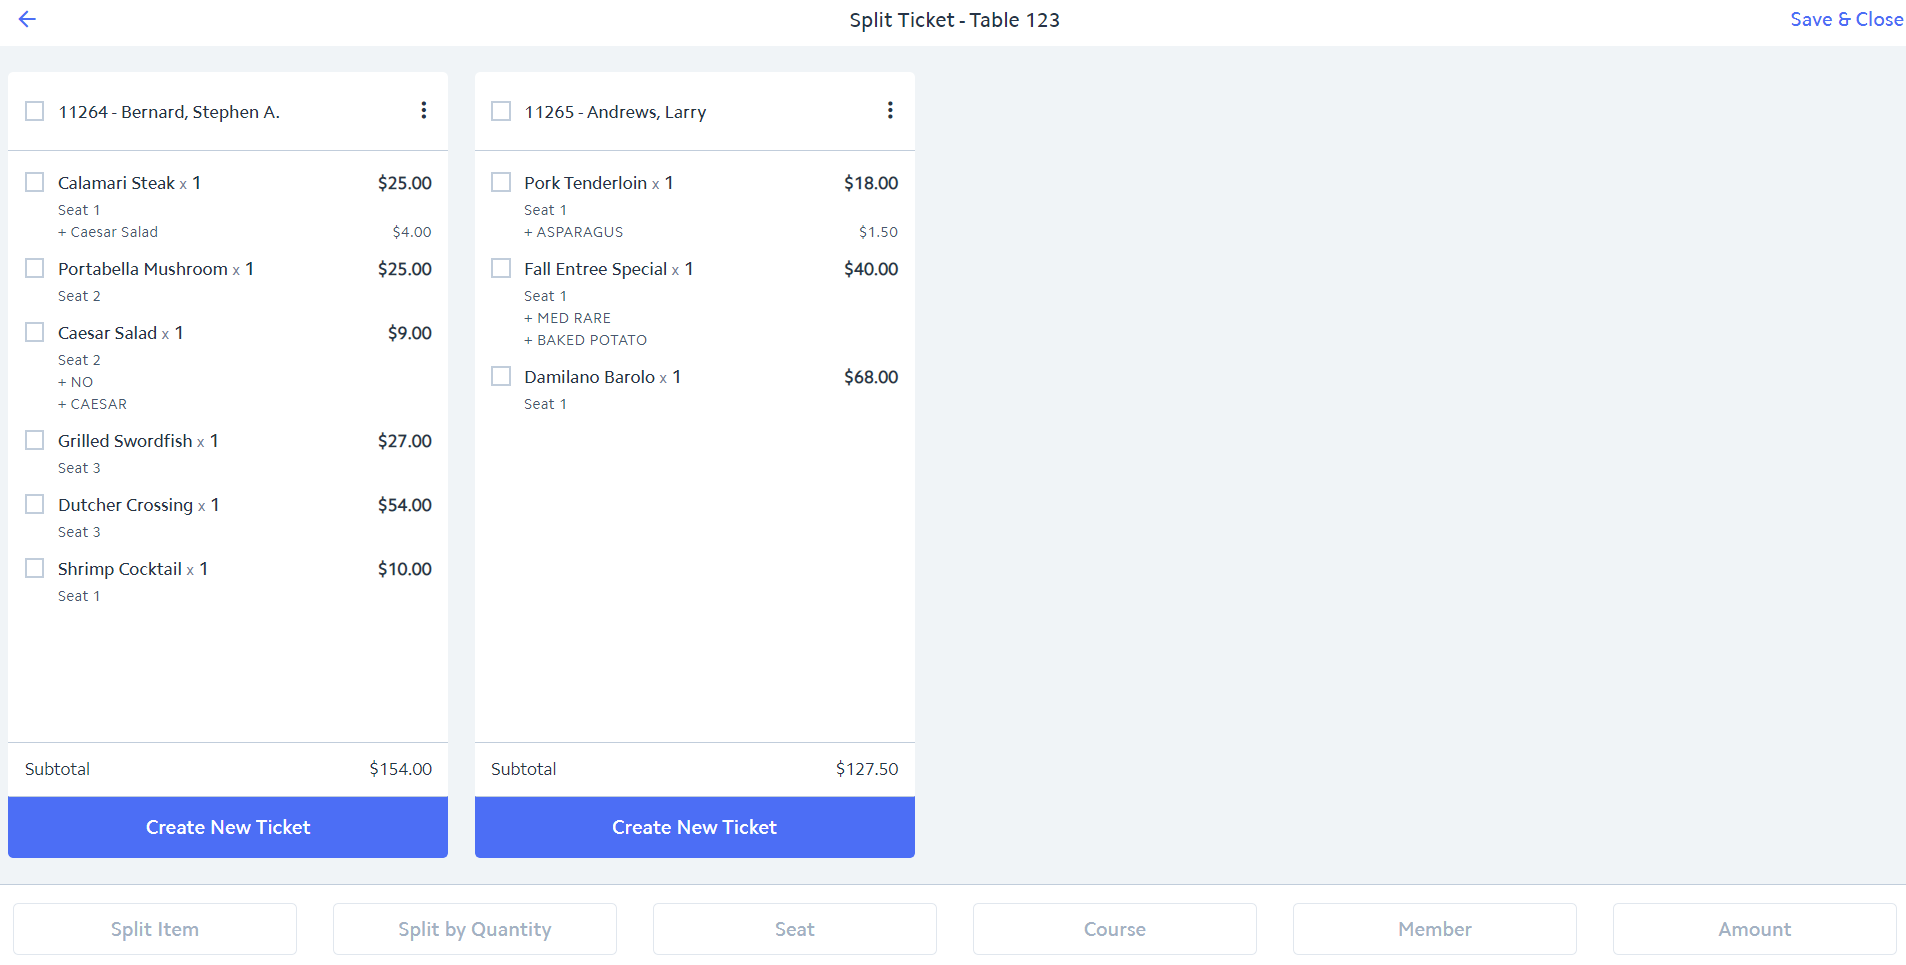
3) The Split Ticket Screen will appear as follows:
4) Check the item(s) that should be moved from non-paying member's ticket to the paying member's ticket. Then click Move Selected Item(s).
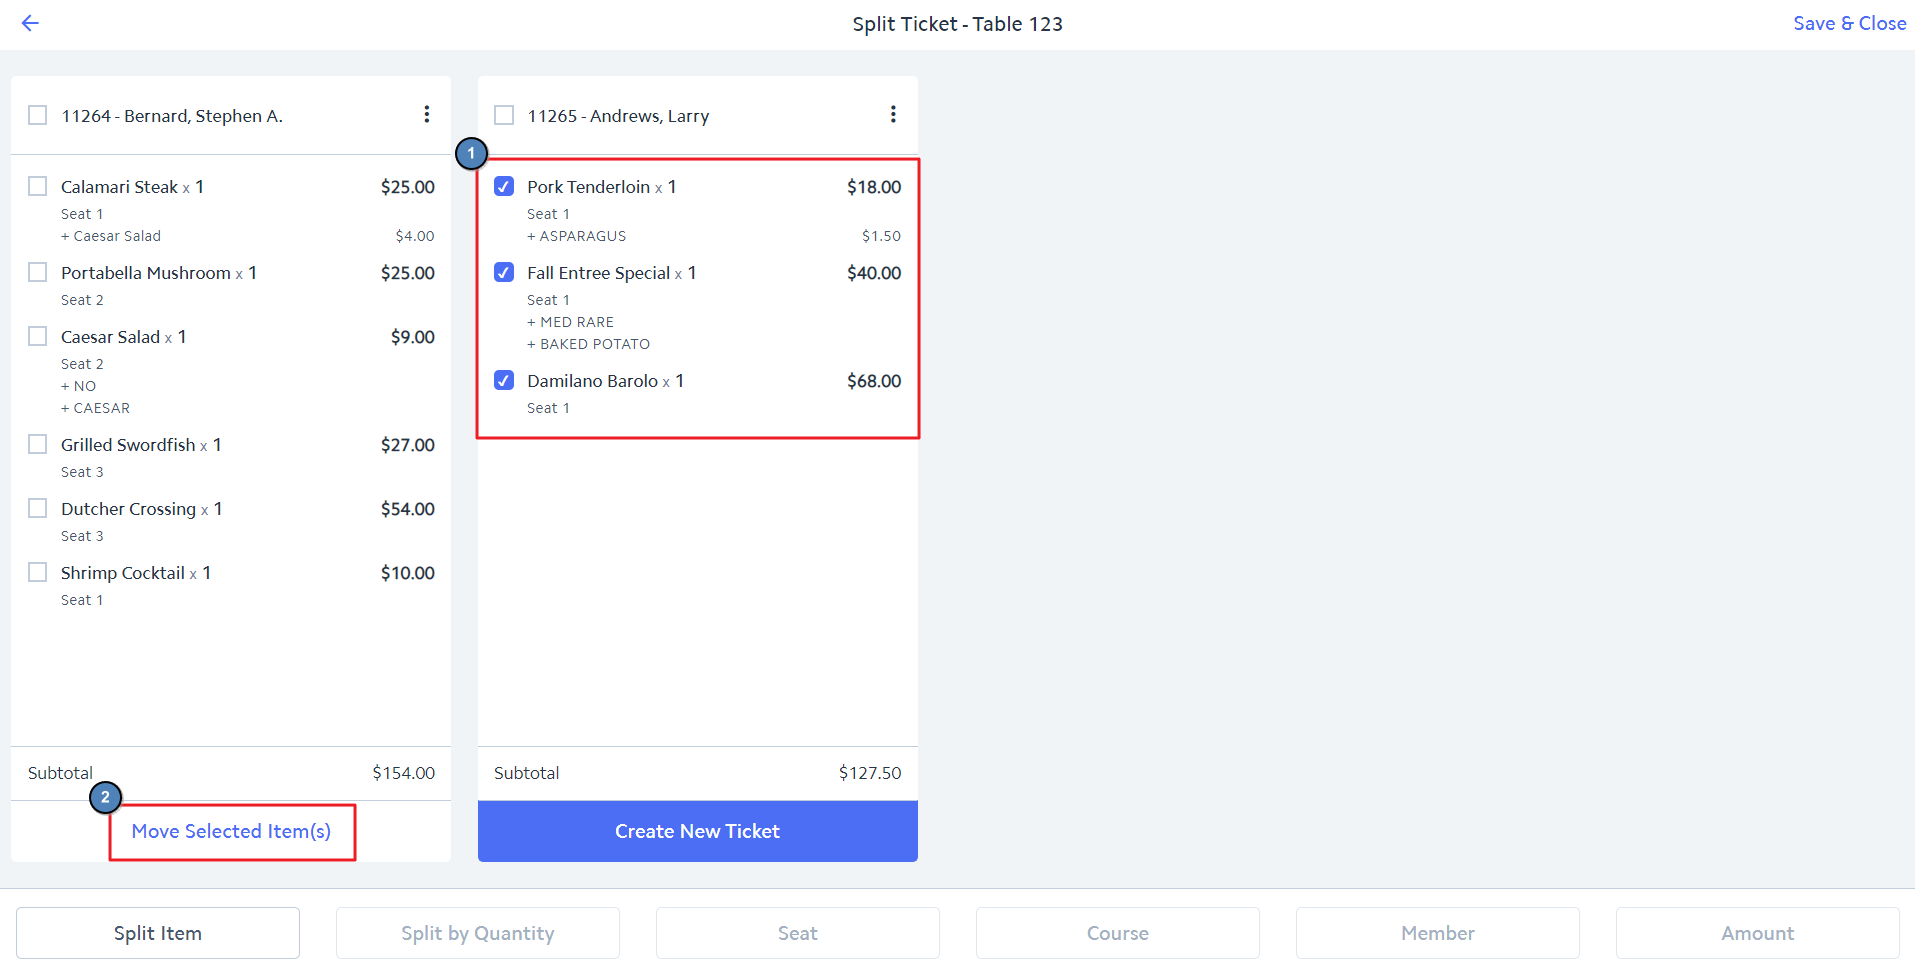
5) All items will be moved to the paying member’s ticket. The ticket the items were transferred from will automatically be deleted.
...