...
| Table of Contents | ||||||||
|---|---|---|---|---|---|---|---|---|
|
Overview
The first step in managing an event is to create the actual event to be managed. This guide will walk you through creating or booking the original eventA Document Template is a great tool to help simplify repetitive written content, while still allowing for flexibility in content adjustment when needed based on event needs. The Template is essentially the framework of the document that is to be repeated. Templates can be modified and/or edited as necessary to meet necessary Event requirements. Use Case(s) Mr. and Mrs. Rogers would like to host their wedding at the Club next July 15. To ensure the event gets on the calendar, and can be managed, the Banquets Manager books the eventThe Club requires that an official contract be signed every time an event is booked. The main structure of the Contract is defined using a Document Template. This ensures the rules, regulations, main contract verbiage etc., is consistently included in every contract generated. |
Content
|
|---|
Accessing the Tool
Navigate to Settings, click Correspondence.
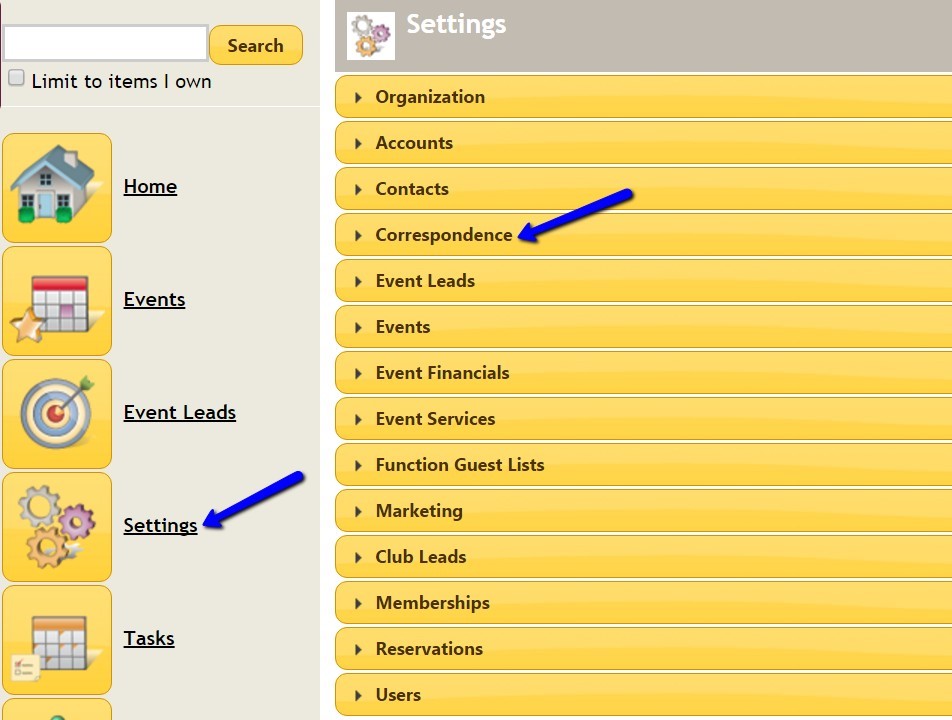
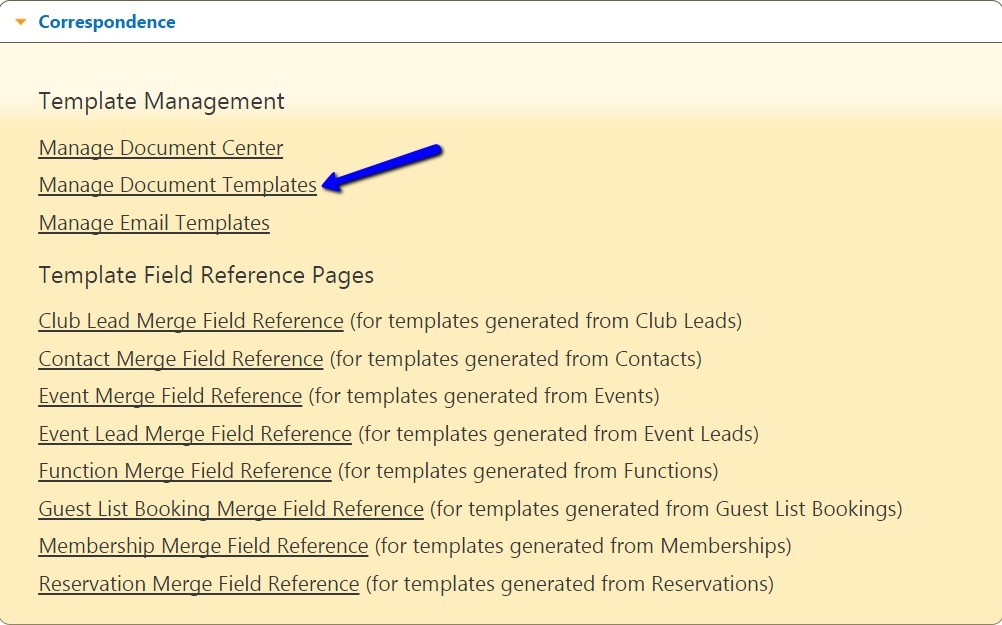
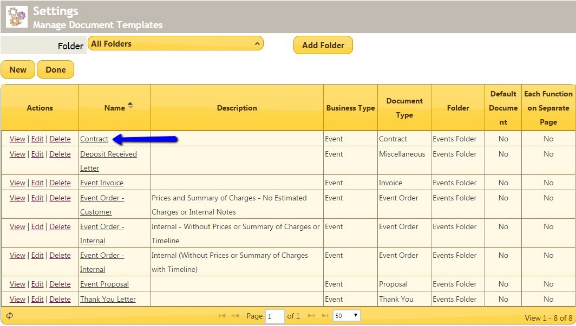
Select Manage Document Templates.
Click on the View link to the left of the document you wish to edit.
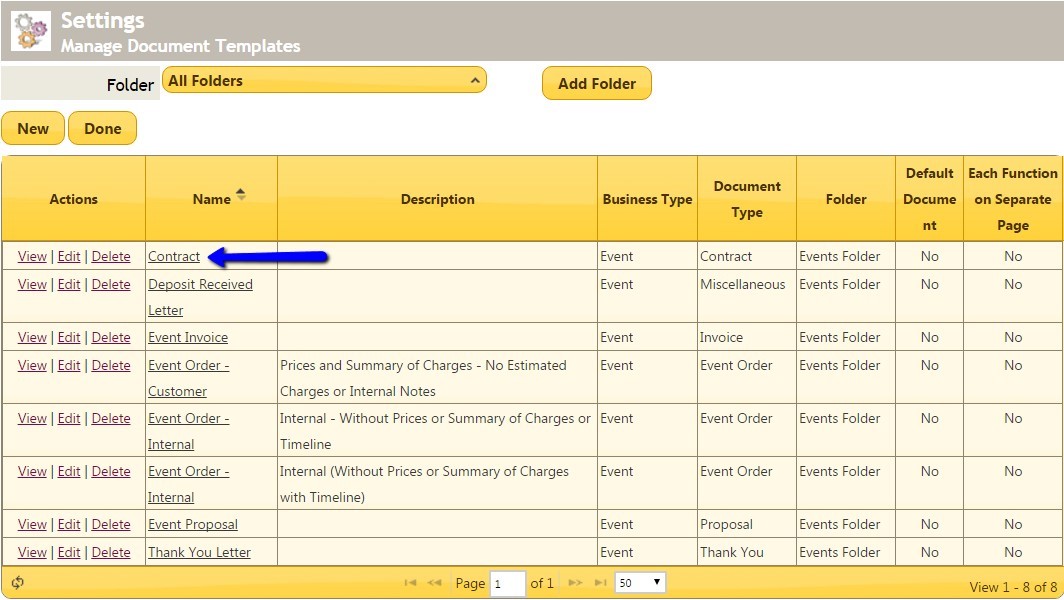
The document is then downloaded as a Word Document. Verbiage that is located within the document can now be edited. The document correspondence may contain
‘merge fields’, which are indicated by dollar signs and brackets ${ }. Merge Fields are used to display specific information that may be unique to the event, contact, etc.

Editing Templates
To edit the hard coded information, simply type before, over, or after the existing verbiage.
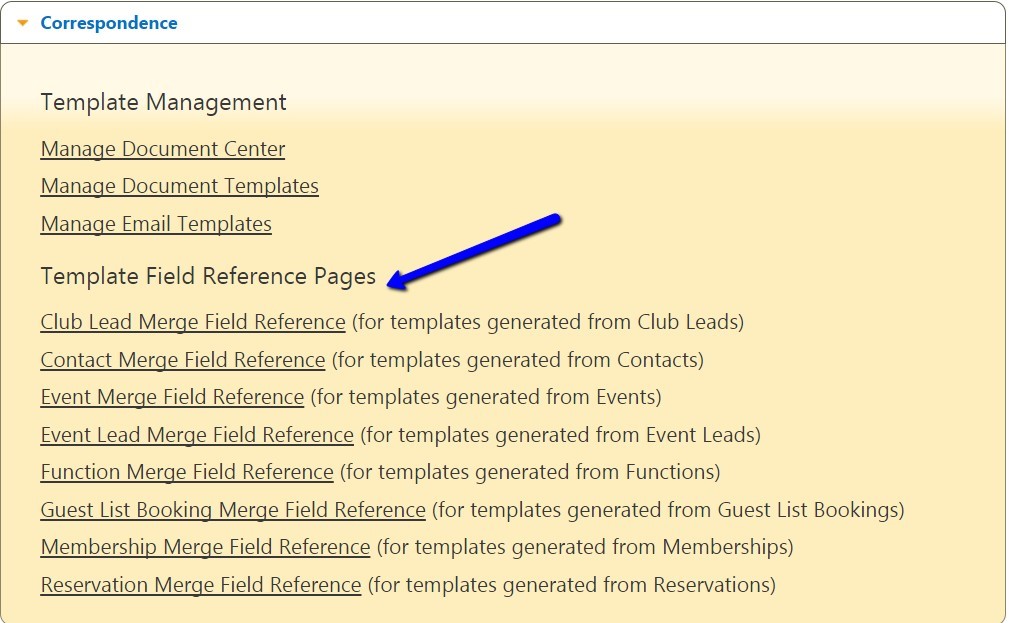
To add or edit a merge field in the document, navigate in Settings > Correspondence, where various merge field reference pages can be found. Select the type of reference page needed, find the merge field desired, and copy/paste (Ctrl C/Ctrl V) the field value into the document.
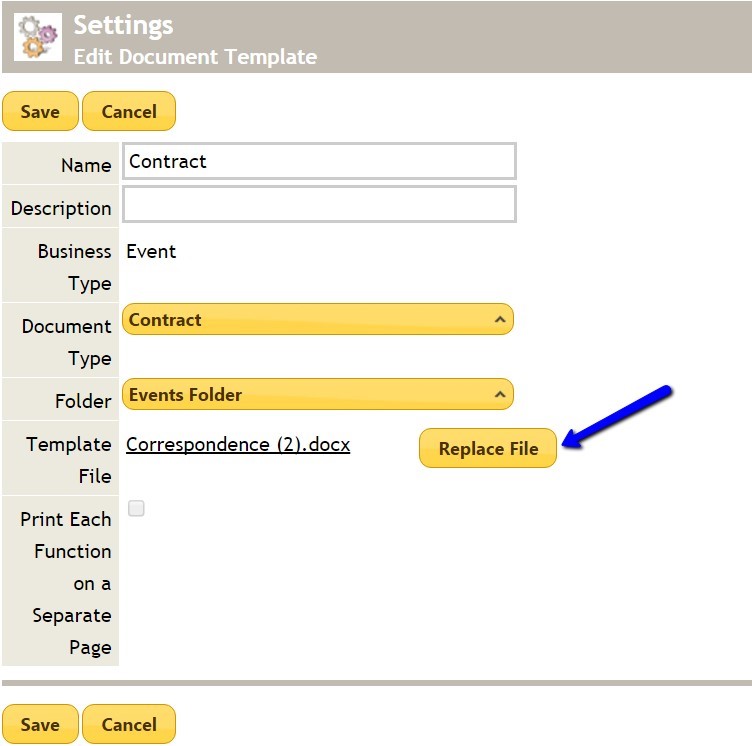
When you have finished editing the document, navigate back to Settings > Correspondence > Manage Document Templates. Click the Edit link next to the same document you originally viewed.
You can now edit the name, add a description and change the folder that the document lives in, if desired. Click the Replace File button to browse your computer for the file you finished editing. When you have finished replacing the document, click Save.
Testing the Edited Document Template
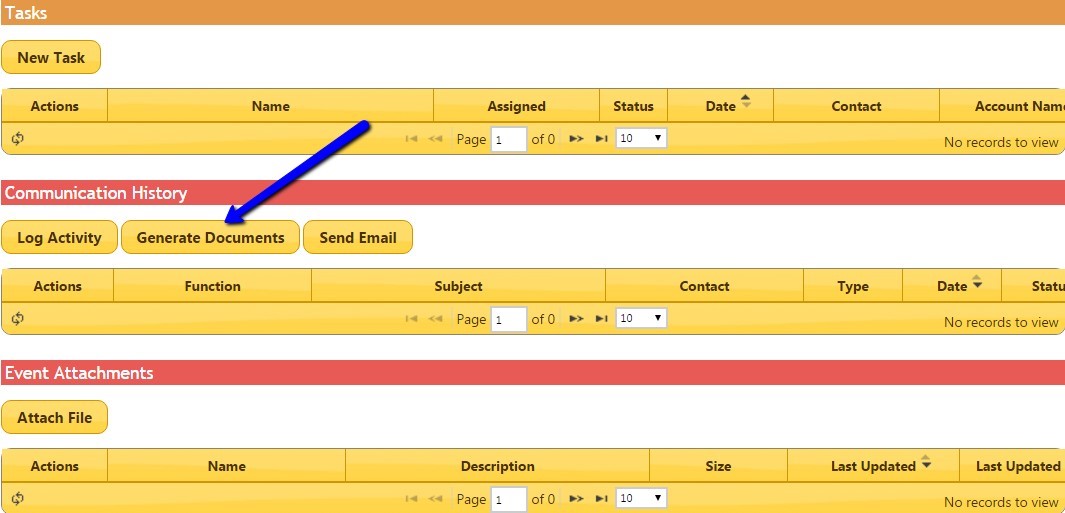
After replacing the document template with the version you edited, you can test the template by generating it from any event. Start by navigating to the Event Details Page of any event and scrolling down to the Communication History area. Click Generate Documents.
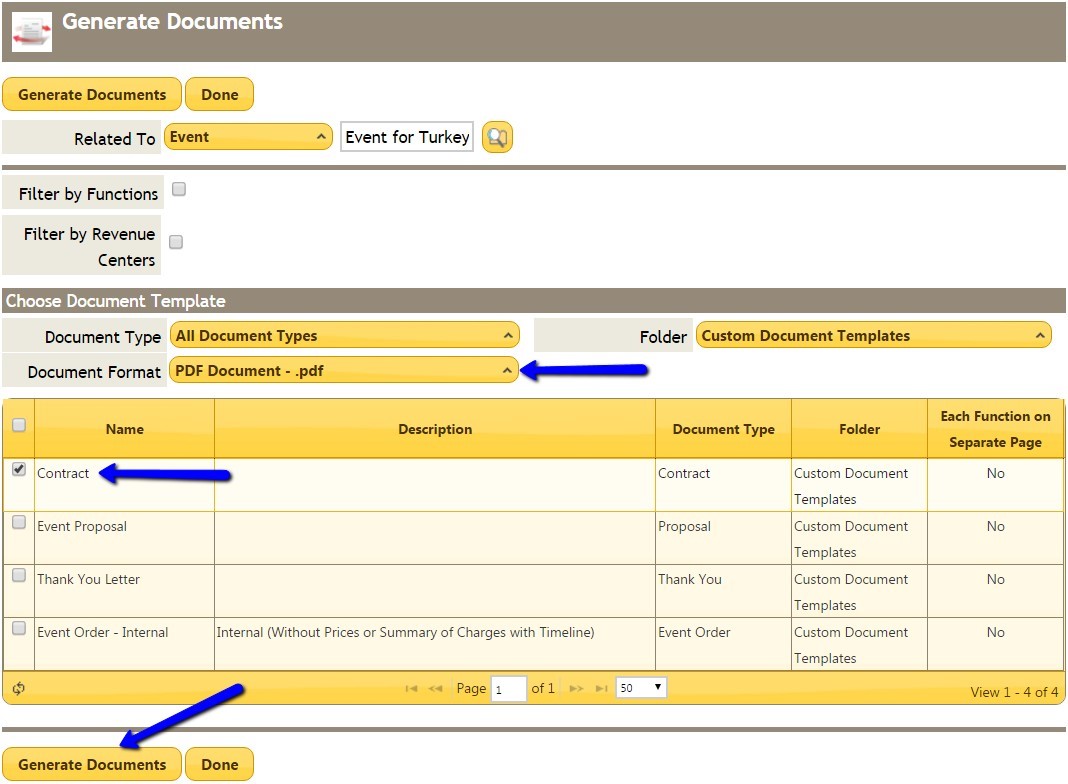
Choose a Document format (PDF or Word) and then select the document you wish to generate. Click the Generate Documents button.
If you find that there are still further edits you would like to make, start the process over again from the beginning and make any additional changes as necessary. Retest the document after each replacement.
FAQs
Q: How do I move an event to a different date or timeCan we get the BEO information to fit on 1 page?
A: When in the calendar view, you can drag and drop the event to the new day. When in the event, you can click on Move Event and follow the provided stepsThe length of the BEO depends on the amount of information in the event. The more information, the longer the documents.
Q: Can I remove part or all of the club information or logo to the top of the Internal BEO?
A: You can remove as much or as little information as you would like. We suggest keeping the event name merge field so it is easy to tell what the event is. This can even be placed in the header of the document.
Best Practices
...
Add your contacts in Office and let them sync over to Banquets.
...
1. When generating a new template, give the new document a new name.
2. Write revised before the document title (ie - Revised - Contract)
3. Test the document after making changes to make sure that all the information is showing where you want it to be showing.
Downloadable Guide
Banquets - Edit Existing DocumentsDocument Templates