...
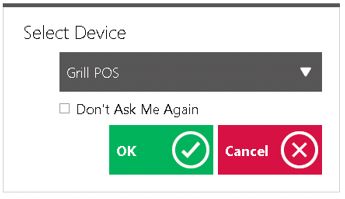
POS Workstation Devices are what the user selects when logging into the POS.
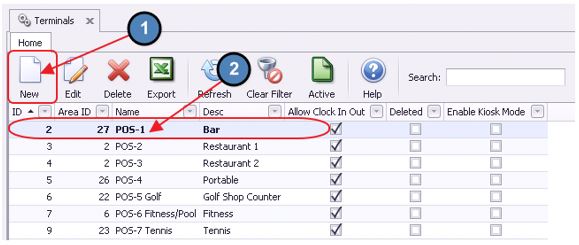
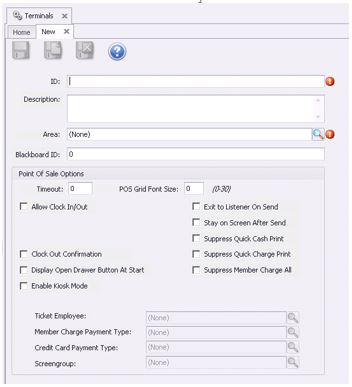
POS Workstation Devices have three layers to their setup. The first layer is the Area, followed by the Terminal, and lastly, the Workstation Device. Each specific layer of this hierarchy carries with it specific rules and features that will be used at the POS. For example, the Screen Group (menu) that is visible at the POS, is applied at the Area level. The Area is then tied to a Terminal, which has other POS options. Lastly, the Terminal is tied to a Workstation Device. When logging into the Workstation Device at the POS, the user will have access to all aspects of the Terminal that is linked to the Workstation Device, and ultimately the Area that is linked to the Terminal. Any changes to the bottom layers of this hierarchy, such as changing the Area that is attached to a Terminal, will also change the default setting of the Workstation Device. This is primarily because the Terminal is linked to the Workstation Device, and thus any changes to the Terminal or Area will in due course affect the Workstation Device. In this manualdocument, we will demonstrate how to properly set up and link together a Terminal and Workstation Device. For information on Areas, please see our Areas manual document. Use Case Due to the significant volume of transactions occurring in the Club’s newly expanded Dining Room, Management decided to add another Workstation Device to ensure Dining Servers had adequate opportunities to enter orders and ring out tickets. The Workstation Device was linked to the existing Terminal connected to the Dining Room Area, however, had a separate receipt printer attached to it for ease of processing transactions. |
Content
|
|---|
...
6. Click OK to save the new changes.


Printing a Test Page
...
5. Be sure to hold on to the Test Page that was printed as it lists the Computer Name and Share Name. This information will be needed to setup the printer in Clubessential Office.


Setup Printer in Clubessential Office
...
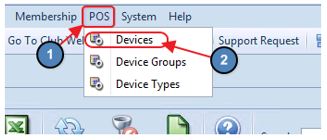
1) Navigate to POS across the top toolbar and select Devices.


2) The POS Devices Grid will launch.

3) Perform either of the following to launch the POS Device setup screen:
a) Click the New icon on the toolbar.


b) Right-click anywhere on the POS Devices Grid and select New.


4) The POS Device setup screen will launch.

5) Name- Give the Device a Name and a Description (Optional).
...
15) Slip Printer- Select ONLY if your club uses a slip (flatbed) printer for tickets.


16) Lastly, click Save & Close to complete the setup of the new POS Device.

Assigning Printer to a POS Workstation Device
...
1) Navigate to POS across the top toolbar and select Devices.

2) The POS Devices Grid will launch.
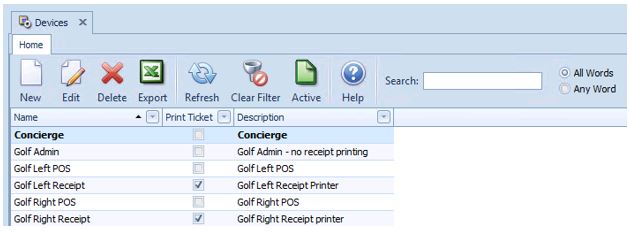

3) Double click on the applicable Workstation Device to launch the Device setup screen.
4) Select the Ticket Device Lookup and choose the applicable Receipt Printer from the Lookup.


Please keep in mind that Workstation Devices are concurrent, meaning that regardless of where the user is at the club, if they are logged into a specific Workstation Device, any transactions completed within that Workstation Device will print to the receipt printer that is attached to that Workstation Device. For example, if the user is in the Fitness Center at the club, but they are logged into the Bar Workstation Device, any transaction that is completed will print to the Receipt Printer that is attached to the Bar Workstation Device. This is a great feature when using tablets to ring in POS tickets.
...