| Table of Contents | ||||||||||
|---|---|---|---|---|---|---|---|---|---|---|
|
...
The POS Device setup screen will launch.
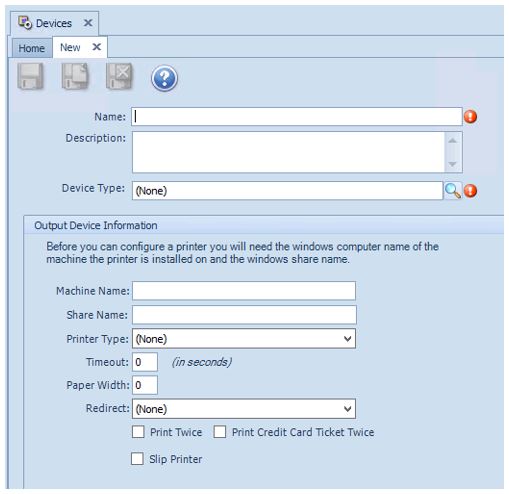
General Information
- Name - enter a Name for the new Workstation Device. Again, this will be the name that appears in the Select Device drop down at the POS.

2. Description - provide a Description of the new Workstation Device (Optional).
3. Device Type- select Terminal from the Device Type Lookup. This will populate additional Terminal options.
Terminal Information
4. Terminal - select the new Terminal that was previously created.
Note: Remember, the Area that is attached to the Terminal selected here will be the Area the Workstation Device defaults to when selected at the POS.
5. Ticket Device - select the Ticket Device (Receipt Printer) that should be used for this Workstation.
Important:
*Please keep in mind that Workstation Devices are concurrent, meaning that regardless of where the user is at the club, if they are logged into a specific Workstation Device, any transactions completed within that Workstation Device will print to the receipt printer that is attached to that Workstation Device. For example, if the user is in the Fitness Center at the club, but they are logged into the Bar Workstation Device, any transaction that is completed will print to the Receipt Printer that is attached to the Bar Workstation Device. This is a great feature when using tablets to ring in POS tickets.
...