...
To effectively receive a Credit Card payment from a Member, the Member’s profile must first contain the appropriate Credit Card information. Within the Membership Module, Manage Members section, select a Member, and then navigate to the Credit Cards tab within the Financial Information section of the Member’s profile. Click New to add an account, complete the tab for the Member’s Credit Card they wish to use, and click OK.


Member would like to have their Credit Card setup for Auto Payment, right-click on the Credit Card and select Enable Autopay. This will enable the Credit Card for Auto Payment.
Please see the Credit Card Auto Payment section of this document for an explanation on processing Credit Card Auto Payments.
...
Select Membership from the user menu, and then choose Member Payments.
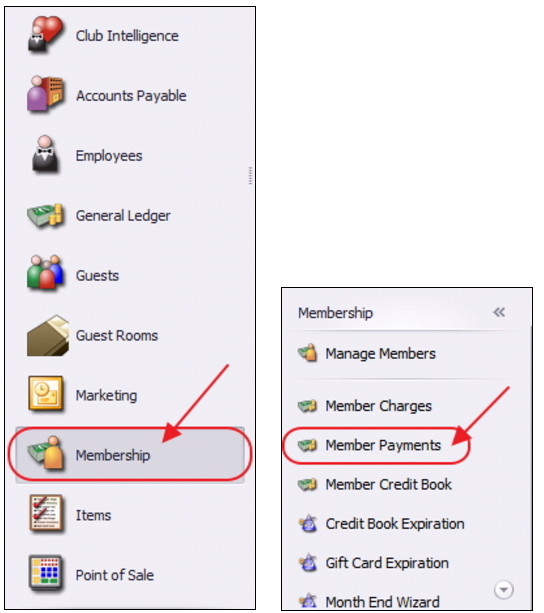
Select, Quick Add.
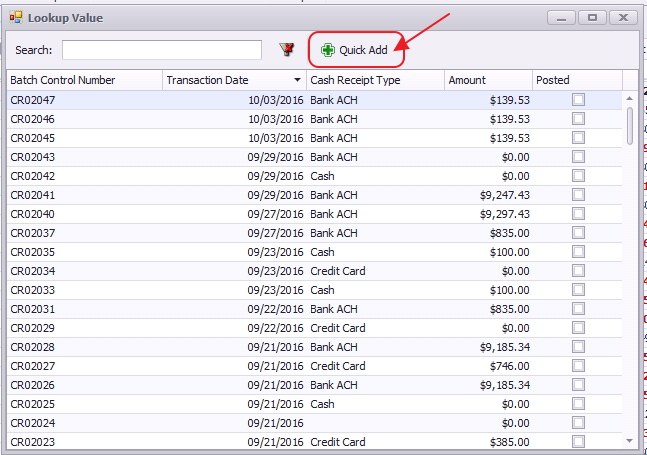
The Cash Receipt Wizard will launch.
Cash Receipt Wizard
...

...
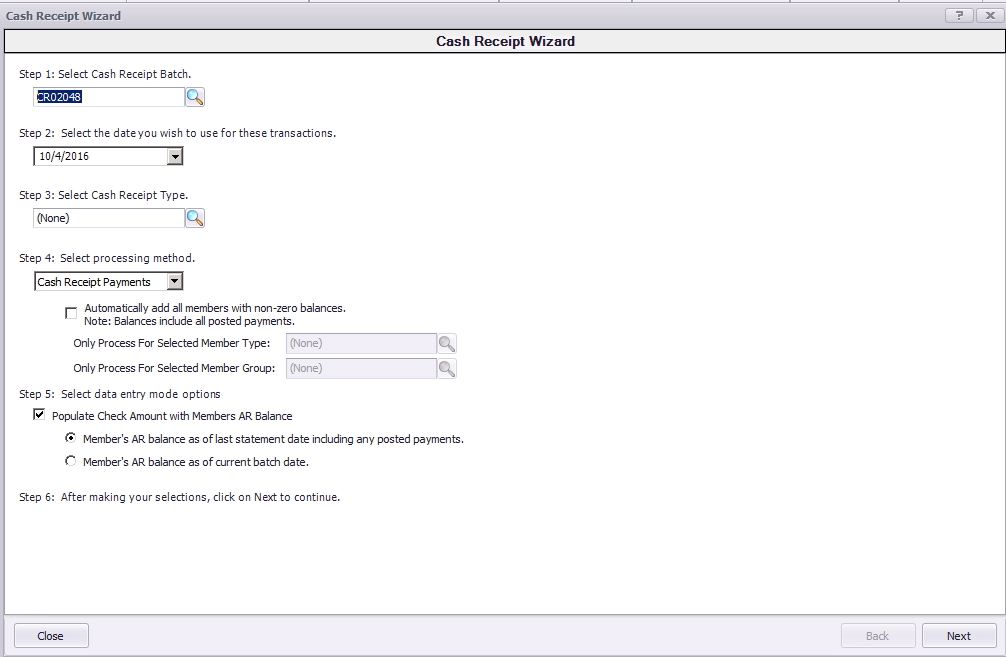
Step 5 - Select data entry mode options.
Populate Check Amount with Members AR Balance - Checked by default, the check amount on the next screen will equal the member’s AR Balance due. This is used to help quicken the payment entry process.
A) Member’s AR balance as of last statement date including any posted payments - If selected, the check amount entered on the next screen will be equal to the member’s AR balance as of the last statement date. This is the preferred option.
B) Member’s AR balance as of the current batch date - If selected, check amount entered on the next screen will be equal to the member’s AR balance as of the current batch date.

Step 6 - Click, Next.

Cash Receipt Wizard - Screen 2 (Payment Entry Screen)
The following Payment Entry screen will appear next based on selections made in Screen 1 of the Wizard. The Payment Entry screen is used to specify the member, payment amount, and the AR account.
Again, Credit Card information is typically stored in a member’s profile. This gives the club the ability to charge the card at the expense of the Member’s request without having the physical credit card present.
1) Select the Member by selecting the lookup, or simply begin typing the member’s name.
2) Enter CC as a reference to Credit Card in the check number field.
3) Enter the amount of the payment. If specified in Step 5, the system will automatically enter the AR Balance due of the member in this field, however the amount can still be edited if this is not the correct payment amount.
4) Select the credit card on file under Payment by selecting the lookup.
5) The Primary AR Account linked in System Settings will populate into the Ledger field.


Another message will appear asking if the user wants to move the declined members to a separate batch so they can post the successfully captured transactions.
Select Yes and the system will split the payment transactions to separate batches. All successfully captured transactions will be in one batch and all transactions with errors will be moved to a separate batch.


Batch Exit and Re-Entry
Note: To exit batch prior to batch completion, click Close at any time. Batch will automatically be saved, and can be re-opened by selecting Member Payments and choosing the appropriate batch from the lookup list.
Print Deposit Slip
Once Finish has been selected, system prompt “Would you like to print a deposit slip?” will appear.

Click Yes to load the Cash Receipt Deposit Summary, and select printer icon to print the deposit slip. After the slip has printed, close the Cash Receipt Deposit Summary and the Payment Batch will generate.

Click No to proceed directly to generating the Payment Batch.
Post the Payment
Payment batch will appear for batch review. Verify the GL posting is correct and select Post Batch.

Payments will post to Member accounts as noted in this Member’s Profile.

Manual Credit Card Payments
...
As described in the Member Credit Cards section of this document, if desired, a Member can have their Credit Card on file enabled for Auto Payment. To do so, right-click on the Credit Card within the Member’s profile and select Enable Autopay.

Processing Credit Card Auto Payments
Please follow the same steps above when entering a Credit Card payment. However, in Step 4, please be sure to select Automatically add all members with non- zero balances that are configured for Auto- Pay. All members who are configured for Credit Card Auto Payment will populate on the next screen. If checked, Step 5 is Null, click Next. Furthermore, if this box is checked, the user has the ability to narrow the payment batch down to a certain Member Type or Member Group.
...
However, as the refunded payment line was not deleted from the batch, you will need to post a Member Charge to the member’s account using their Payment Adjustment item to offset the refunded payment.
Best Practices
- For Members wanting to make payments electronically, enter credit card or banking information into the Member’s profile.
FAQs
Q. Can I have multiple payment types in the same batch?
...
A. The full amount of the Credit Card payment will need to be refunded, and then the proper amount must be charged. Unpost the batch using the Approve Payment Batches function. Then, re-open batch (through the Wizard). Navigate to the payment entry screen, highlight the line, and click delete. Success message will be returned. If successful, re-enter proper amount to charge, and complete batch processing as normal. If unsuccessful, contact Processor to issue refund, and post a Payment Adjustment item to Member’s account to offset incorrect charge.
Downloadable Guide
Credit Card Member Payments - Guide
...