...
To effectively receive a Credit Card payment from a Member, the Member’s profile must first contain the appropriate Credit Card information. Within the Membership Module, Manage Members section, select a Member, and then navigate to the Credit Cards tab within the Financial Information section of the Member’s profile. Click New to add an account, complete the tab for the Member’s Credit Card they wish to use, and click OK.


Member would like to have their Credit Card setup for Auto Payment, right-click on the Credit Card and select Enable Autopay. This will enable the Credit Card for Auto Payment.
Please see the Credit Card Auto Payment section of this document for an explanation on processing Credit Card Auto Payments.
...
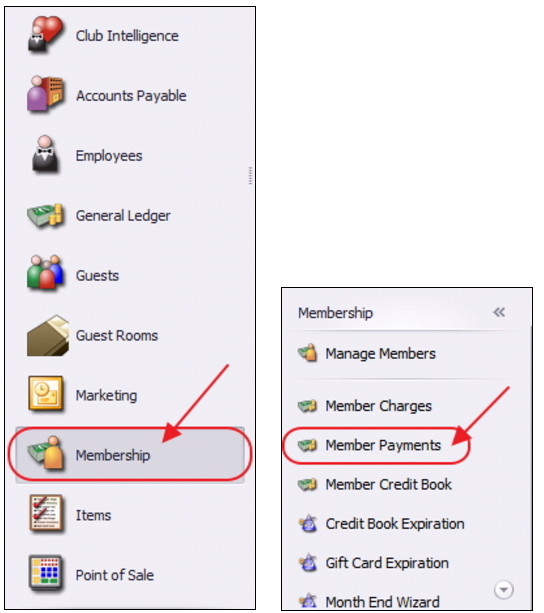
Select Membership from the user menu, and then choose Member Payments.
Select, Quick Add.
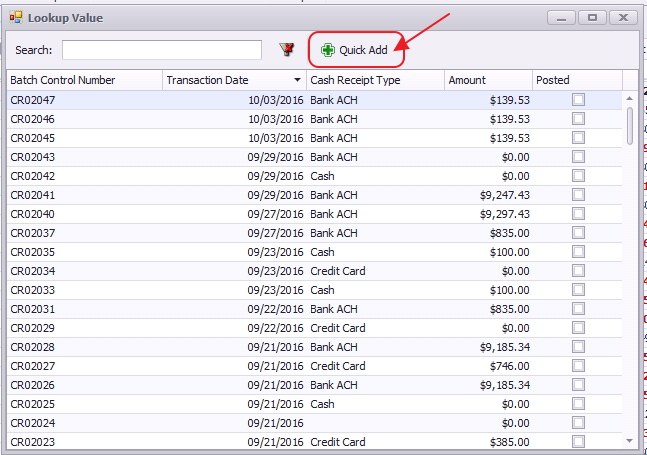
The Cash Receipt Wizard will launch.
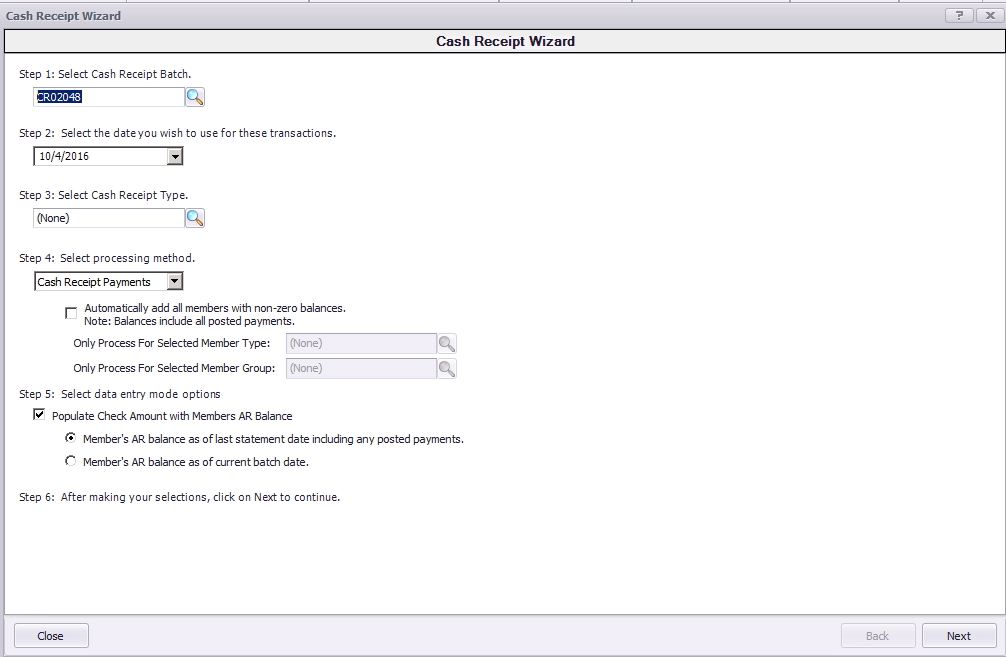
Cash Receipt Wizard
...

...
A. The full amount of the Credit Card payment will need to be refunded, and then the proper amount must be charged. Unpost the batch using the Approve Payment Batches function. Then, re-open batch (through the Wizard). Navigate to the payment entry screen, highlight the line, and click delete. Success message will be returned. If successful, re-enter proper amount to charge, and complete batch processing as normal. If unsuccessful, contact Processor to issue refund, and post a Payment Adjustment item to Member’s account to offset incorrect charge.
Downloadable Guide
Credit Card Member Payments - Guide