...
Member Check-In Configuration (No Reservations Integration)
In this section, we will discuss how to configure Kiosk Mode as simple check in station for the club’s members.
...
(5) Ticket Device - Select the Ticket Device (Receipt Printer) that should be used for this Workstation.
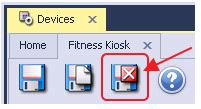
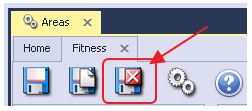
5) Select Save & Close.
Member Check-In Configuration (Reservations Integration)
In this section, we will discuss how to configure Kiosk Mode to be integrated with the various Clubessential Reservation systems.
Area Setup
The first step in configuring Kiosk Mode is to configure the appropriate Area.
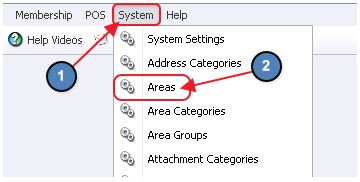
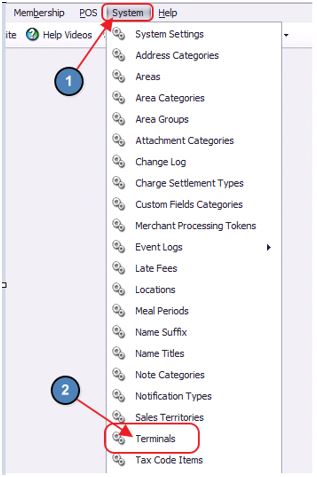
1) To access Areas, select System across the top toolbar and choose Areas.
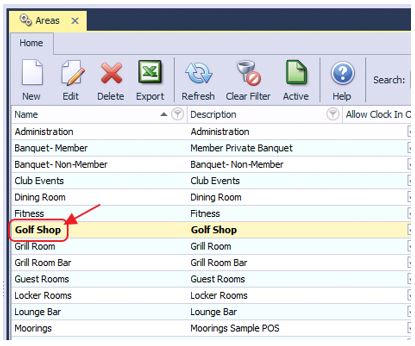
2)The Areas grid will launch. Select the Area to be configured for Kiosk Mode.
3) On the left pane, select Integration Settings.
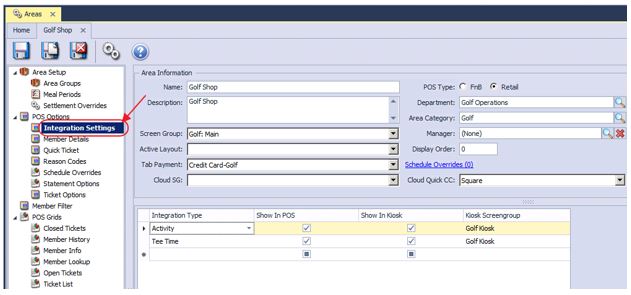
4) Next, please follow the instructions below:

(1) Integration Type - Please select the appropriate Axis Integration Type.
Note: Please note at this time only the Activities, and Tee Time Axis Integrations can be utilized within Kiosk Mode.
(2) Show in POS - Ignore this box as it is unrelated to Kiosk Mode.
(3) Show in Kiosk - Check this box to configure this Integration Type to show in Kiosk Mode.
(4) Kiosk Screen Group - Select the Screen Group that will display within Kiosk Mode. This will be the Screen Group utilized with the self-serve honor system.
5) Select Save & Close.
Terminal Setup
The next step in configuring Kiosk Mode is to set up the Terminal.
1) Navigate to System across the top toolbar and select Terminals.
2) Then, perform either of the following to launch the Terminal setup screen:
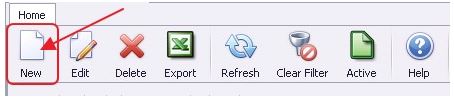
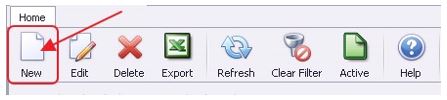
a) Click the New icon on the toolbar.
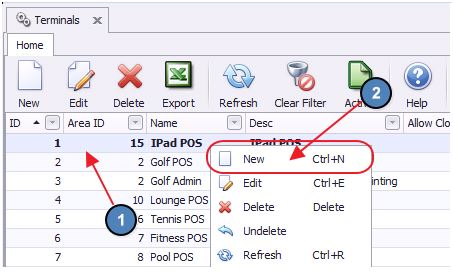
b) Right-click anywhere on the Terminals Grid and select New.
3) The Terminal Setup screen will launch.
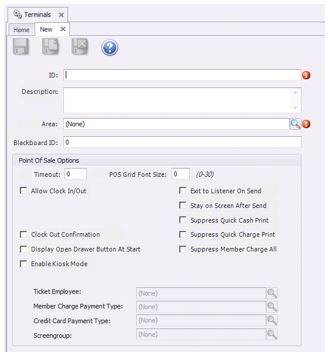
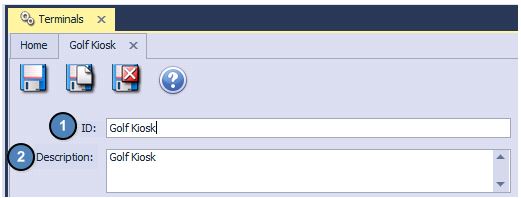
4) Enter an ID (the name of the Terminal) and Description of the new Terminal.
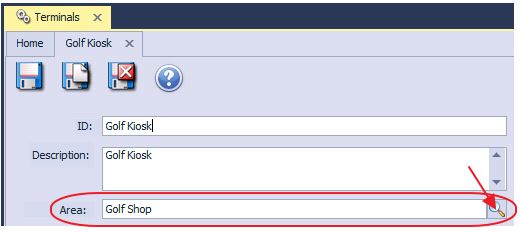
5) Select the Area for which Kiosk Mode should be enabled.
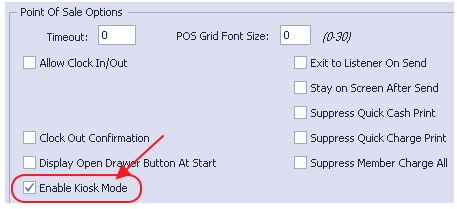
6) Check Enable Kiosk Mode. As this terminal will only be used for Kiosk, all other POS Options will not need to be entered.
7) After Enabling Kiosk Mode, some additional settings will need to be specified. These settings include:
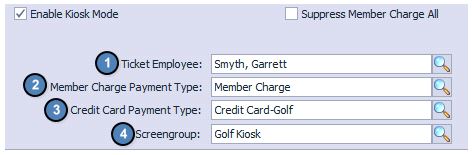
(1) Select the Employee to be attached to the tickets entered through Kiosk.
(2) Select the Payment Type to use when closing tickets with Member Charge.
(3) Select the Payment Type to use when closing tickets with Credit Card.
(4) Select the Screen Group that will display within Kiosk Mode. This will be the Screen Group utilized with the self-serve honor system.
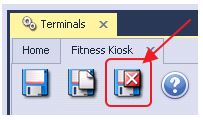
8) Select Save & Close.
Workstation Device Setup
The final step to configuring Kiosk Mode is to set up the Workstation Device. Workstation Devices are what the user selects when logging into the POS.

To create a new Workstation Device,
1) Navigate to POS across the top toolbar and select Devices.
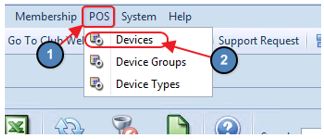
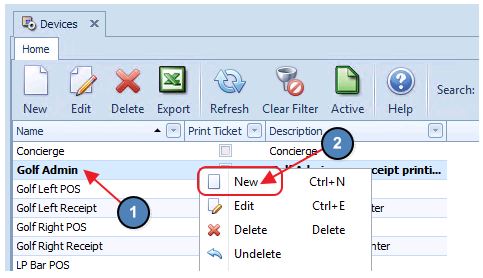
2) Then, perform either of the following to launch the POS Device setup screen:
a) Click the New icon on the toolbar.
b) Right-click anywhere on the POS Devices Grid and select New.
3) The POS Device setup screen will launch.
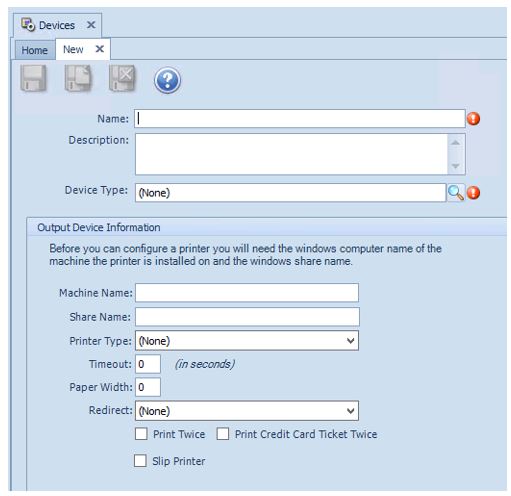
4) Next, please follow instructions below:
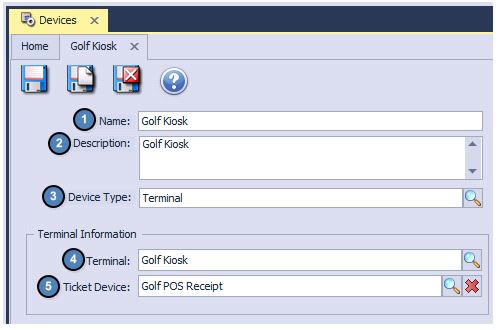
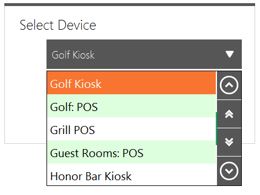
(1) Name - Enter a Name for the new Workstation Device. Again, this will be the name that appears in the Select Device drop down at the POS.
(2) Description - Provide a Description of the new Workstation Device (Optional)
(3) Device Type - Select Terminal from the Device Type Lookup. This will populate additional Terminal options.
(4) Terminal - Select the new Terminal that was previously created.
Note: Remember, the Area that is attached to the Terminal selected here will be the Area the Workstation Device defaults too when selected at the POS.
(5) Ticket Device - Select the Ticket Device (Receipt Printer) that should be used for this Workstation.
5) Select Save & Close.
Best Practices
1. Please review the process on each POS system before going live, to ensure the success of New Member PIN setup, as well as payments.
...