...
Table of Contents
| Table of Contents |
|---|
...
|
...
|
...
|
...
Overview
|
...
...
...
Use Case(s)
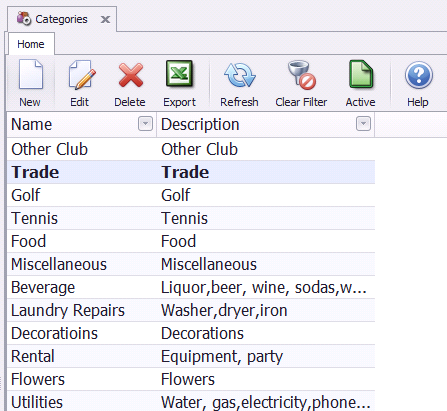
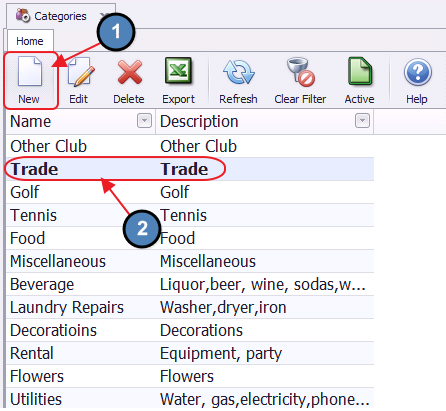
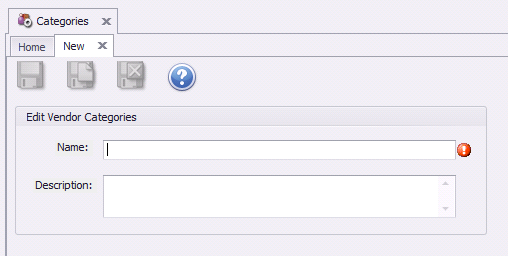
A Club creates a Vendor Category to group their Pro Shop Vendors.
A Club creates a Vendor Category to group their Beverage Vendors.
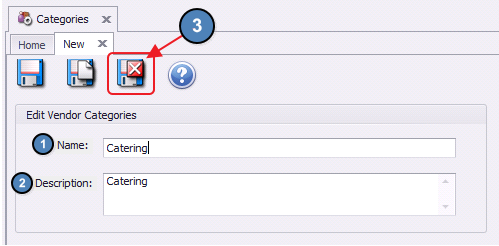
A Club creates a Vendor Category to group their Catering Vendors.
Content
|
|---|
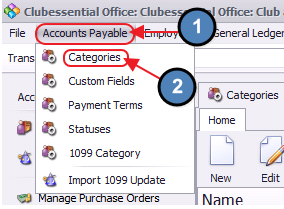
Accessing the Tool
Best Practices
Add default Expense Ledger to Vendors when applicable. This will help quicken the Invoice Entry Process.
Establish a naming convention for assigning Vendor Account Numbers to help improve Accounts Payable efficiencies in entering and researching Vendor items.
Periodically, the Vendor Master file should be reviewed by Management, and Vendors no longer utilized should be inactivated (and depending on period of inactivity, deleted from the master files) to improve financial controls.
For expenses consistently split between departments, utilize the Expense Split feature in the Departments tab of the Vendor Setup to automate expense allocation to the appropriate areas.
FAQs
Q. How many fields do I have to fill out to create a Vendor?
A. The Vendor Name, Account Number (Vendor Number), Vendor Category, Terms, and the Department(s) authorized for the Vendor are the required fields to create a Vendor.
Q. How can I see the Insurance Tab to track our Vendor Certificates of Insurance?
A. The Insurance tab is only visible when the Track Insurance option has been selected in the main Vendor Setup screen. Once this is checked, records to track certificates of insurance can be added to the Vendor file.
Downloadable Guide
...
