Versions Compared

Key

  • This line was added.
  • This line was removed.
  • Formatting was changed.

...

Table of Contents

Table of Contents

...

minLevel1

...

maxLevel

...

7

...

exclude

...

Video

This video provides an overview of how to use the Axis tool functionality to Cross Market.

Note: Sections of the video have been referenced below with corresponding times in the video for ease of access

Total Video (Length)6:55   
Cross Marketing Overview0:18 Editing Directory Disclaimer3:32
About Event Notifications1:23 Editing Sidebar Content4:02
Accessing Event Notifications1:55 Editing Online Member Statements4:57
Editing Event Notifications2:05   


Content

Table of Contents
maxLevel4
minLevel2
excludeAxis - Cross Marketing


Table of Contents

Use Case(s)

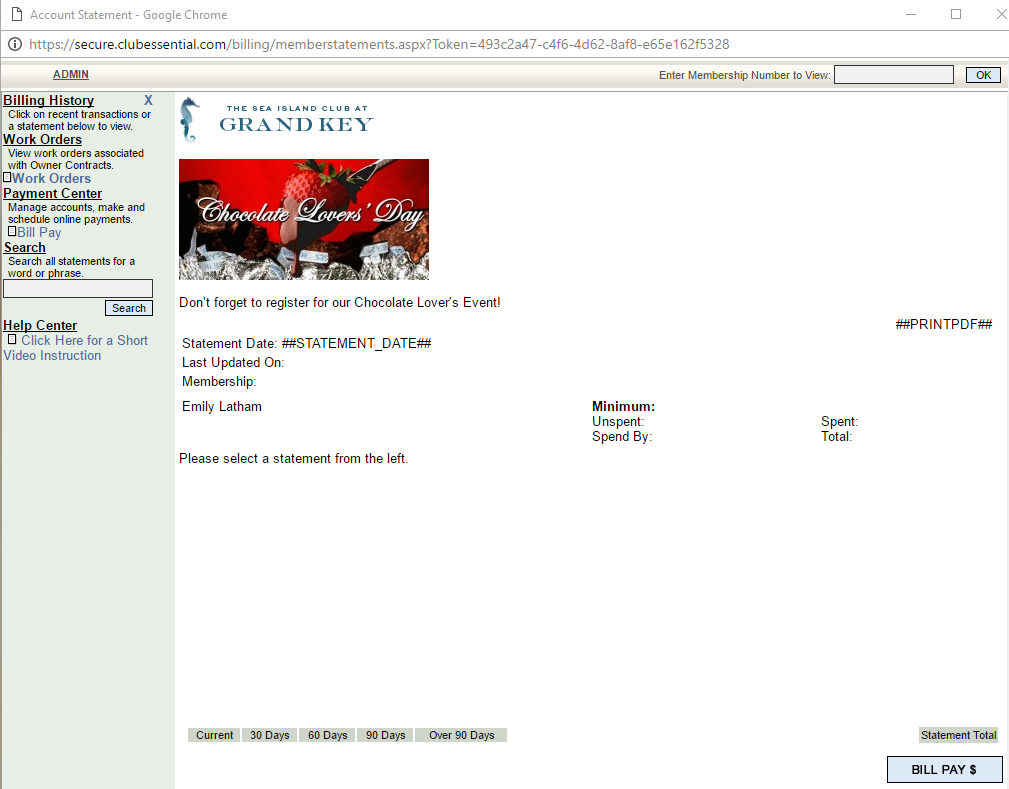
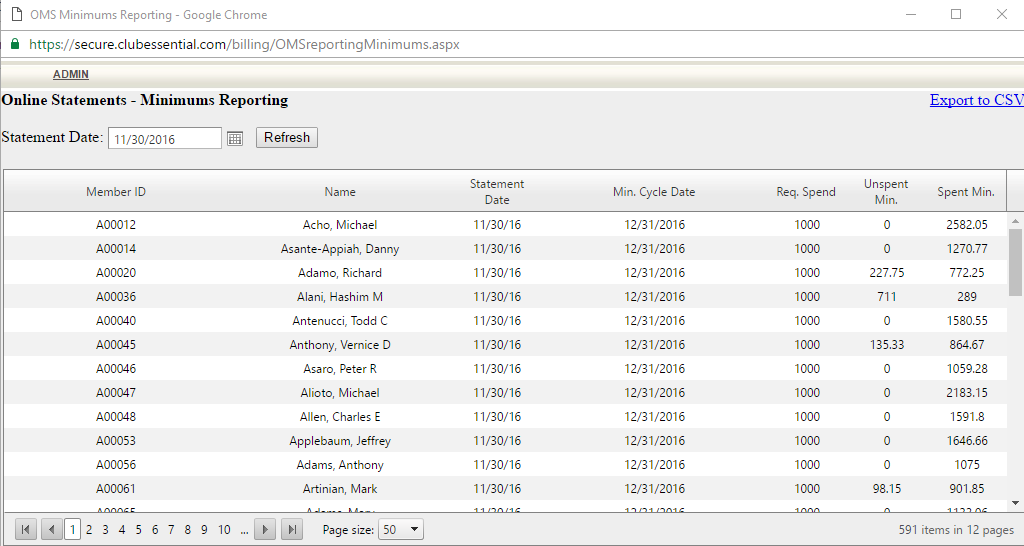
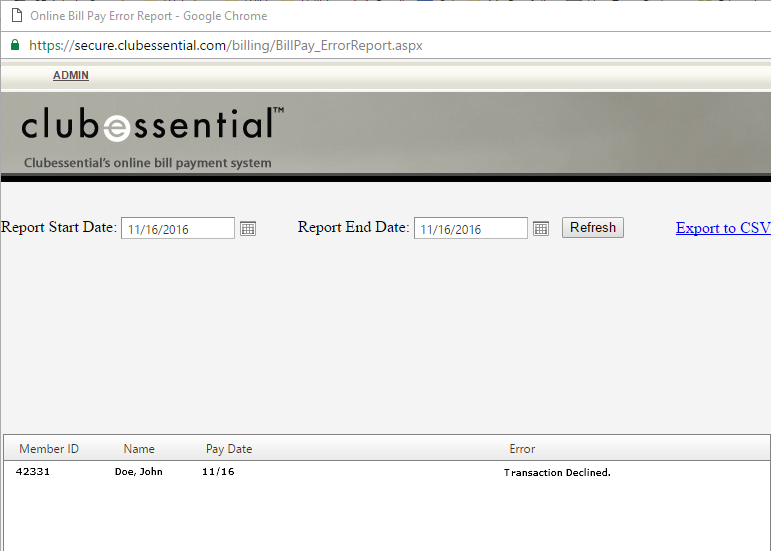
Online Member Statements and Payments are used to handle monthly billing at the club for dues and for other items or services purchased at the club.


Accessing the Tool

  1. Online Member Statements and Payments may be located in several places on the website. The most common placement is in the Quicklinks on the member home page, which is usually titled Online Statement, Member Statement, or My Statement.

...

  1. Many clubs also have a link located in the main navigation bar under My Club, or another navigational item that was determined during the site build.

...

  1. Click the online member statement link to open the statement window.

...

  1. To view a member’s statement, type themember number in the search box of the statement and click

...

  1. OK.  

...

    1. Note

...

    1. : in rare instances where a Member is not seeing what you are seeing in this view, Impersonate the Member, and then view the Payments/Statements as that Member instead of entering the Membership number to help troubleshoot.

    2. Note: When using Website with Online Member Statements or Online Member Payments, the Enter Membership Number search bar will appear. However, when using Website with PayCloud (which has recently replaced OMS/OMP for most clients), the Enter Membership Number search bar will not appear. If your website is integrated with PayCloud, to access Statement Activity for a specific member while logged in as an Admin (your profile must have administrative rights)

...

    1. , navigate to the Club Directory, search for the Member in question and click Impersonate User, after which you will have access to view their Statement Activity, Reservations, etc.

  1. This will launch the member’s current statement.

...

  1. You may access past months history by clicking on the month links on the left hand side.

...

  1. Click Bill Pay on the left hand side beneath Payment Center to view scheduled payments.

...

  1. The Bill Pay button at the bottom right hand of the interface will also launch the scheduled payments interface.

FAQs


Q: I want to cross market to specific members, but not all members. Where is the best place to cross market?

A: If you’re trying to target certain members, you can try to cross marketing in a specific email campaign using target marketing. Set up appropriate groups that include the proper members. You may also want to place cross marketing pieces in page specific sidebars to market on pages that the type of member you’re trying reach would access frequently (ex: market a Golf Tournament on the page specific sidebars on Golf Pages only).

Q: What happens if I’m not using my cross marketing sidebar?

A: This will be blank for members and they won’t see anything. This does not throw off the design and only Admins/Editors can see the click to edits. You do not always need to have a cross marketing piece placed in these sections.


Best Practices

  1. When utilizing Cross Marketing, it is best to try to be as directional as possible. Decide if the material you are Cross Marketing is best suited for all members, or specific types of members. Knowing to whom you are marketing should then help you decide whether to place this in global areas, or specific areas of the website.

  2. Many of the Cross Marketing areas have limited space, so remember to size images appropriately and keep information short. Cross Marketing is most efficient when the message is short and enticing. It is also best to link to either the event or page you’re trying to Cross Market so members can access the full information easily.

  3. Keeping your Cross Marketing areas up to date helps keep the information informative and useful. Once an event is over, be sure to update the Cross Marketing section so old information is not being marketed.

  4. Looking to enhance how, where, and when to market? Check out information on Site Statistics to lean on analytics to determine the best places on the website to market, along with the best day of the week and time of day. Information on Site Statistics is located here.

Downloadable Guide

Axis - Cross Marketing - Guide

Back to Getting Started

  1. If the member has a bank account or credit card associated with the account, you will be able to view their billing information.

  2. The Payment Center on the interface allows management for a Single Payment (one-time), Auto Payment (recurring), or to Manage Accounts.

Admin Bar Options

  1. Hover over the Admin bar for more options: Statement Admin Options and Online Payments Admin Options.

  2. Member Balance Reportingwill pull a list of members with their balance due listed for a selected date range. Change the date by clicking the date picker and then click refresh.

  3. Member Minimum Reporting lists how close members are to meeting their minimum. Note: this is  custom dependent on the type of accounting software the club is utilizing, therefore not all clubs will have this reporting tool. Change the date by clicking the date picker and then click refresh.

  4. Edit Statement Layout will change how certain items will appear in the statement window.

    1. Hover over the Admin bar again in the Edit Statement Layout to access further customization like Edit Statement Header or Footer. Click Edit Statement Header or Footer to customize the header and footer of the statement window. This is a great place to add cross marketing to statements. This will launch the Editor to customize the Header/Footer with text, links, and imagery. To Return to Statement, hover over Admin and click Return to Statement.

  5. Payment Status Report shows when member payments were sent, settled, posted, or failed. Change the date by clicking the date picker and then click refresh.

  6. Members Using Online Bill Paylists members that are using online bill pay.

  7. Online Bill Pay Errors Reportshows bill pay errors or failures.

  8. Members Using Autopay Reportlists members using Autopay.

  9. Account Change Log shows which members have changed their accounts like card number or payment dates.

  10. Bill Payment Notificationallows edits to payment notifications. Click the title to customize notifications as needed. This will launch the Notification Interface where the Message Subject, Send From Name, Send From Email, and Text may be customized.

Image Added