...
Table of Contents
| Table of Contents |
|---|
...
|
...
|
...
|
...
Video
This video provides a short tutorial on the Polling Plugin.
Note: Sections of the video have been referenced below with corresponding times in the video for ease of access
| Total Video (Length) | ||||
|---|---|---|---|---|
| 0:43 | 2:09 | |||
| Updating Passwords | 1:21 | Best Practices | 2:50 | |
| 1:45 |
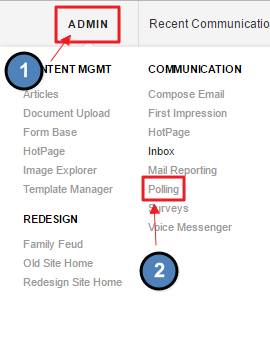
Content
|
|---|
|
Use Case(s)
Clubs who are looking to get feedback on a single question, with the variability of different answers will be interested in utilizing this feature.
...
...
...

...
...
...
...


...

...
...
...

...
...
...

...
...
...
...

...
...
...
...
...
...
...
...

...
...
...
...
...
...

...
...
...
...
...

...
...
...
...

...
...
FAQs
...
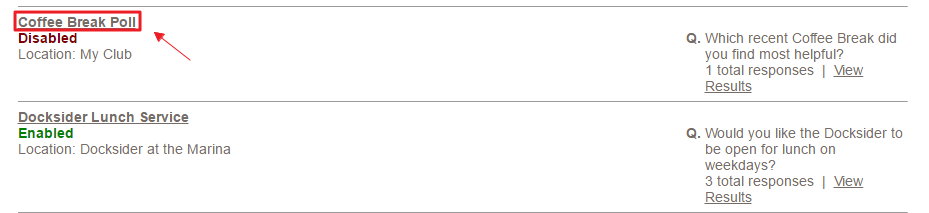
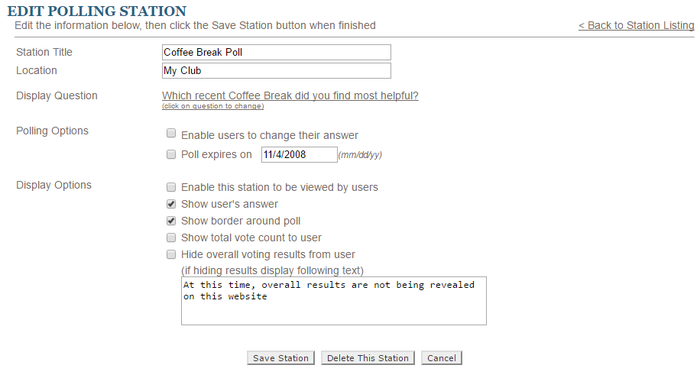
A: You can enable a disabled poll, by going to the Polling Manager, and click the Poll Title. On the Edit Polling Station Interface, use the Polling Options section to update the Poll Expires On section to a later date by using the Date Picker. Save, and the disabled poll will now be enabled.
Q: Can I export poll results?
A: Export poll results, by accessing the Polling Manager. On the right hand side of the listed polls, under the Question, click View Results. Once in the Polling Results, click the button Export Poll Results to export to a CSV.
...
...
...
...
Downloadable Guide
