...
Table of Contents
| Table of Contents |
|---|
...
|
...
|
...
|
...
|
...
Video
This video provides an overview of how to use the - Email Composing and Sending features.
Note: Sections of the video have been referenced below with corresponding times in the video for ease of access
...
| Widget Connector | ||||||
|---|---|---|---|---|---|---|
|
Content
...
| Table of Contents | ||||||
|---|---|---|---|---|---|---|
|
...
|
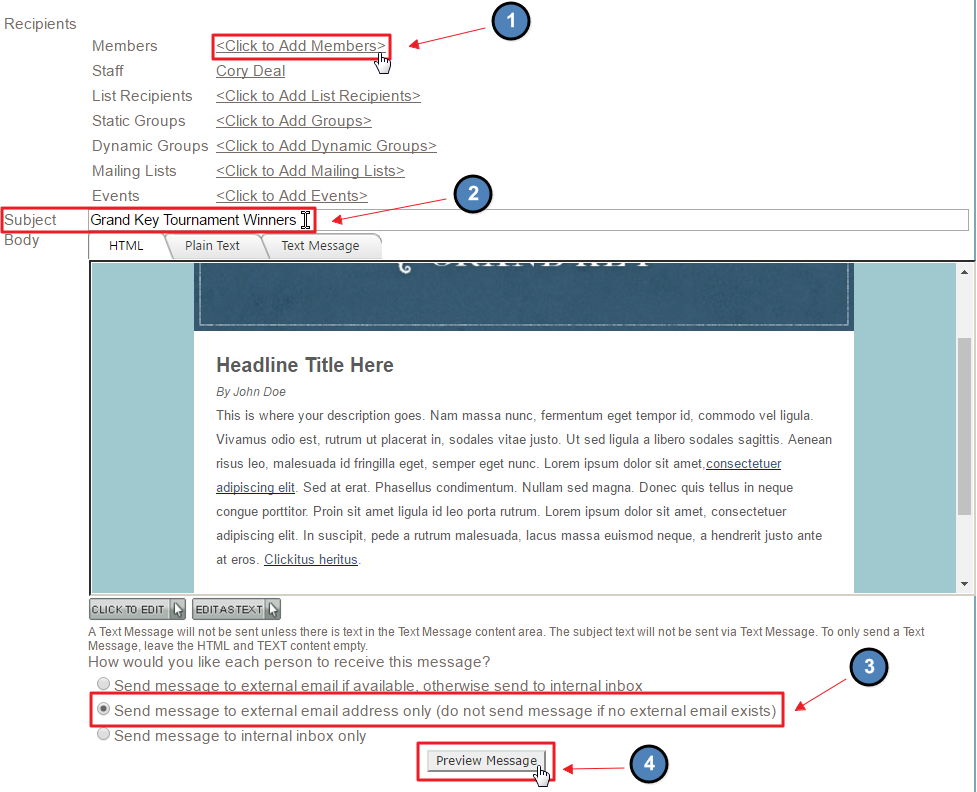
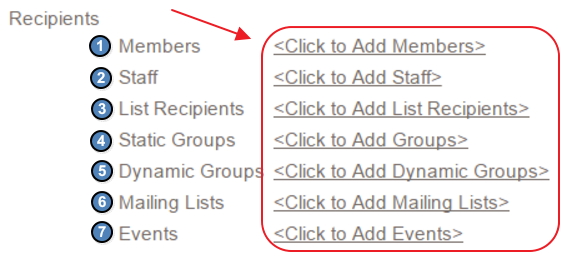
Use Case(s)
Through email, we can provide a snapshot of upcoming events or alert members of important news. It is best to provide short emails that drive members back to the website to increase website participation. Emails can also be targeted to specific members by using Static and Dynamic Groups to ensure the message is sent to the right audience.
...

...
...
...
...

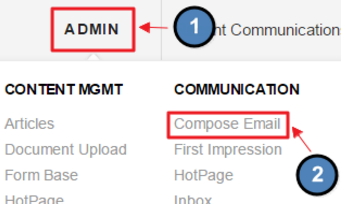
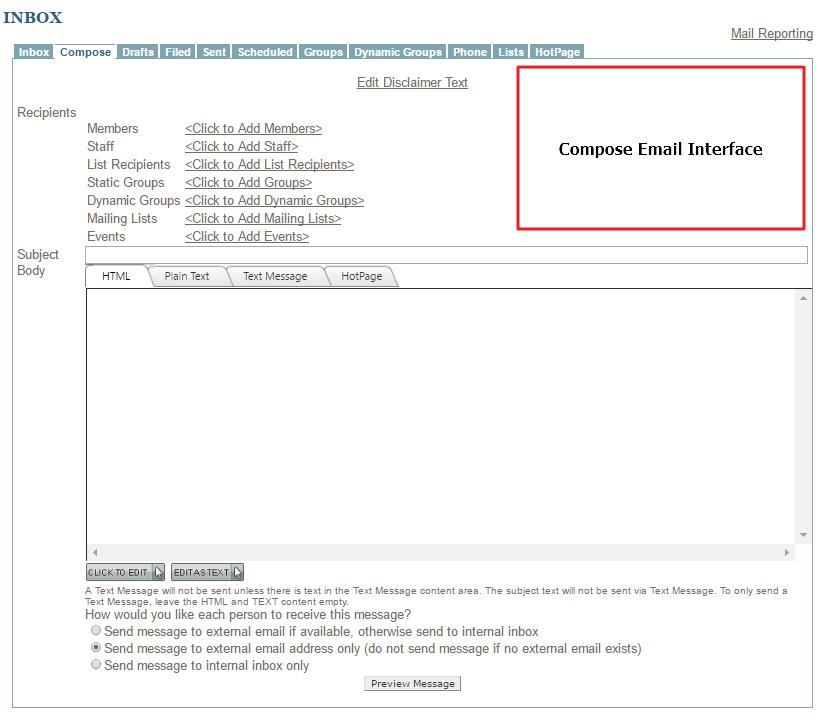
Email Tab Overview
![]()
...
...
...
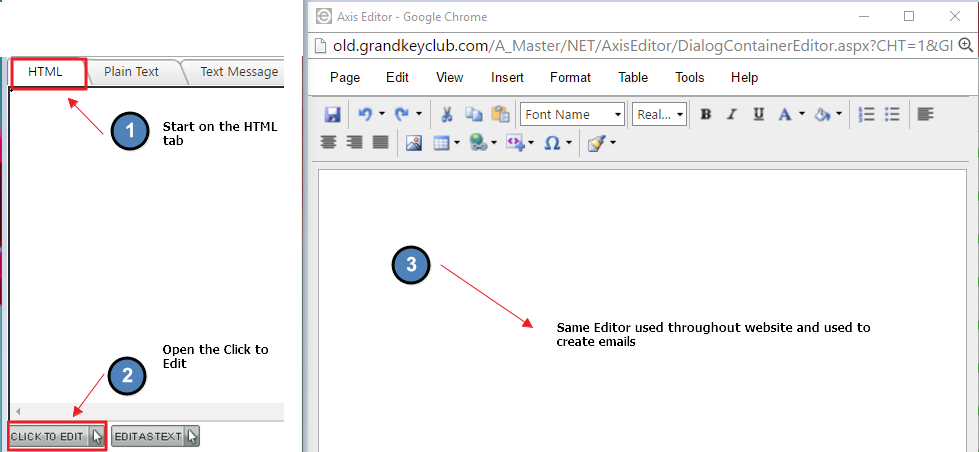
This section will focus on the HTML tab.

...

...
...

...
...
...
![]()
...

...
...
...

...
...

...
...
![]()
...
...
...

...
...
...

...
...
...

FAQs
Q: What is the best way to see how my email looks before sending?
...
Downloadable Guide
Email Composing & Sending Guide
...
