...
If the Ticket has already been sent to the Kitchen, the user will be prompted to Enter a Reason for Voiding the Ticket. Select from the list of Pre-Created Void Reasons or key in a Reason. Click OK when finished. A Void Ticket is then sent to the Kitchen.
.png?version=1&modificationDate=1566244367068&cacheVersion=1&api=v2&width=450)
Additional Information About the Member
Please follow instructions below to access additional information about the Member.
Touch or click the Member’s photo, or if the Member does not have a photo, touch or click the grey placeholder image.
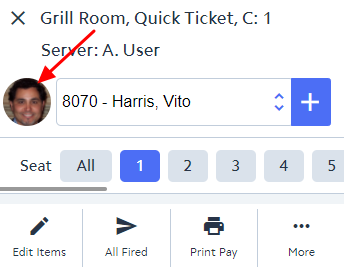
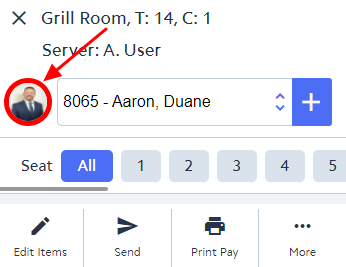
If the Member has any defined Preferences, the Member's photo (or grey placeholder) will display with a red ring around it to alert the server.
Additional information will display about the Member including Member Number, Member Type, Birthdate, Minimum Activity, MAP Score, Favorites, History, Preferences, Credit Book, and Member Groups.

...
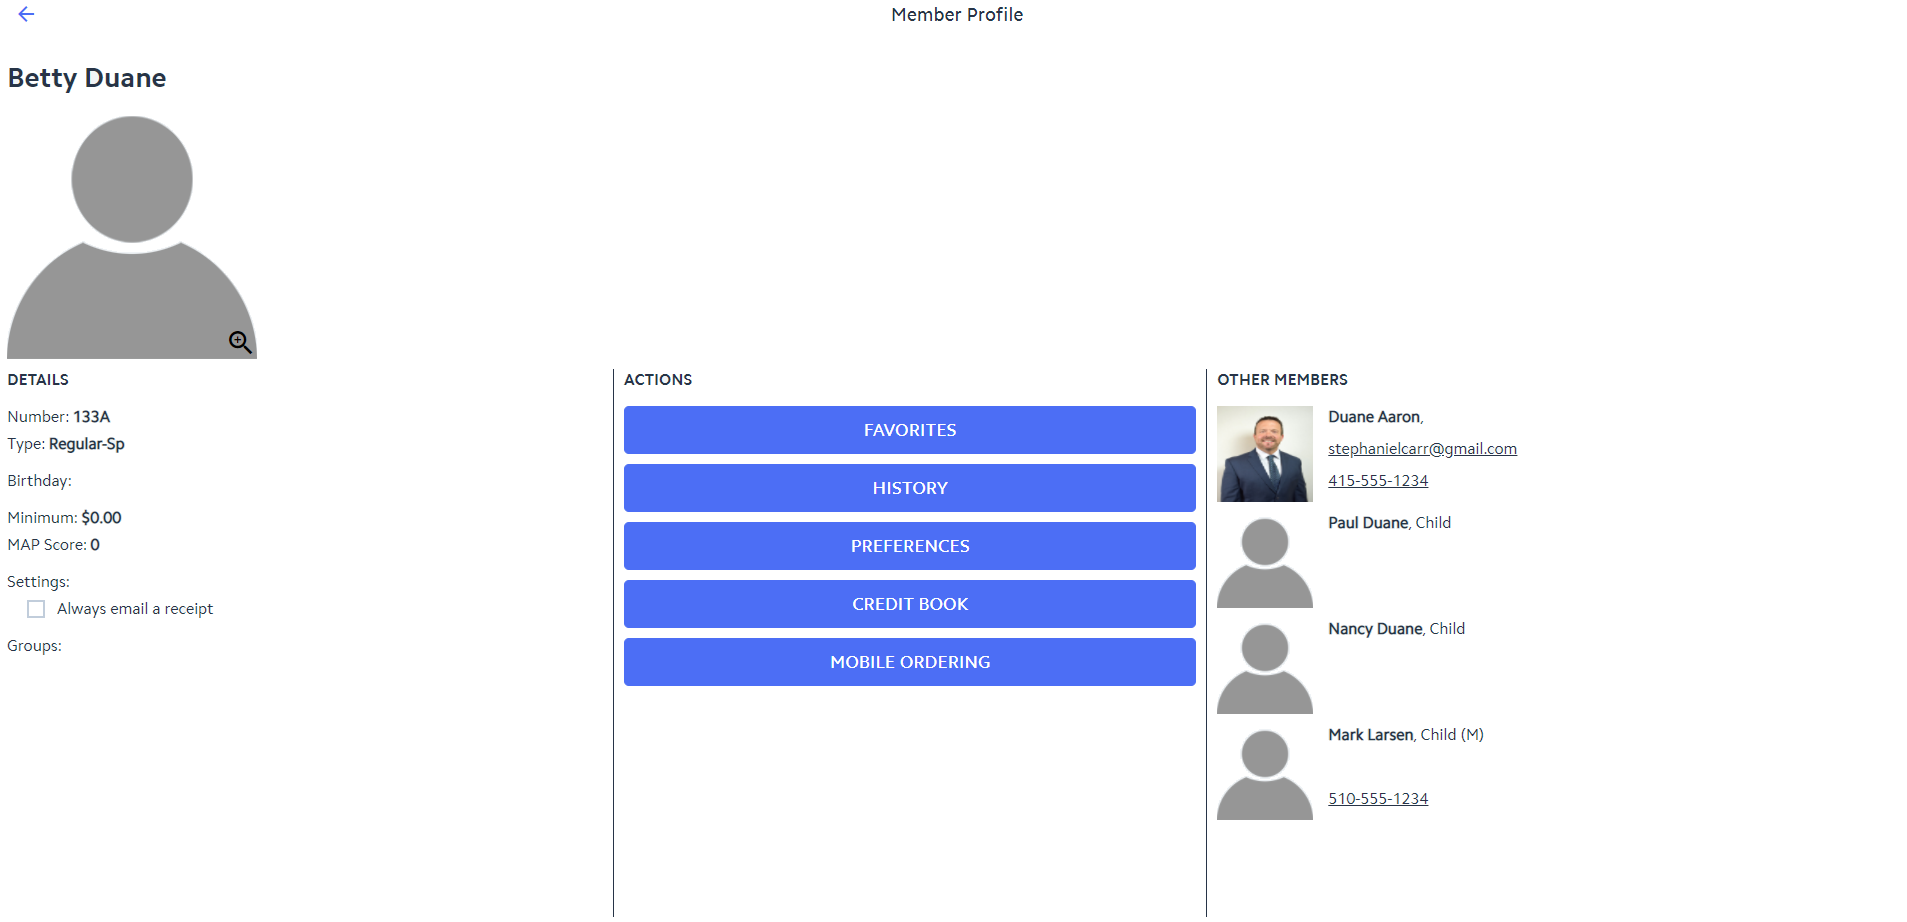
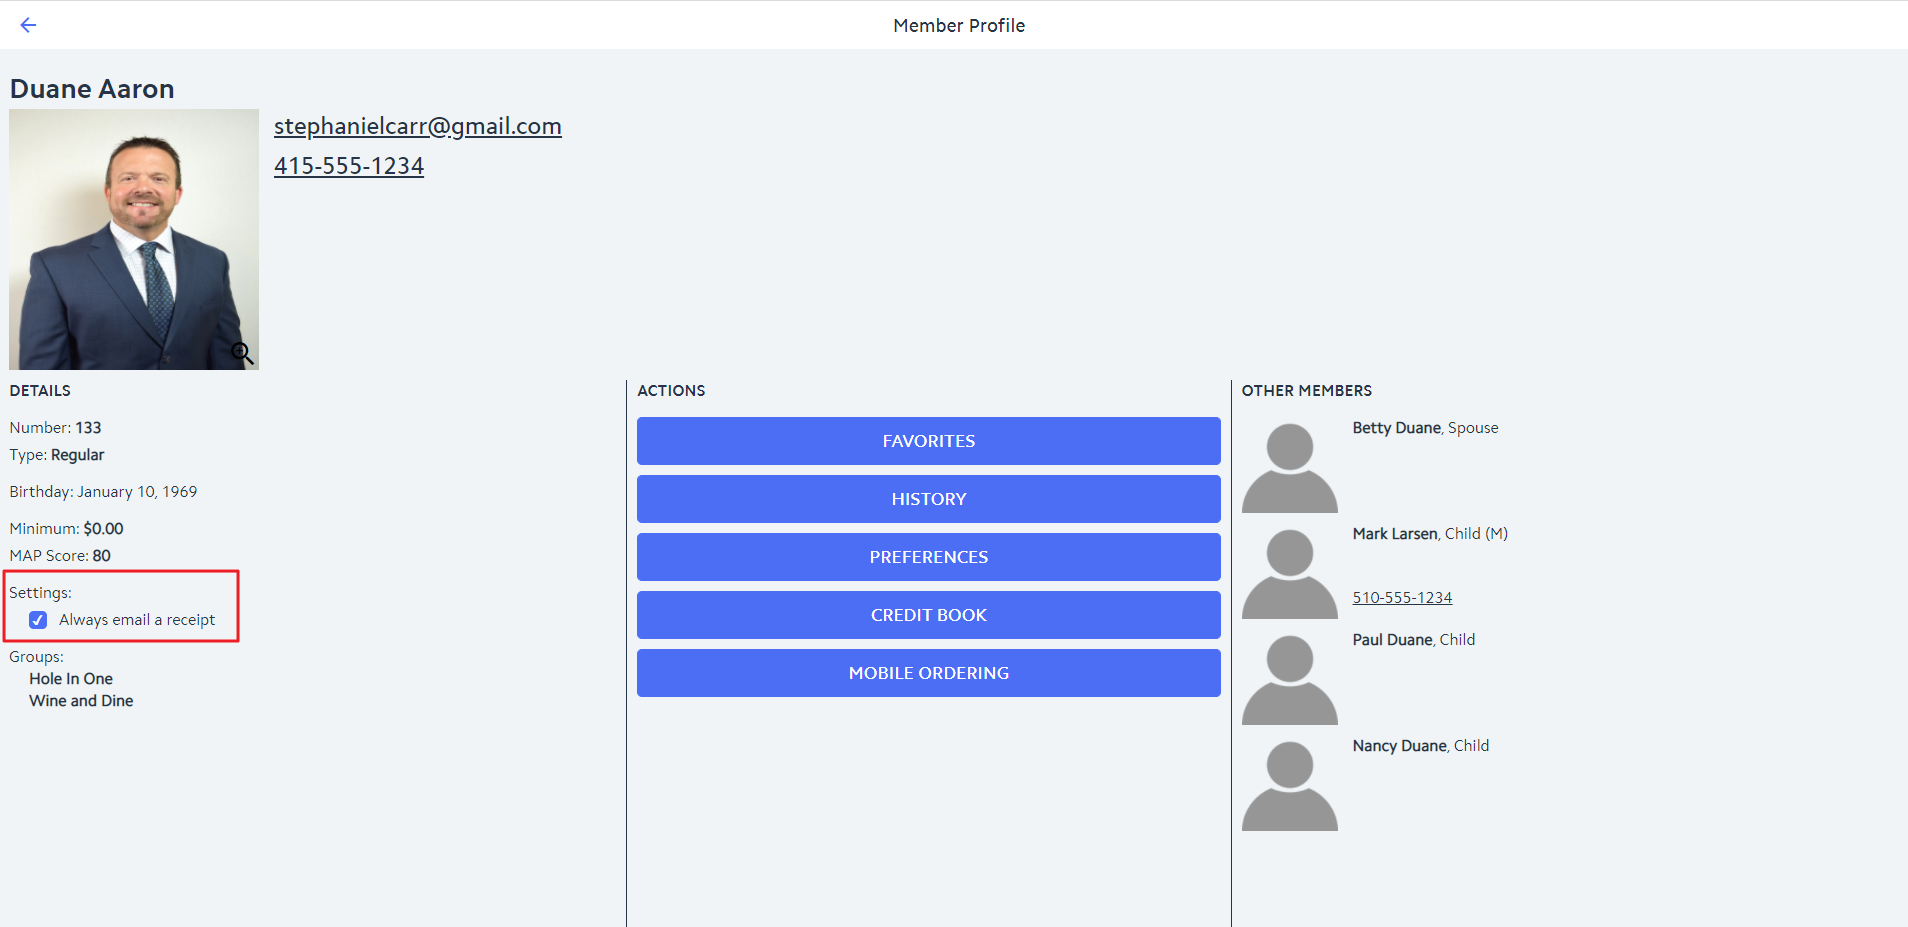
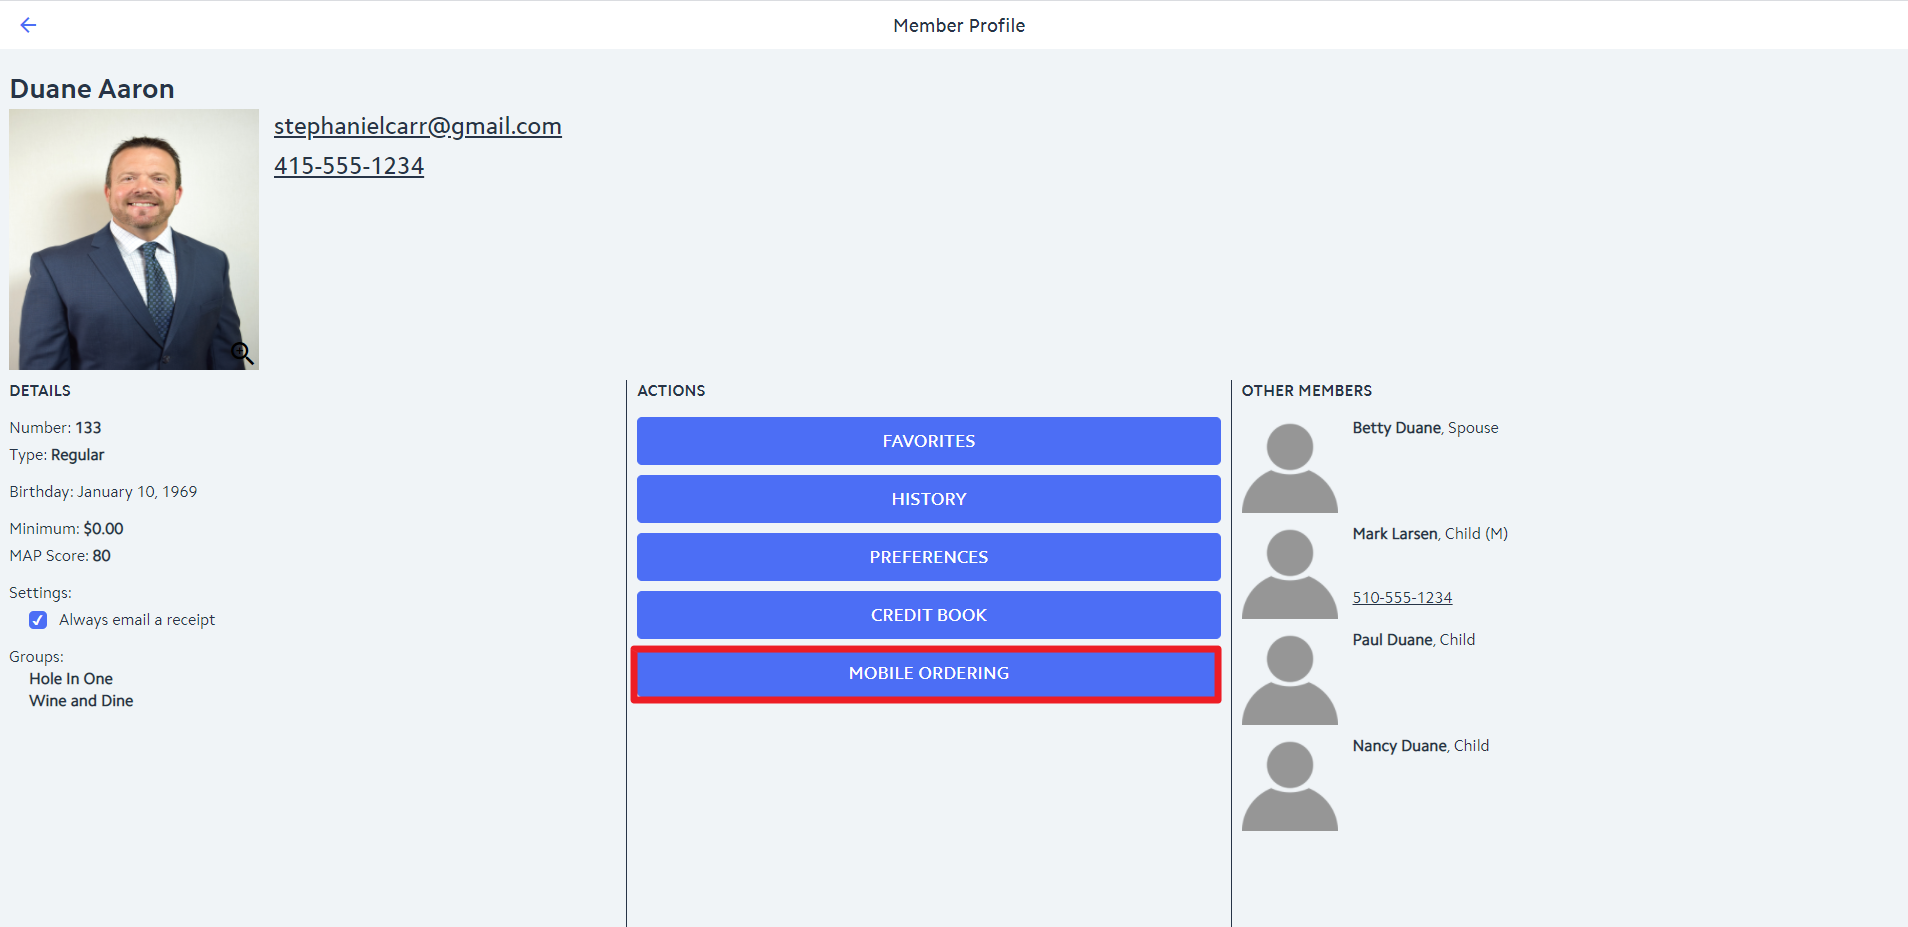
The Member Profile will be displayed and will include information about the member such as the member's email address, phone number, member number, member type, birthdate, minimum activity, MAP score, and member groups. In addition, the member's dependents will be listed within the Member Profile page.
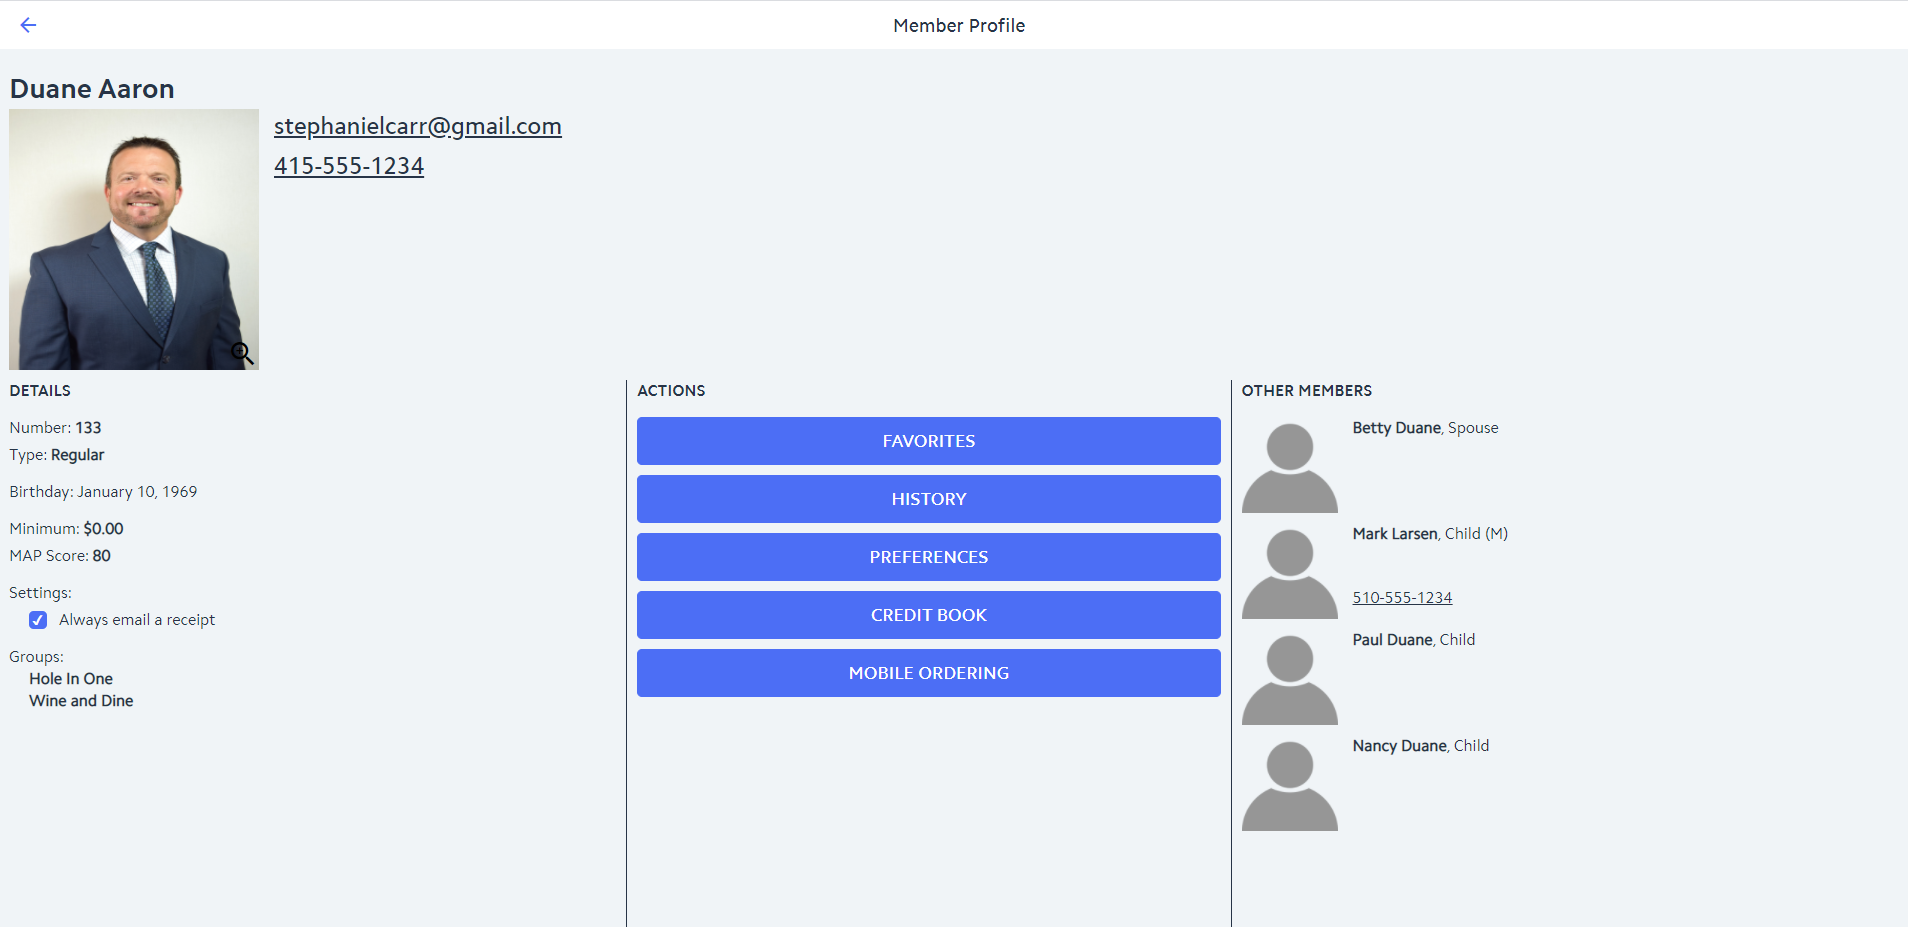
Click on any dependent to display their Member Profile at the top of the screen in place of the member that was being viewed. Click back and forth between dependents to display the Member Profile you want to view at the top of the screen. Note: Minors will be displayed with a (M) behind their name. The determination of minors is based on Birthdate. If the Member does not have a Birthdate stored in CMA, they will not be flagged as a minor.

...
Click
...
on the Member's
...

MAP Score
Click the MAP Score cloud icon to obtain and view the Member's MAP score.

Always Email Receipt
...
picture to enlarge it. Click it again to return it to it's original size.

Always Email A Receipt
Check the Always Email A Receipt
...
box for members that want to go paperless and always want to receive
...
receipts via email. Once
...
checked, receipts will be emailed for any tickets settled for the member via the Mobile POS device. It will remain
...
checked indefinitely, unless
...
unchecked.
...
...
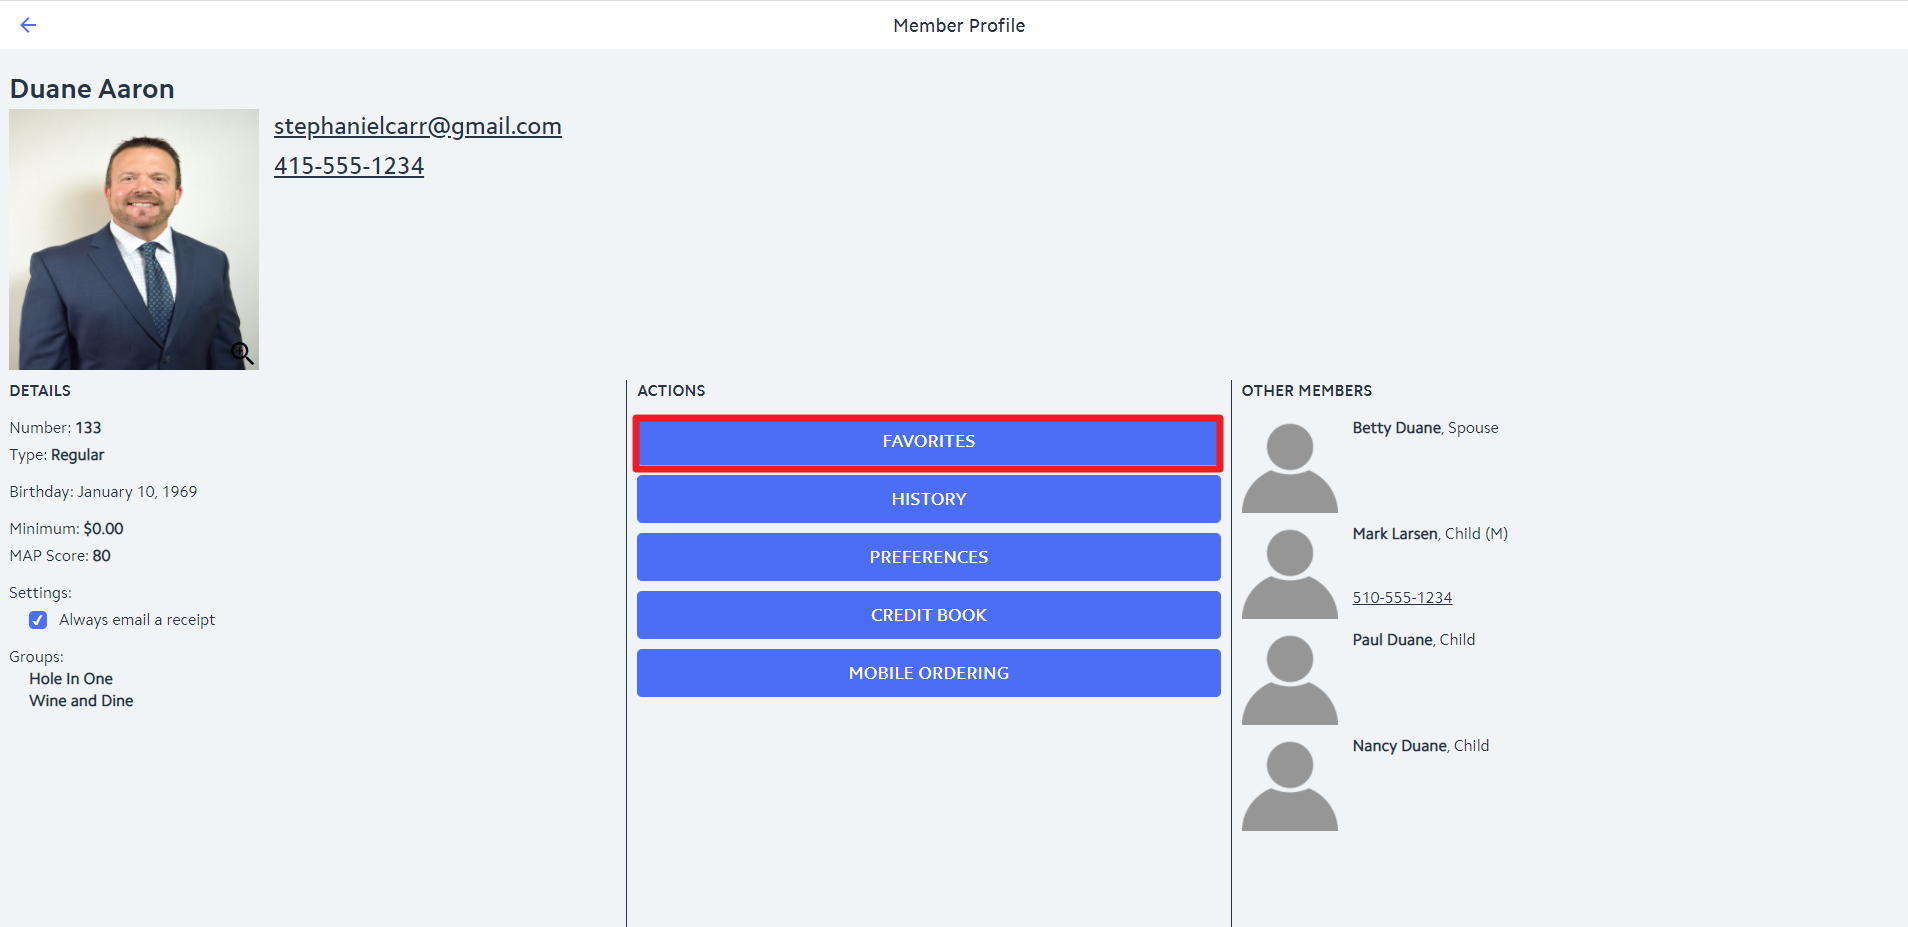
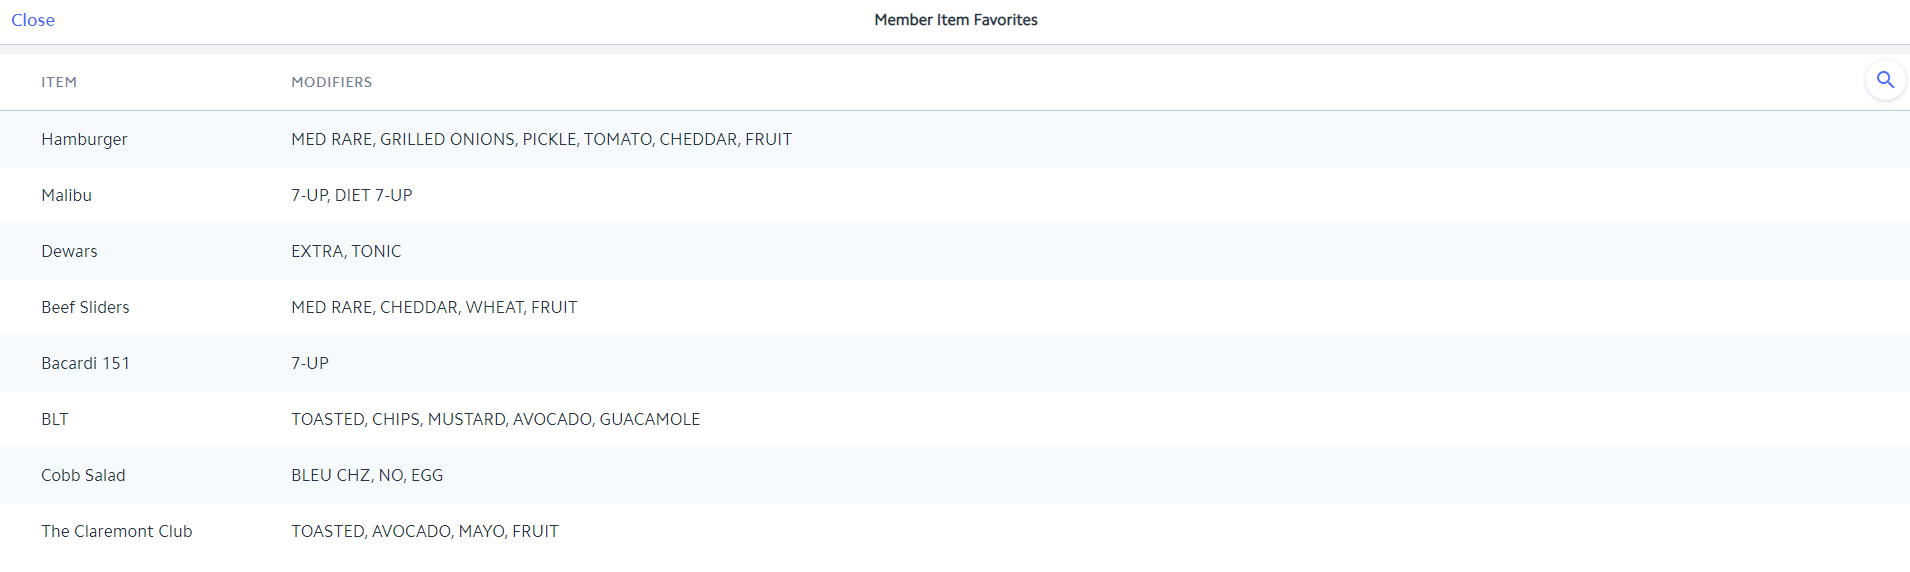
Favorites
Click the Favorites button to view or search the Member's favorite items.
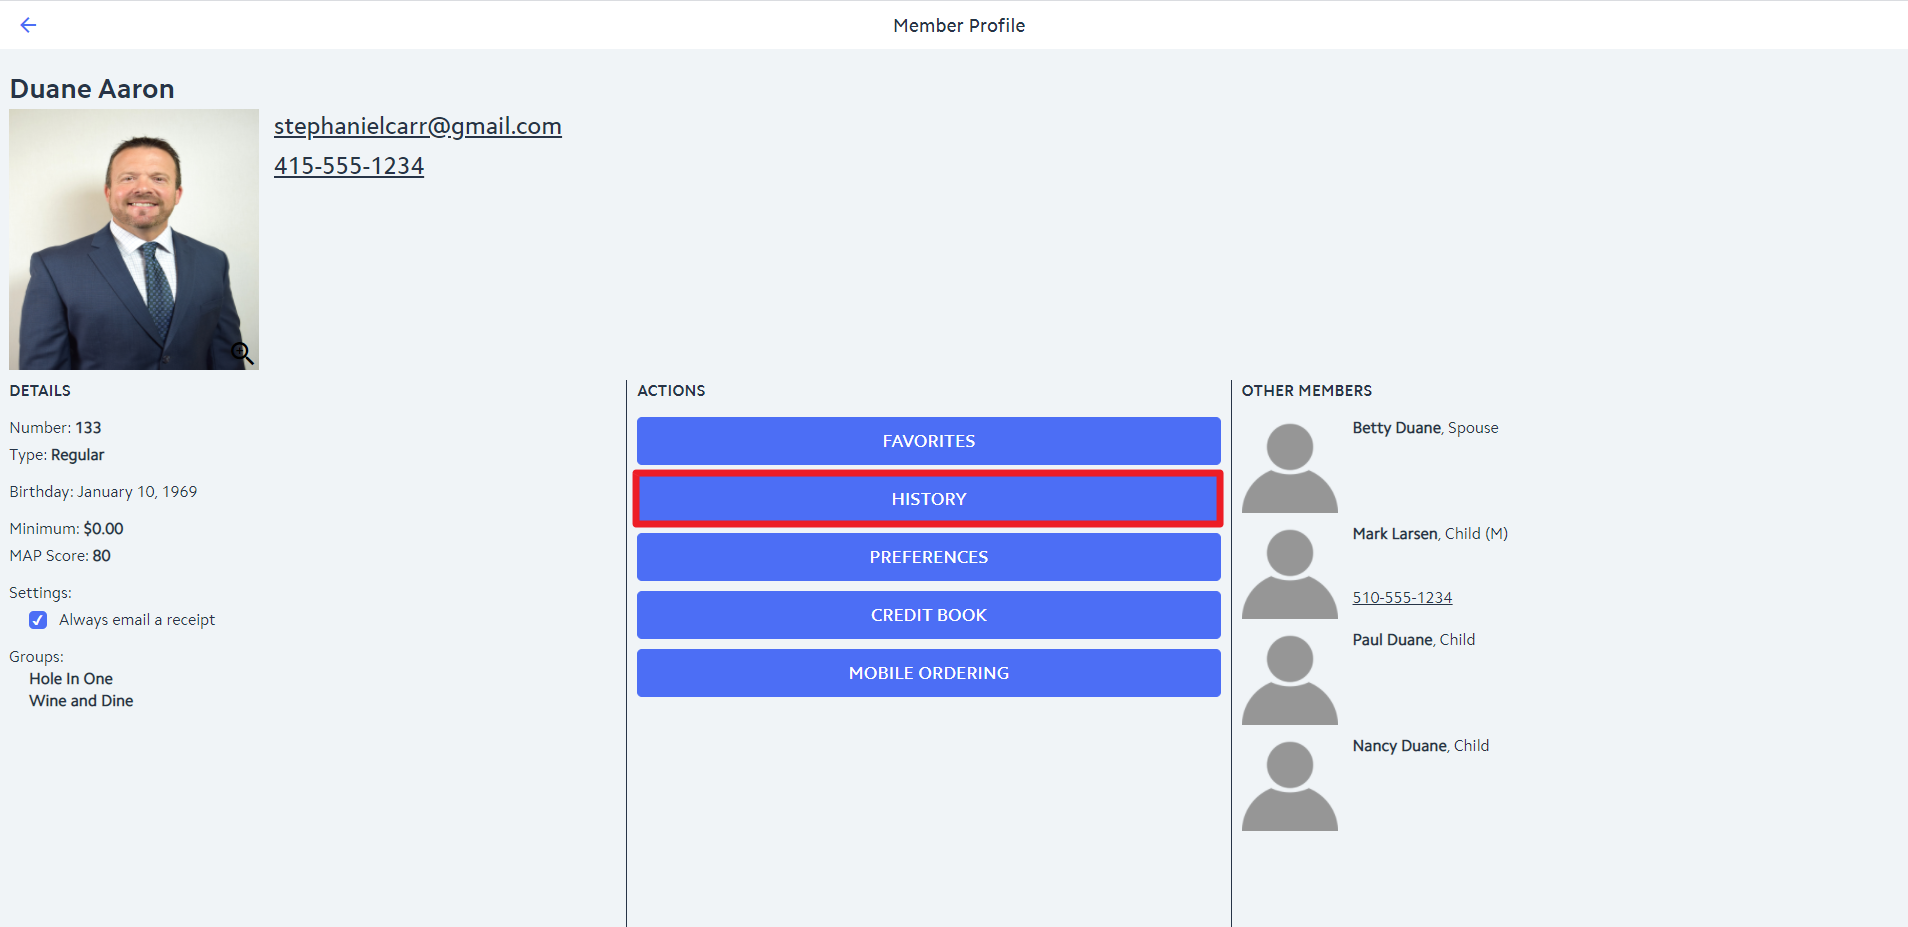
History
Click the History
...
button to view or search a Member's ticket history.
1.Use the From and To Dates to specify the date range for viewing ticket history.
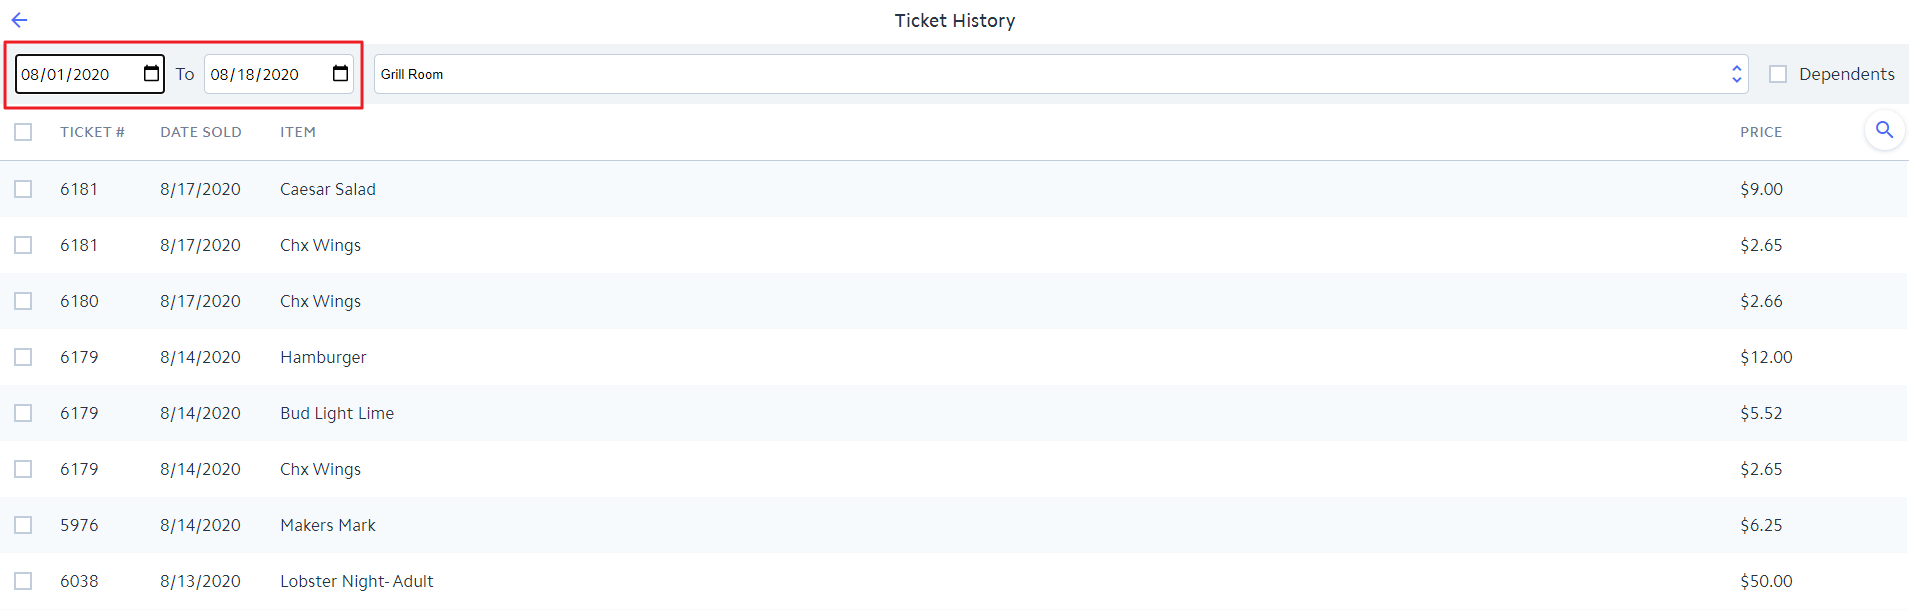
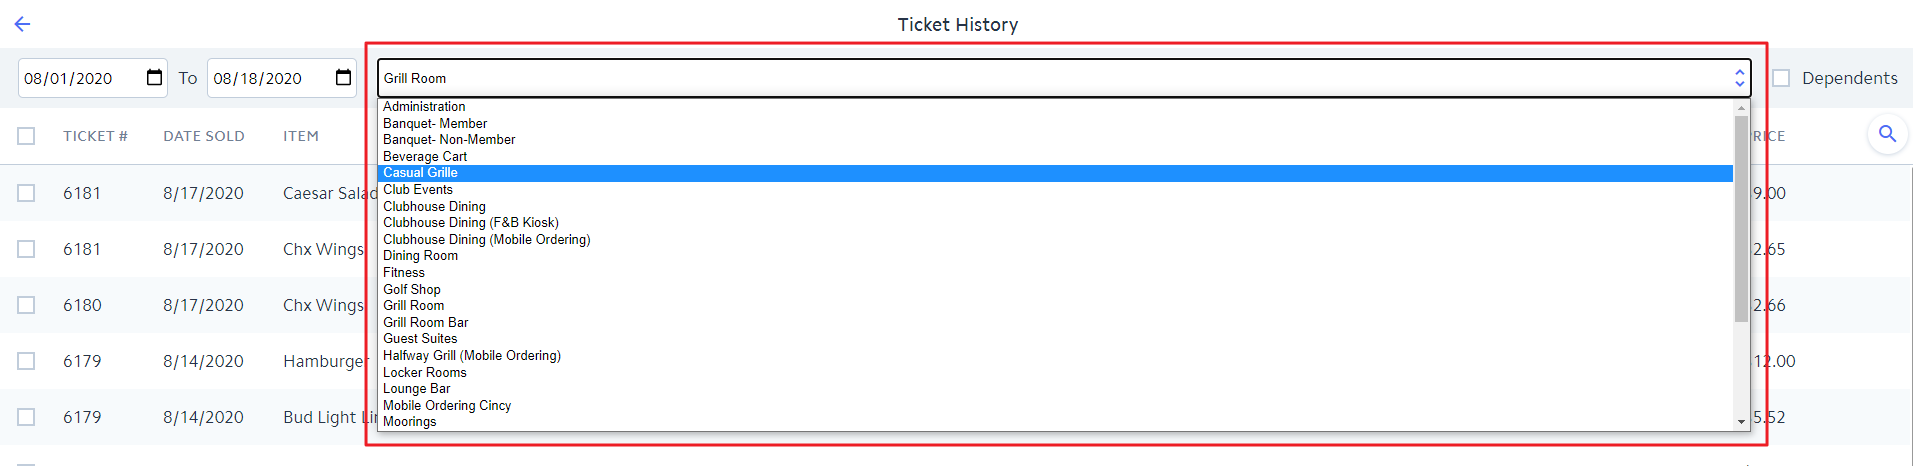
2. Use the Area toggle to select the Area for viewing ticket history.
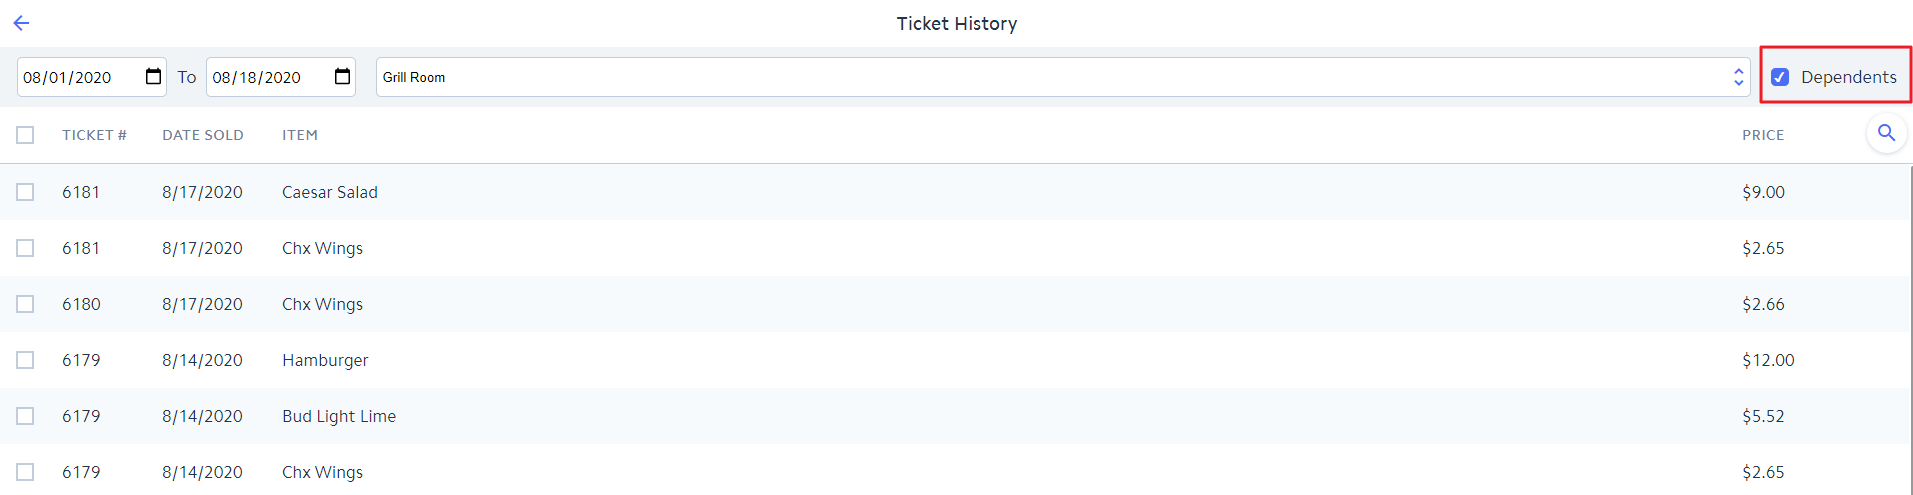
3. Use the Dependents checkbox to include Dependent tickets in viewing ticket history.
4. Clicking on any Ticket/Item within the Ticket History Grid will display the ticket details and give the user the option to print the ticket. If the Club has more than one printer, the user can select the printer used for printing. The printer linked to the device in CMA will always be shown as
...

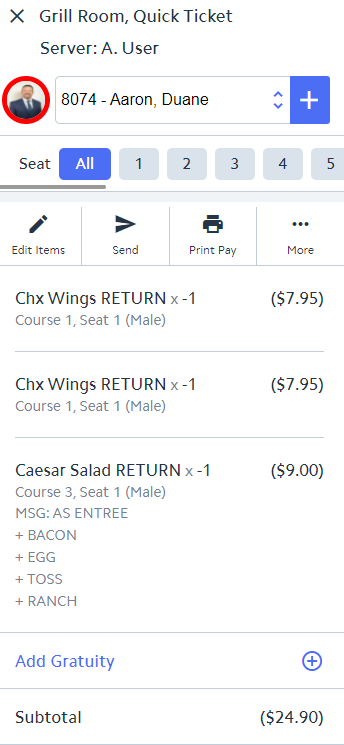
5. Clicking the Item Checkbox next to any item will allow the item to be Returned.
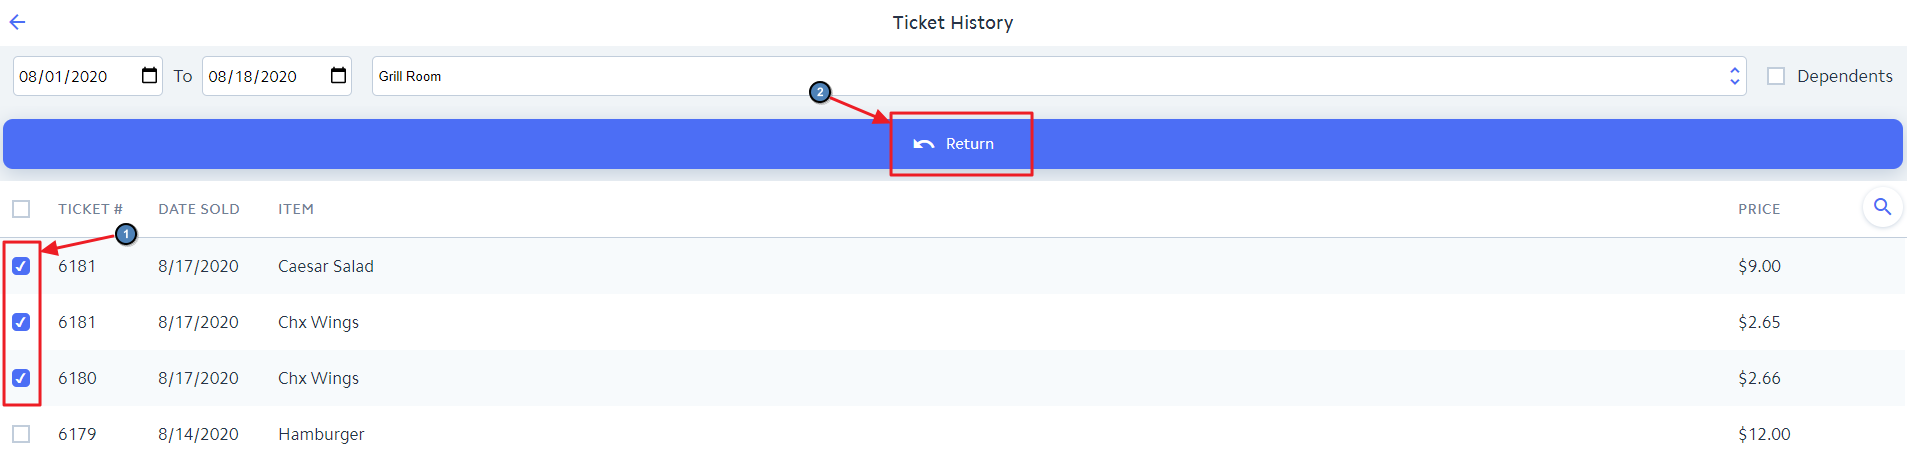
6. Returning items from historical tickets will open a Quick Ticket for the Member crediting them for the returned items.
Preferences
Click the Prefs button to view or create Member Preferences.
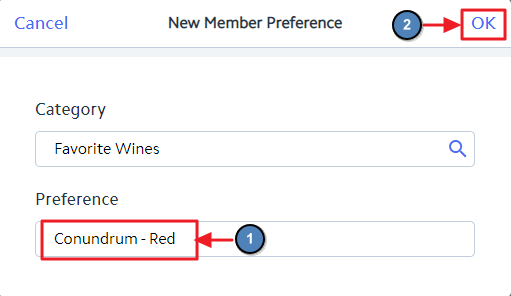
When creating a New Member Preference, enter the Category and Preference and click OK.

Credit Book
...
the default printer.
5. Clicking the Item Checkbox next to any item will allow the item to be Returned.
6. Returning items from historical tickets will open a Quick Ticket for the Member crediting them for the returned items.
Preferences
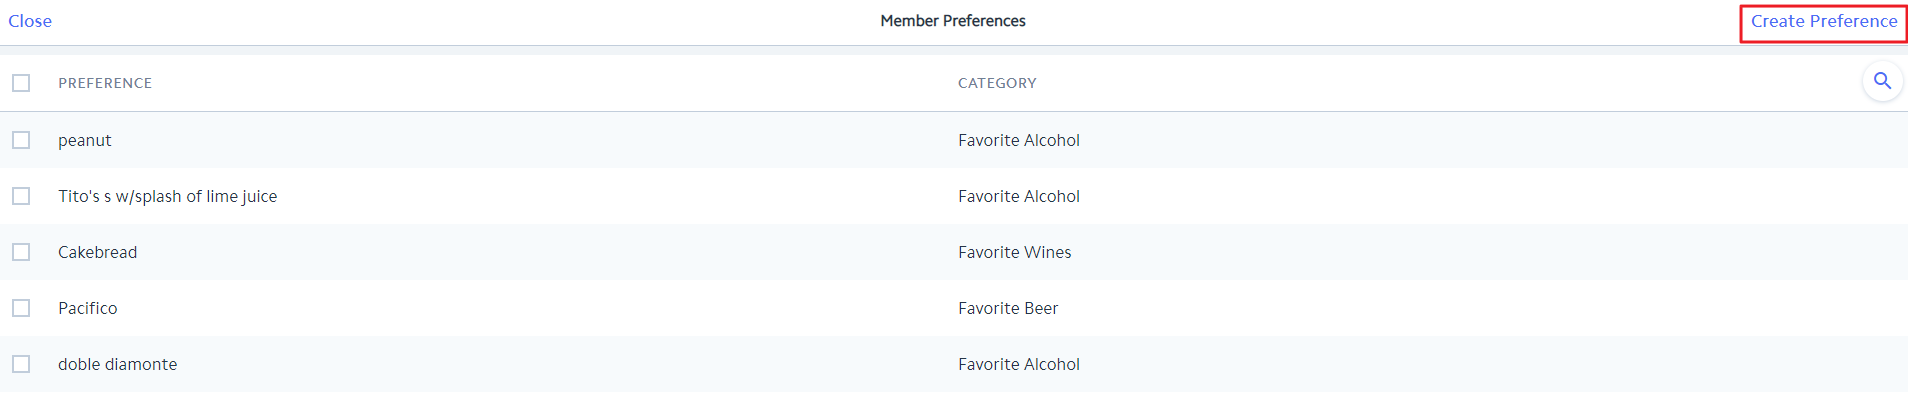
Click the Preferences button to view or create Member Preferences.

Click Create Preference to add a new Preference for the Member.
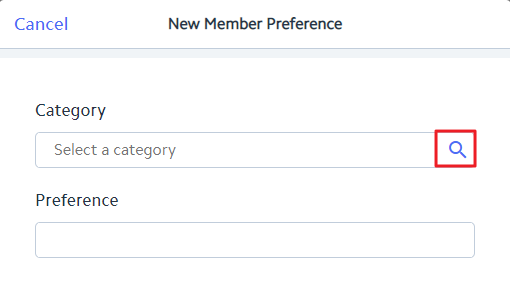
Click to the Category Search icon to select the Category for the Preference.
Click on the name of the Category the Preference pertains to, or click Create Category to define a new Category if one does not yet exist.
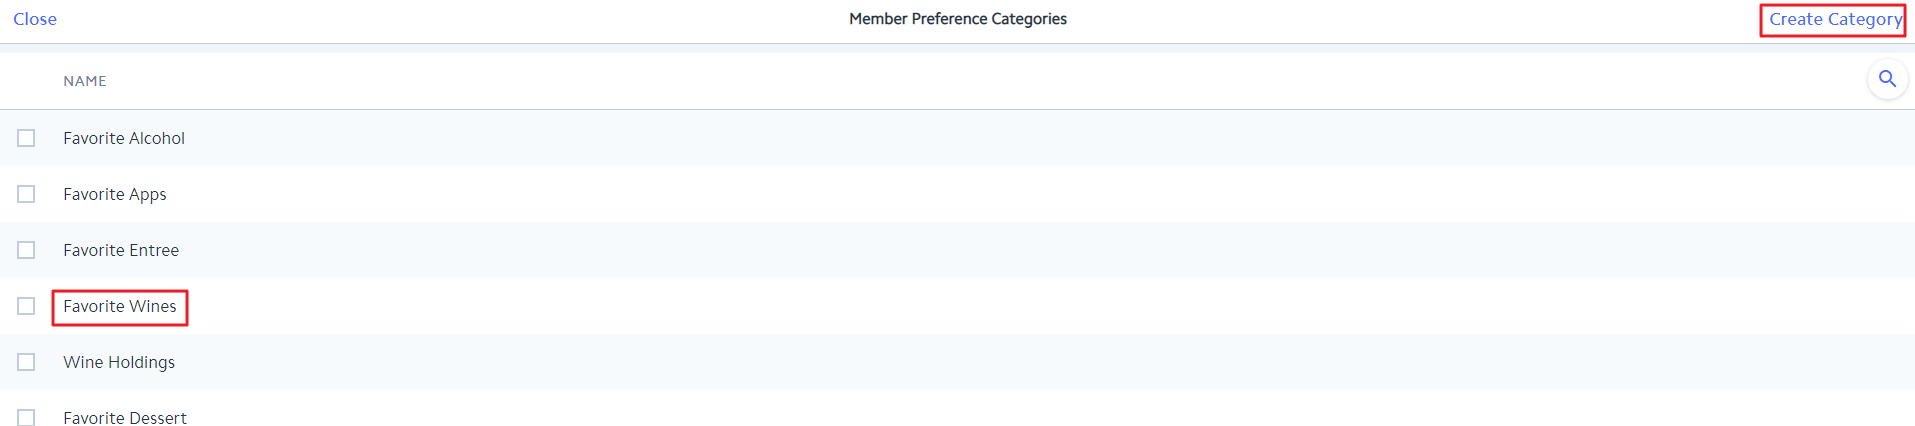
Enter the new Preference for the Member and click OK.
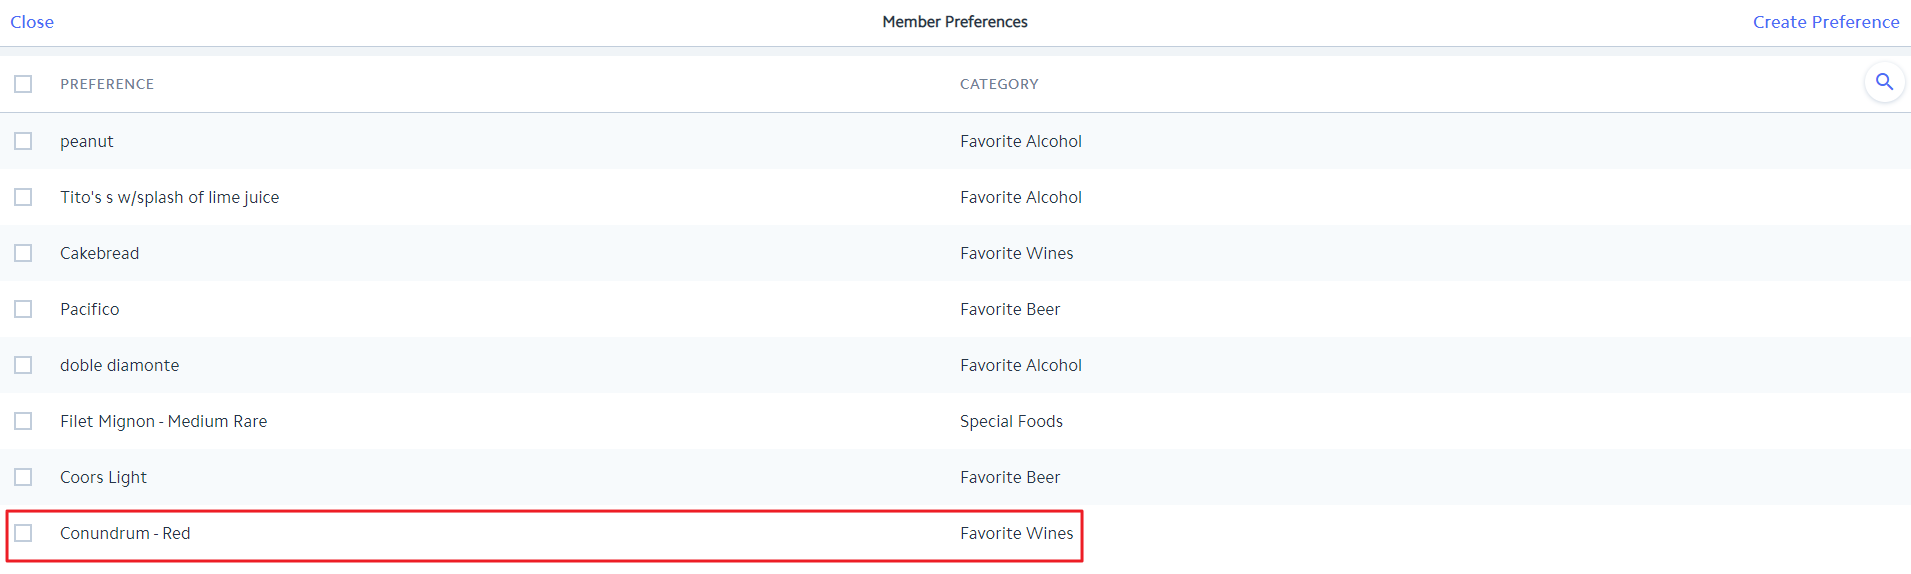
The Preference will be added the the Member's list of Preferences.
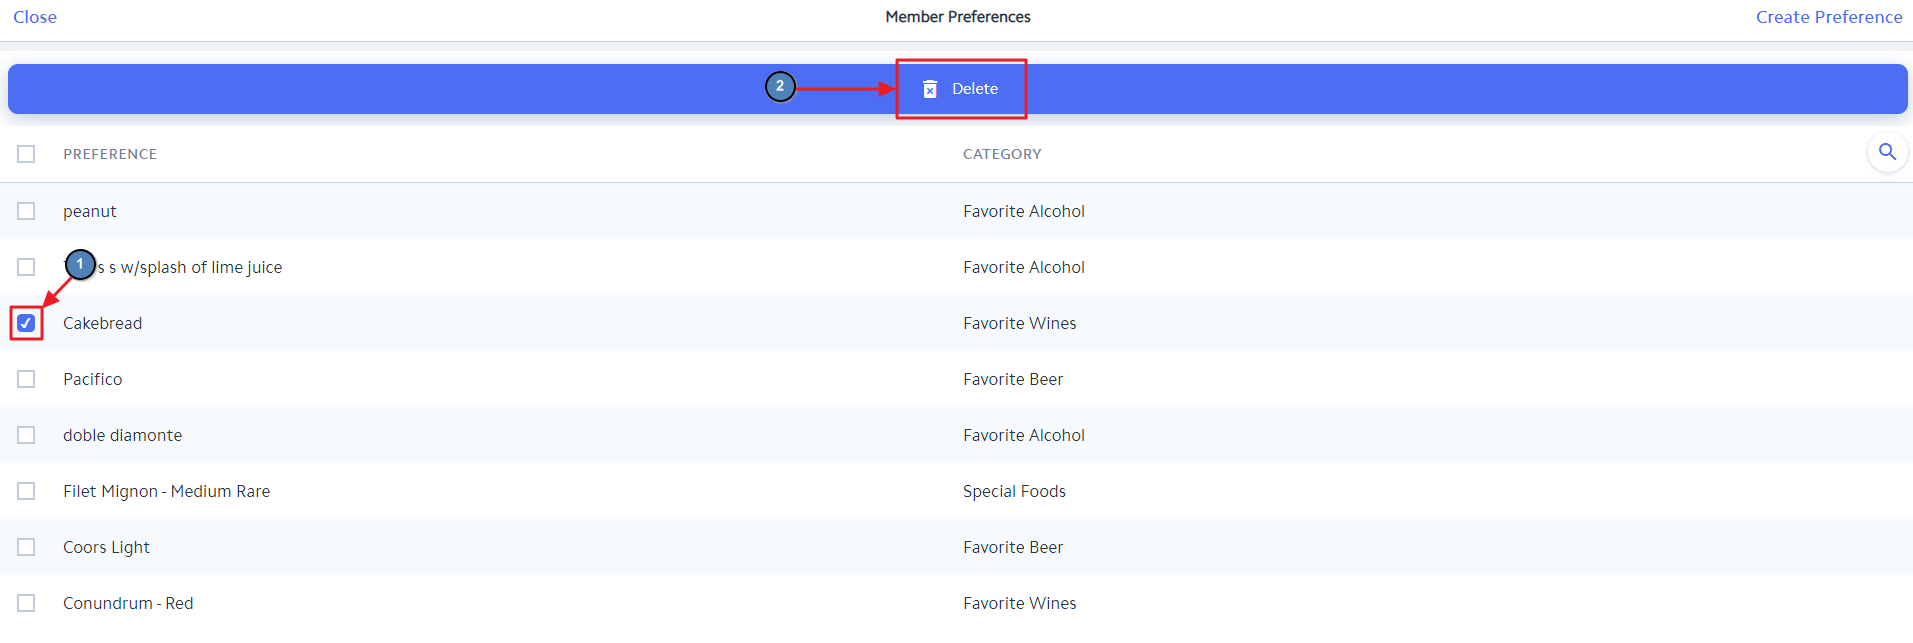
To remove a Member Preference, click the checkbox of the Preference to be deleted and then click Delete.
Credit Book
Click the Credit Book button to see the Member's Credit Book Balance as well as Credit Book Transactions.


...
Mobile Ordering
...

Single Sign On into Mobile Ordering
Click on the Shopping Cart icon to place a Mobile Order for the Member.
...
Click on the
...
Mobile Ordering button to single sign on into Mobile Ordering as the Member themselves to place an order for them.
Users will instantly start impersonating the Member and be presented with all Mobile Order Menus available for the Club (the same Menu options the Member would see if they were ordering from their mobile device). The user can select any Mobile Order Menu and place an order in the same manner the Member would if ordering for them self. Orders placed in this manner count toward the Areas maximum order allotted per interval, which can be helpful when also accepting phone-in orders. This is also helpful when testing/configuring new Mobile Ordering Menus.
Note: Menus with a gray overlay are not visible to Members. These represent Menus assigned to an Area that has Mobile Ordering enabled but the configuration settings for the Menu restrict the Member from ordering at that time (i.e. past the cut-off time for Lunch orders).

Note: Users logged in to a Mobile POS device assigned to an Area where Enable Mobile Ordering is configured will only be able to view Mobile Orders for that Area. Although users can place Mobile Orders for Members from any Area where Enable Mobile Ordering is configured, they will only be able to view Mobile Orders for their Area. Example: A user signed into the Clubhouse Dining POS (Mobile Ordering enabled) will be able to place a Mobile Order for a Member to the Halfway Grill Area (Enable Mobile Ordering enabled) however, after placing the Halfway Grill Mobile Order, the user will not be able to see the order under their Mobile Order tab. They will only be able to see Clubhouse Dining Mobile Orders under their POS Mobile Order tab.
...
Settling the Ticket
In this section we will discuss options for Settling a Ticket. Please follow instructions below for Settling a Ticket using a Single Settlement Type, Multiple Settlement Types, or a Quick Settlement.
...
The Fly Out Menu provides users the ability to access additional functionality of the Mobile POS. This includes a Member Lookup (To Access additional information about the Member), End Of Shift Report, Shift History Report, Gift Card Balance, Item Lookup, and System Tools. Each option is explained below.

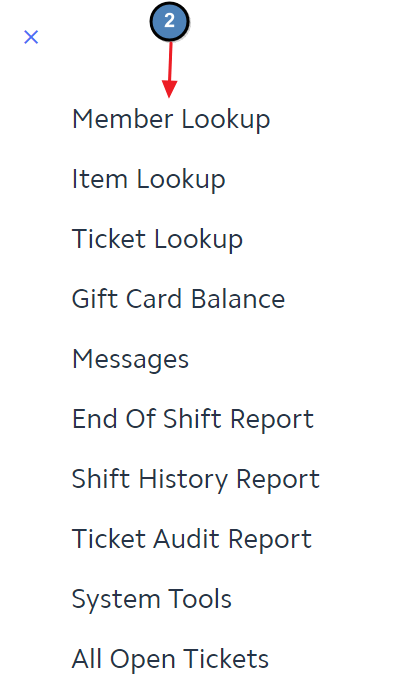
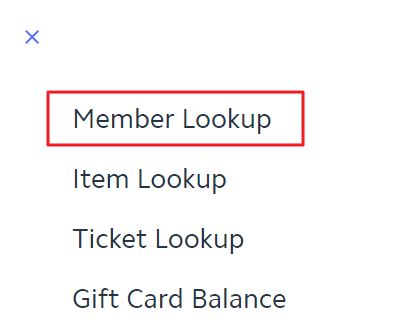
Member Lookup
Please follow instructions below to access additional information about a Member
Select Member Lookup from the Fly Out Menu.

The Member Grid will populate. Search for and select the applicable Member.


Clubs with more than one company configured in CMA will see the All Companies checkbox in the upper right-hand corner of the screen. Checking/Unchecking this checkbox will allow users to toggle the list of displayed Members between the current company and All Companies.
Note: The All Companies checkbox will only appear for Clubs with more than one company configured and has assigned the Mobile POS device to an Area that has the Show Company Toggle on Member Lookup in POS enabled. (To enable this option, navigate to System, Areas, POS Options.)

The selected Member will display with additional information including Member Name, Member Number, Member Type, Birthdate, Minimum Amount, MAP Score, Favorites, History, Preferences, Credit Book, and Member Groups.

Select the ellipses icon in the top right to view a drop down of the Member’s Dependents. Click on the various Dependents to view their Member Details.
 Profile will be displayed and will include information about the member such as the member's email address, phone number, member number, member type, birthdate, minimum activity, MAP score, and member groups. In addition, the member's dependents will be listed within the Member Profile page.
Click on any dependent to display their Member Profile at the top of the screen in place of the member that was being viewed. Click back and forth between dependents to display the Member Profile you want to view at the top of the screen. Note: Minors will be displayed with a (M) behind their name. The determination of minors is based on Birthdate. If the Member does not have a Birthdate stored in CMA, they will not be flagged as a minor.
For additional information about the functionality of the Member DetailsProfile screen (Minimum, MAP Score, Favorites, History, Preferences, Credit Book and the Shopping Cart and Mobile Ordering), please refer back to section Additional Information About the Member.
...