Versions Compared
| Version | Old Version 1 | New Version Current |
|---|---|---|
| Changes made by | ||
| Saved on |
Key
- This line was added.
- This line was removed.
- Formatting was changed.
Table of Contents
| Table of Contents | ||||||
|---|---|---|---|---|---|---|
|
Overview
Setting up Printer Groups will allow you to print the same send ticket to more than one printer without having to duplicate or create separate rules for each printer.
Required Permissions
Admin
Accessing the Tool
Launch into your Mobile Point of Sale, enter your Pin:
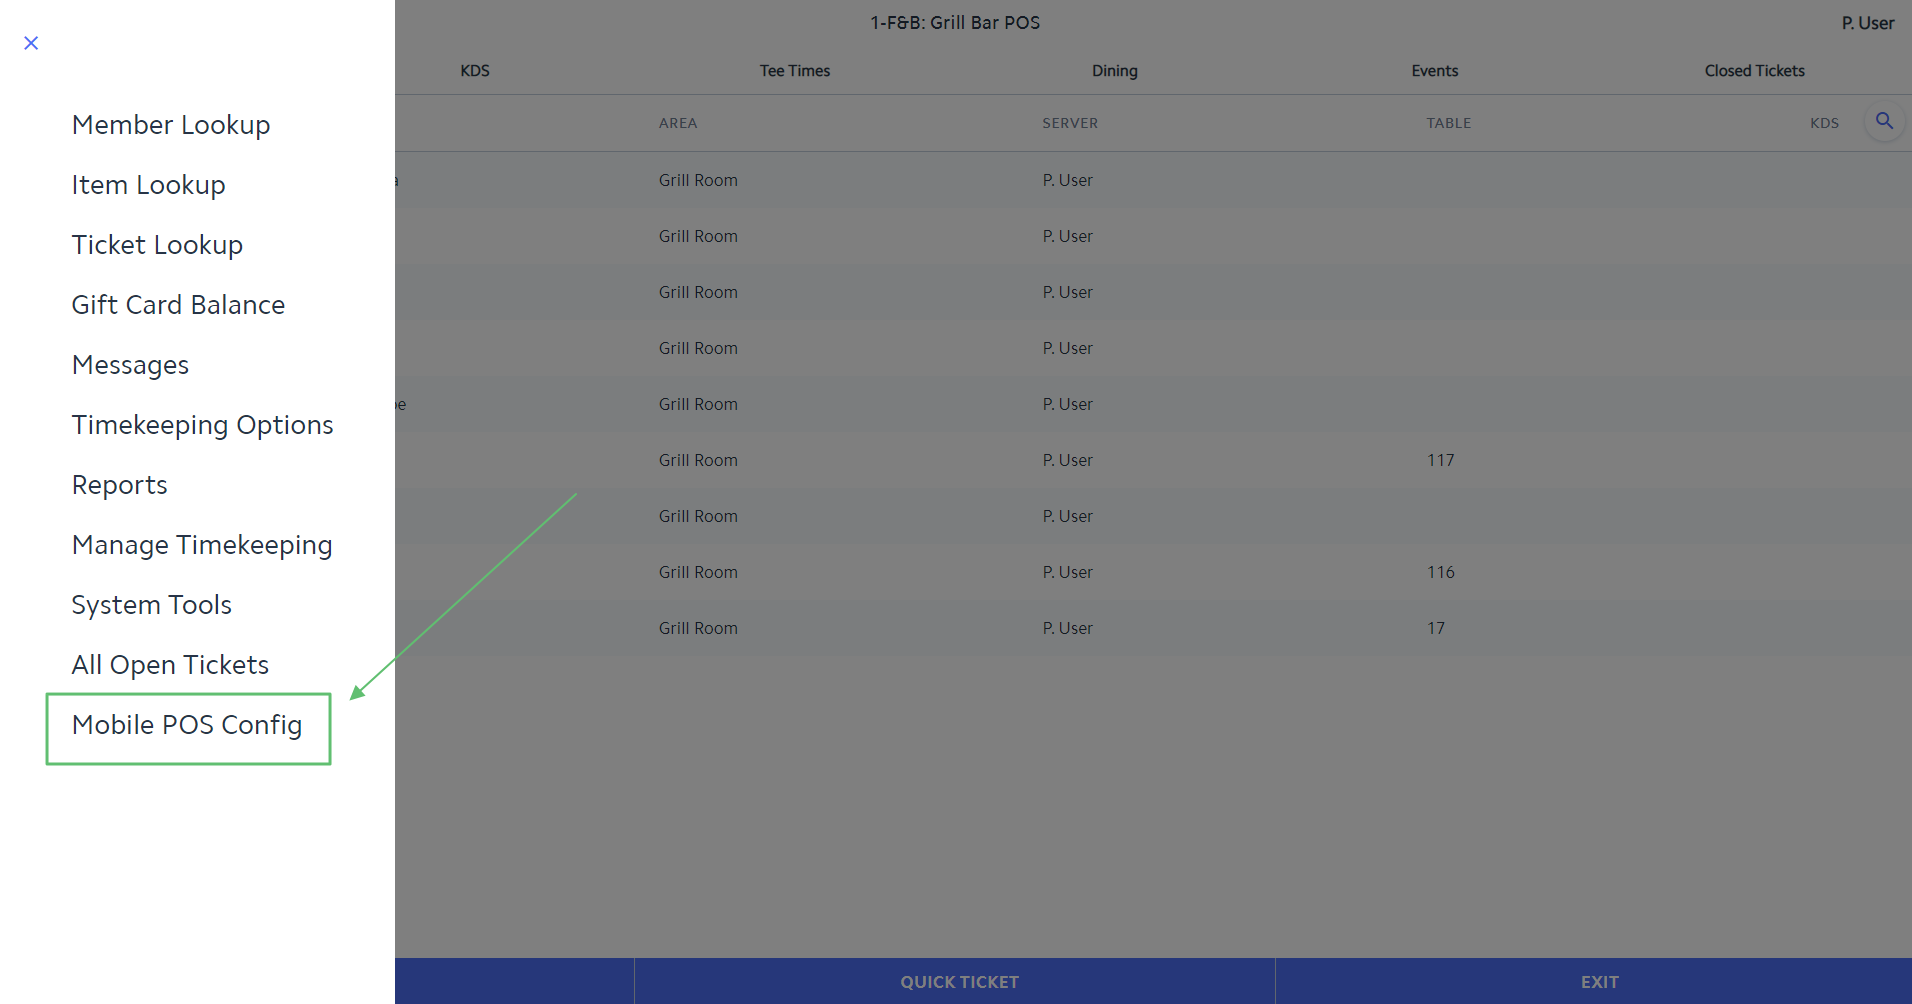
Select the Flyout Menu.
Select the Mobile POS Config option.
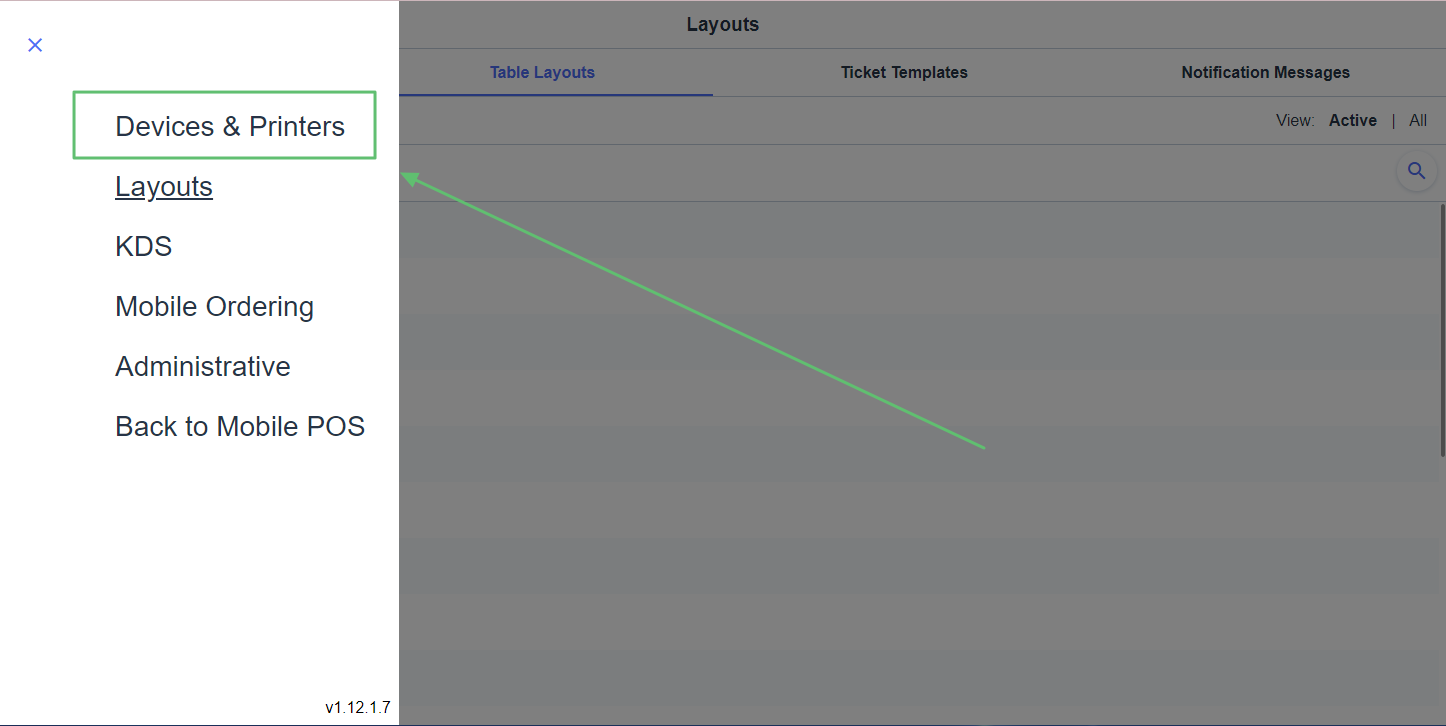
Choose Devices and Printers.
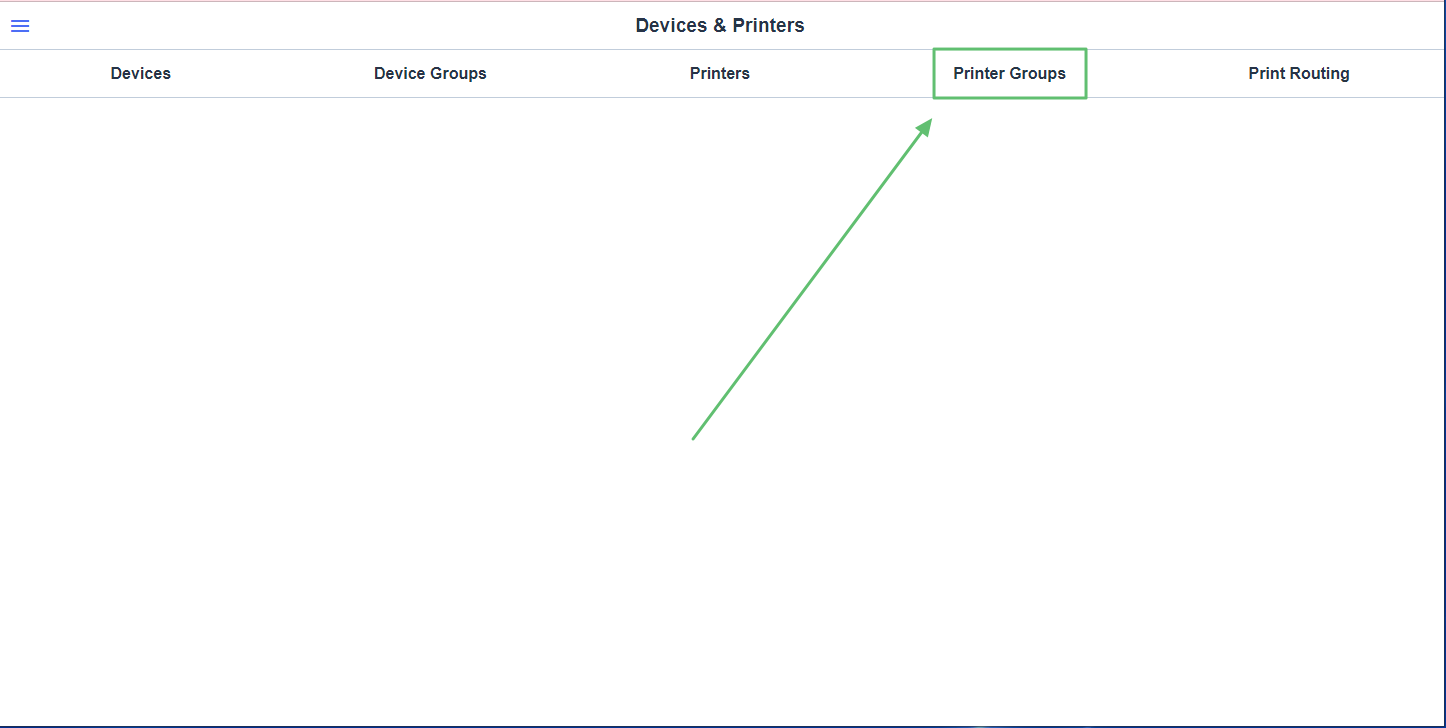
Finally choose the Printer Groups Tab.
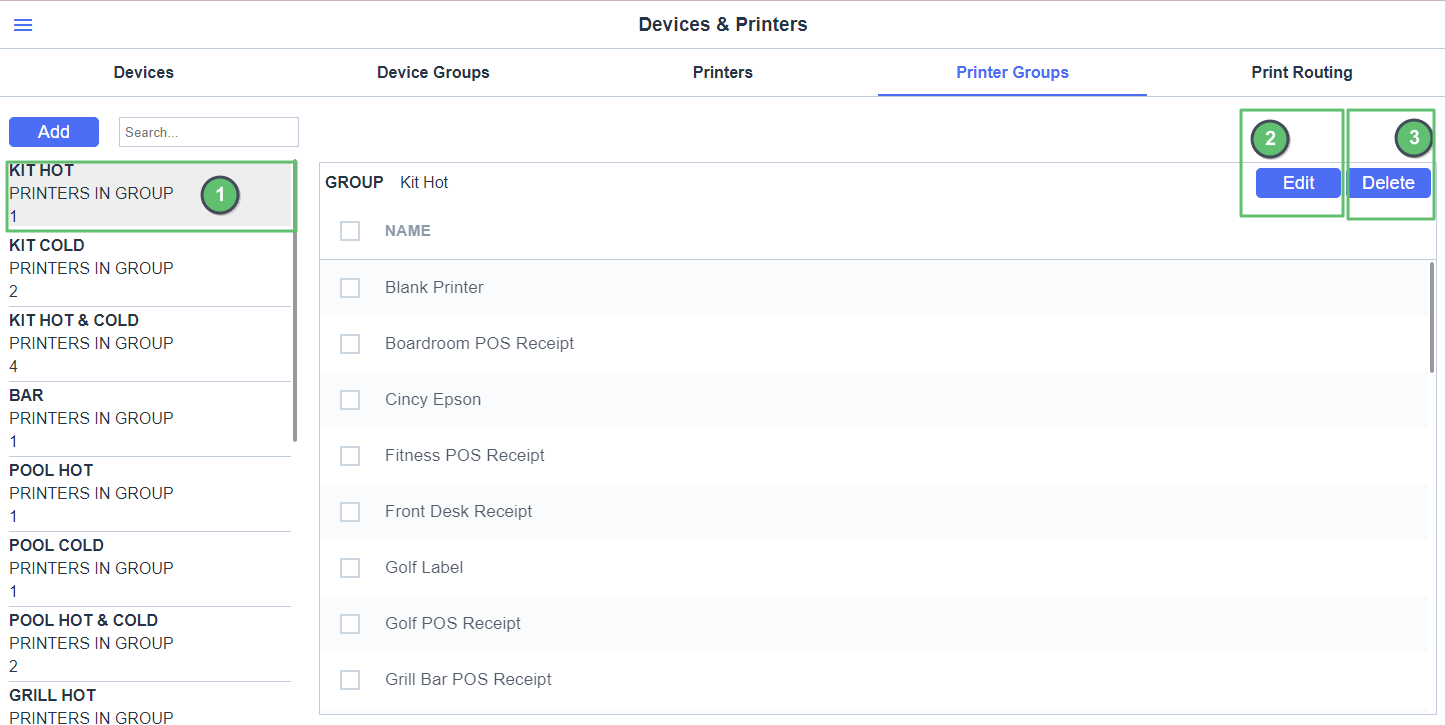
Printer Groups Tab
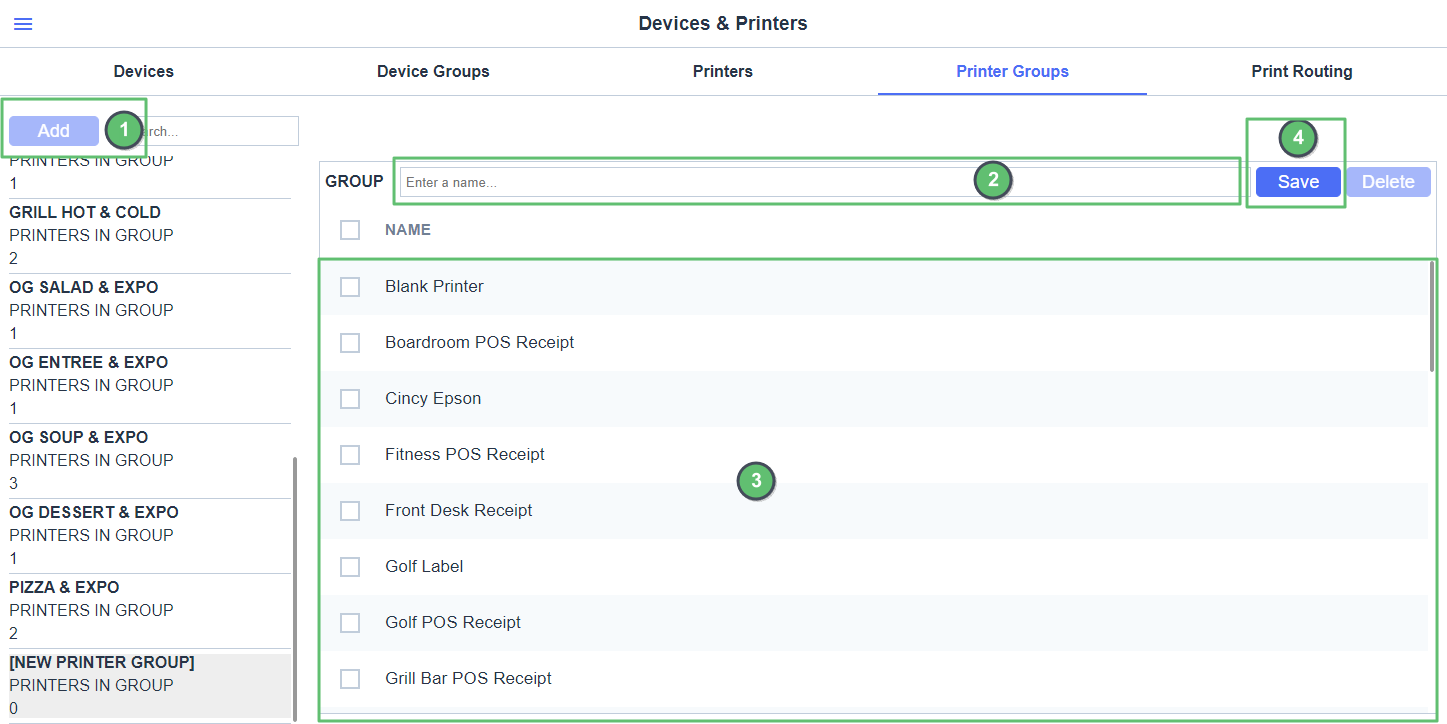
Click the Add button to add a new Printer Group.
You will name your Printer Group Group.
Check off all the printers you wish to be inside this Printer Group.
Save and now your Printer Group can be used.
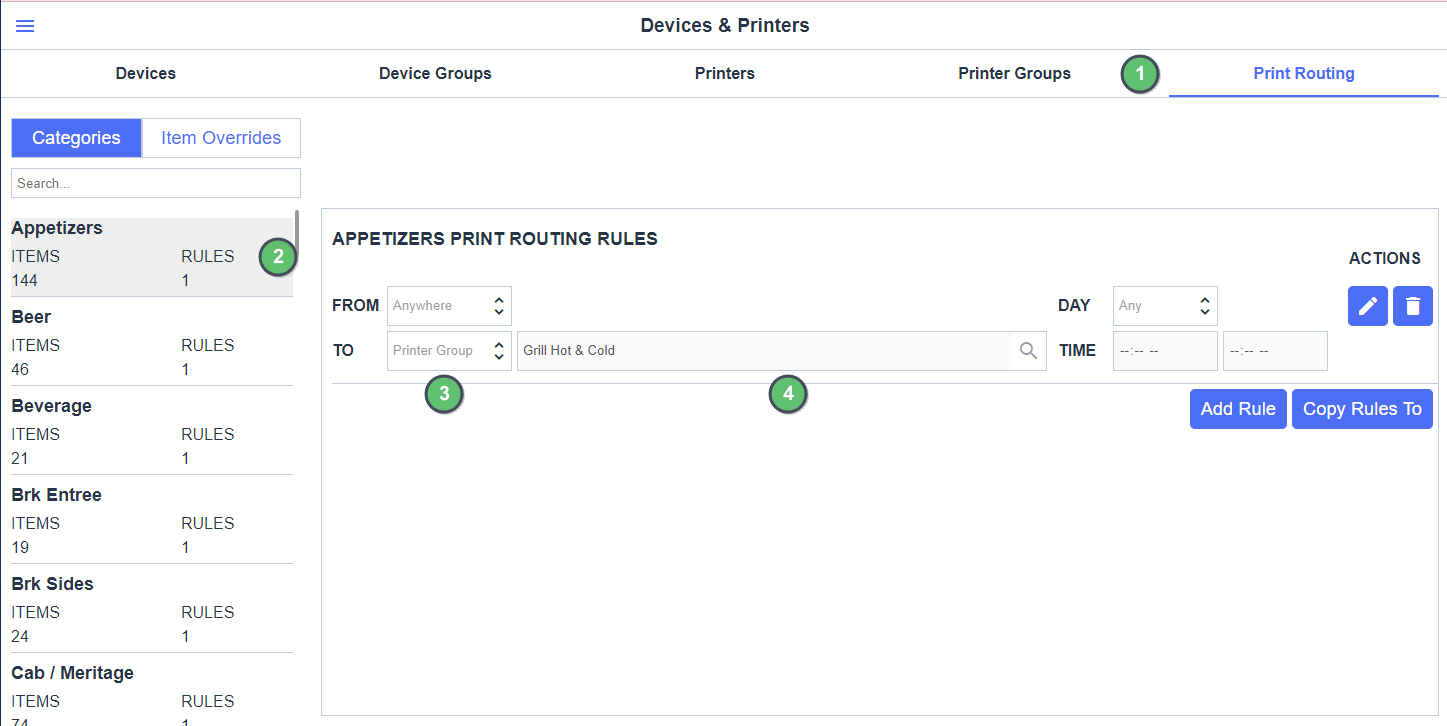
Applying a printer Group to Print Routing
Access the Print Routing tab within the Devices and Printers Tab (same screen you are already on) .
Select an Item Category or Item Override to apply this Printer Group to.
In the TO field you can select the option for Printer Group Group.
Select your Printer Group to be used when this Category or Item override is used.
Edit/Delete Printer Group
Select Printer Group.
Choose Edit to be able to edit the printers in the group or change name.
Choose Delete to delete this Printer Group (will ask for confirmation).
Best Practices
FAQs
Q: Can I add receipt printers to Printer Groups?
A: Yes, however you cannot set or send receipts themselves to a printer group, you would just be telling the system to send a Send Ticket to that Receipt Printer. (Use would be if you want Drinks ordered sent to the bar and you do not have an extra prep printer to use).
