Versions Compared
Key
- This line was added.
- This line was removed.
- Formatting was changed.
Table of Contents
| Table of Contents | ||||||
|---|---|---|---|---|---|---|
|
| Widget Connector | ||||||
|---|---|---|---|---|---|---|
|
Overview
Schedules are the base layer of tee times that tell the tee sheet what booking rules to have in place and when. For example, from 8am until 6pm have tee times every 10 mins with the standard club member booking rules. You may use the Edit Course Schedule to change the normal tee time schedule on the tee sheet. This may be used during holidays or for special events.
Required Permissions
Tee Time Admin
Accessing the Tools
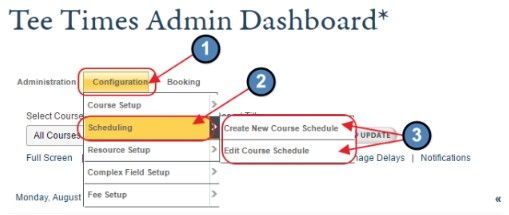
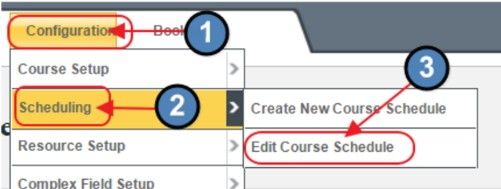
Scheduling tools are located under the Configuration section (top-left of the tee times dashboard). Please note, only experienced tee times admins should make changes in the Configuration area.
Hover over Configuration
Hover over Scheduling
Click either Create New Course Schedule or Edit Course Schedule
Edit Course Schedule: Edit/Delete Current Schedules
Once a schedule is created, it will be available in the Edit Course Schedule tool. The Edit Course Schedule tool is used to apply schedules that are already created, or to check which days have which start times and rules applied. This tool features a calendar to quickly see what is applied for the entire month. It also allows for changing multiple days' schedules at once.
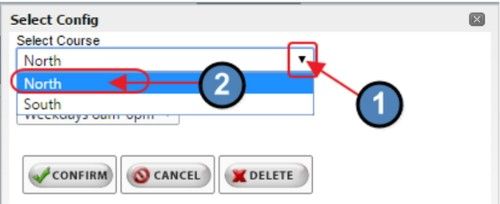
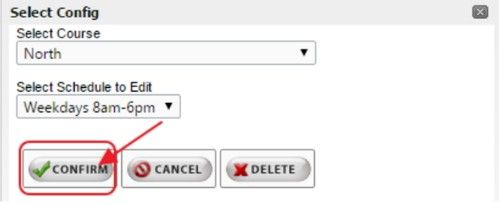
First, select theappropriate Course from the drop-down menu (if more than one course exists).
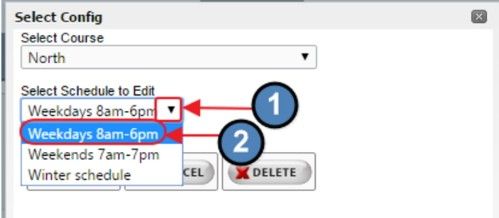
Next, select theSchedule to edit from the drop-down menu.
Once Course and Schedule have been selected, click, Confirm. Be wary of the delete button!
Course Schedule Editor
Once a schedule is selected the “Course Schedule Editor” page loads. There are 4 main sections to this tool.
Schedule Name- this is a text field that can be adjusted manually to describe the schedule. If more than one course exists, the Course Name field also appears directly under the Schedule Name as a “View Only” reference field.
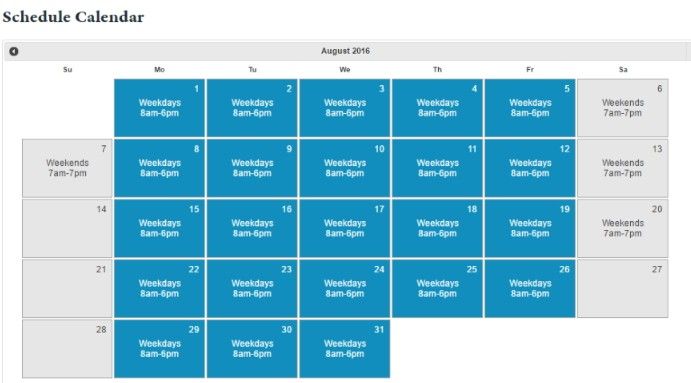
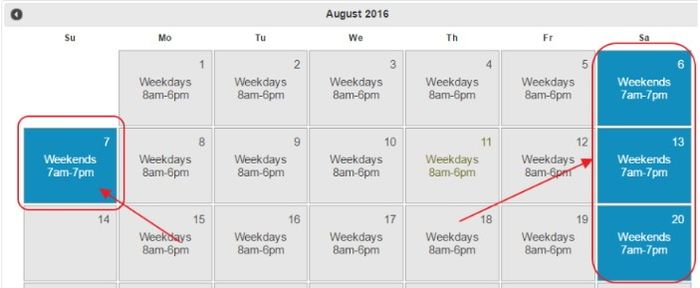
Schedule Calendar - shows at a glance all the schedules in place for a given month and is used to apply schedules to specific dates.
Available Templates - this area is only used when building out new schedules which ClubEssential usually handle.
Front Nine & Back Nine - you can see the times we built out for this schedule in this area.
Schedule Calendar - Viewing and Changing Applied Schedules
There are two actions when using the Schedule Calendar:
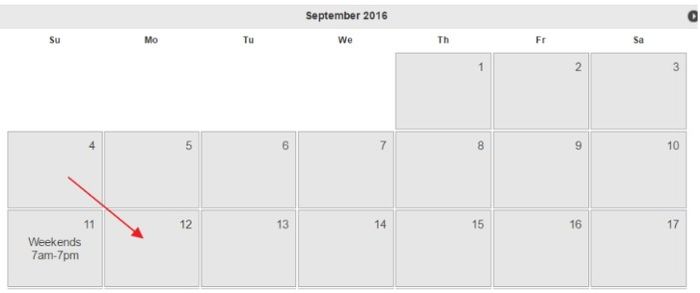
Apply the selected schedule - Click in the blank area of the date to apply the schedule.
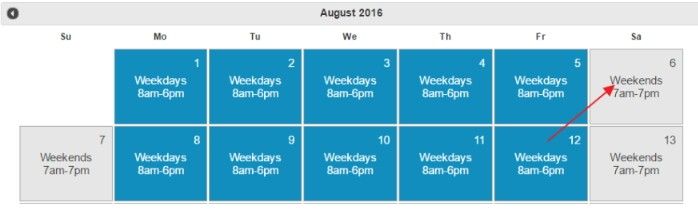
Load a different schedule - Click on the text of a non-selected schedule (indicated with a Gray color) to load a different schedule. The system will confirm you wish to load the other schedule. Click, “OK” to load. This feature makes it easier to jump between schedules or find a specific set up and quickly apply to more dates.
Save As New Schedule
When you are making a new schedule and do not want to start from scratch, you can use theSave As New Schedule button to clone any existing schedule.
Best Practices
Plan to review and reapply schedules annually or before each season.
Schedules can only be changed for days without tee times. Blocks, Add Starts, or Special Events can be used to adjust days that already have tee times.
Impersonate User is the quickest way to check a specific membership type or rule such as when Non-resident members may book.
Contact the Reservations Support Team at 512.609.7984 or res@clubessential.com for any questions or assistance with booking rules within the templates.
FAQs
How often do I need to reapply schedules?
Schedules can be applied 1 year in advance so for most cases schedules should be revisited annually, typically best done in advance of the season. If the schedules are not reset annually then the system will look at the previous month and day of week to determine the most likely schedule. For example, if the last schedule reset concluded with the Winter schedule then the Winter schedule would be in place for every day until the schedules are reset.
