Versions Compared
Key
- This line was added.
- This line was removed.
- Formatting was changed.
Table of Contents
| Table of Contents | ||||||
|---|---|---|---|---|---|---|
|
Overview
Email Templates offer powerful ways to simplify repetitive email content, while still allowing for flexibility in content adjustment when needed. The Template is essentially the framework of the email that is to be repeated. Templates can be modified and/or edited as necessary to meet necessary Event requirements.
Required Permissions
Admin Access
Level 1
Level 2
Accessing the Tool
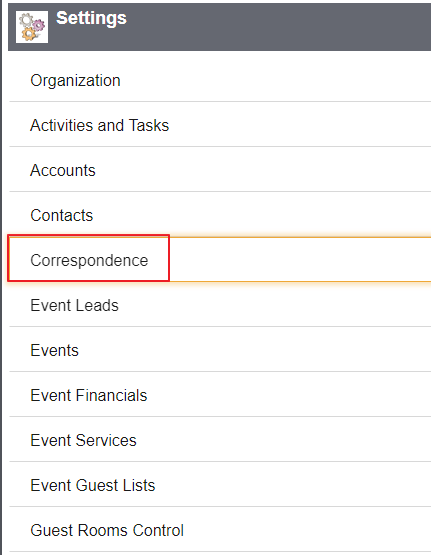
Navigate to Settings, clickCorrespondence.
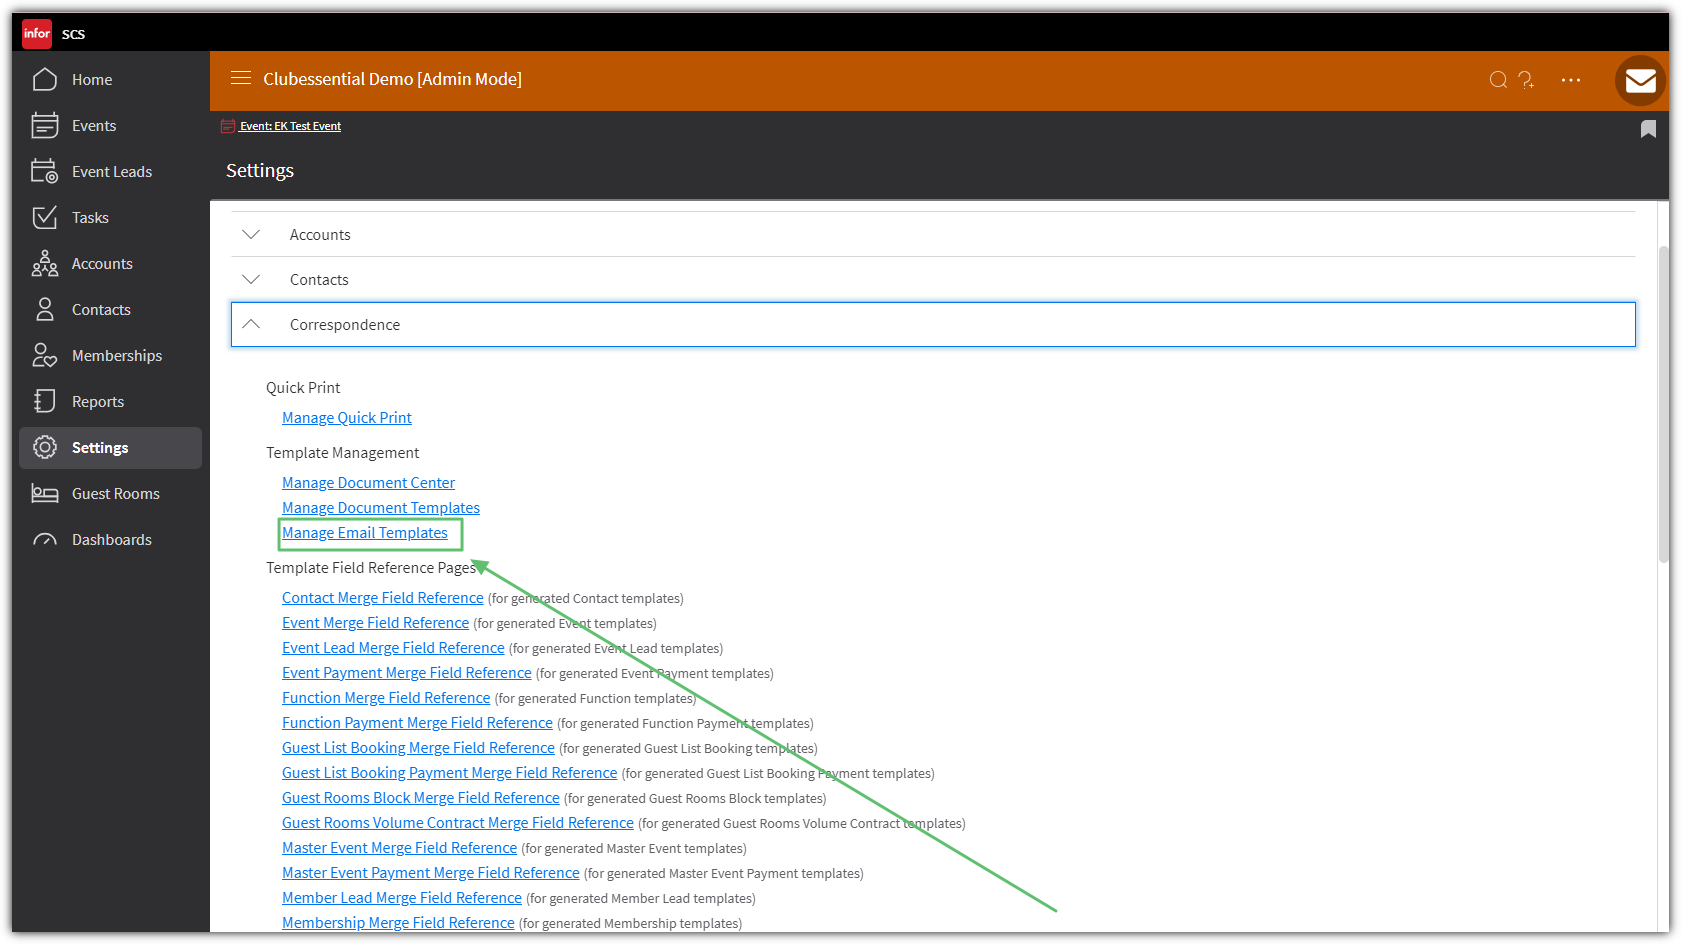
Select Manage Email Templates.
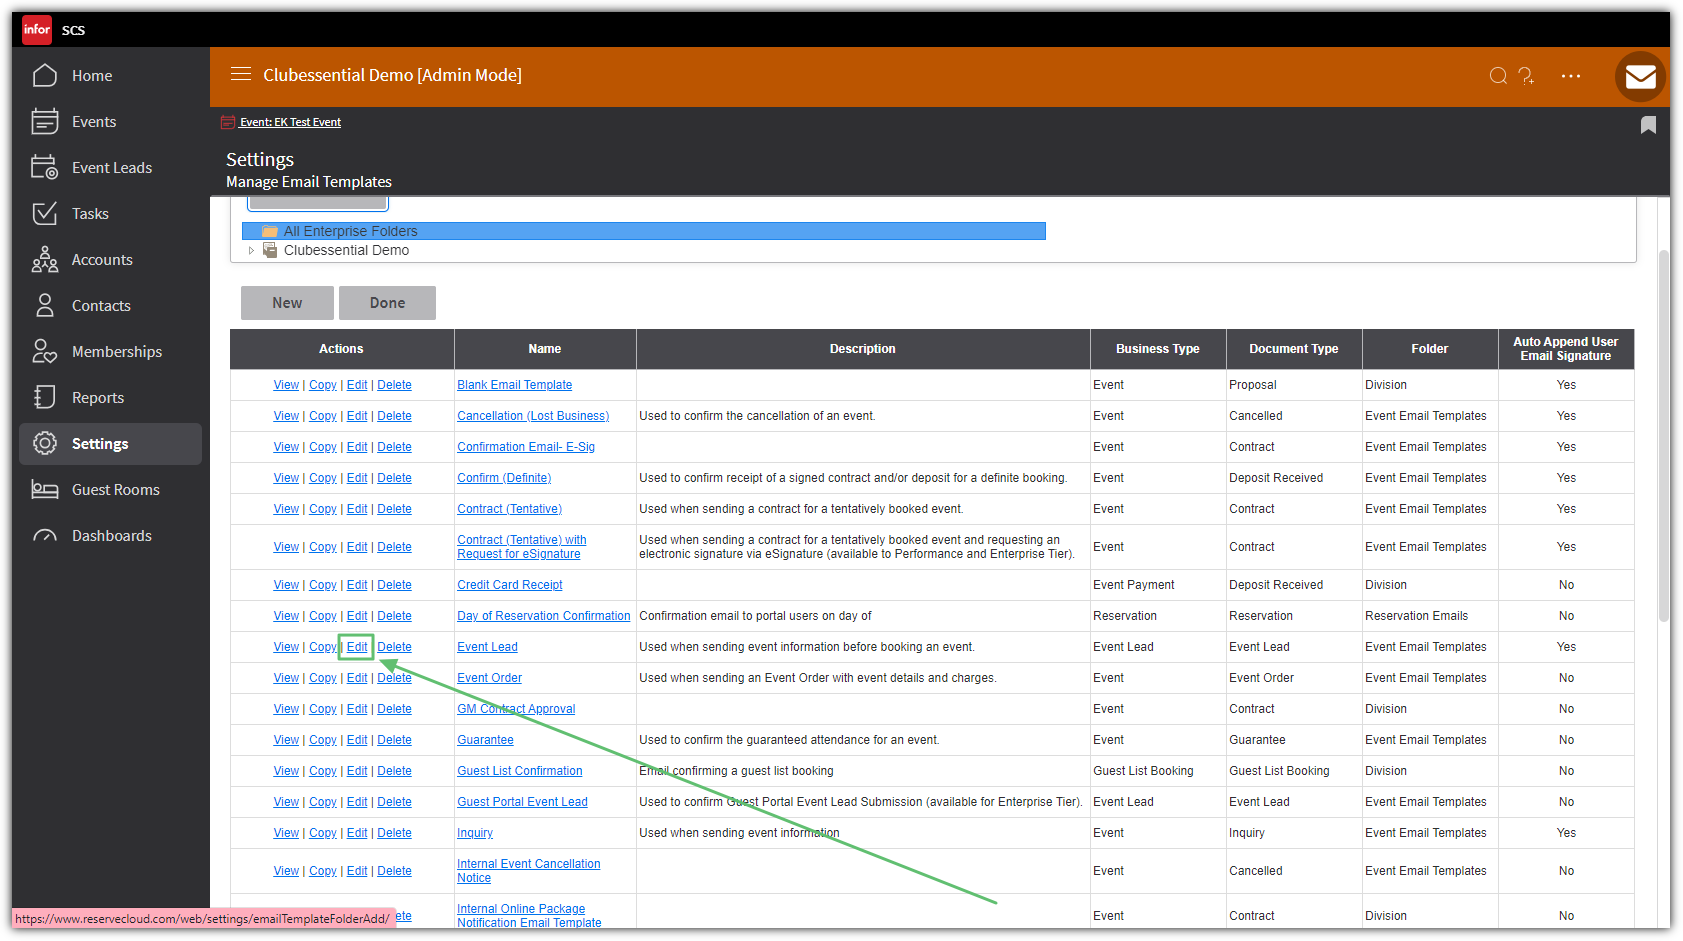
Click on theEdit linknext to the email template you wish to edit.
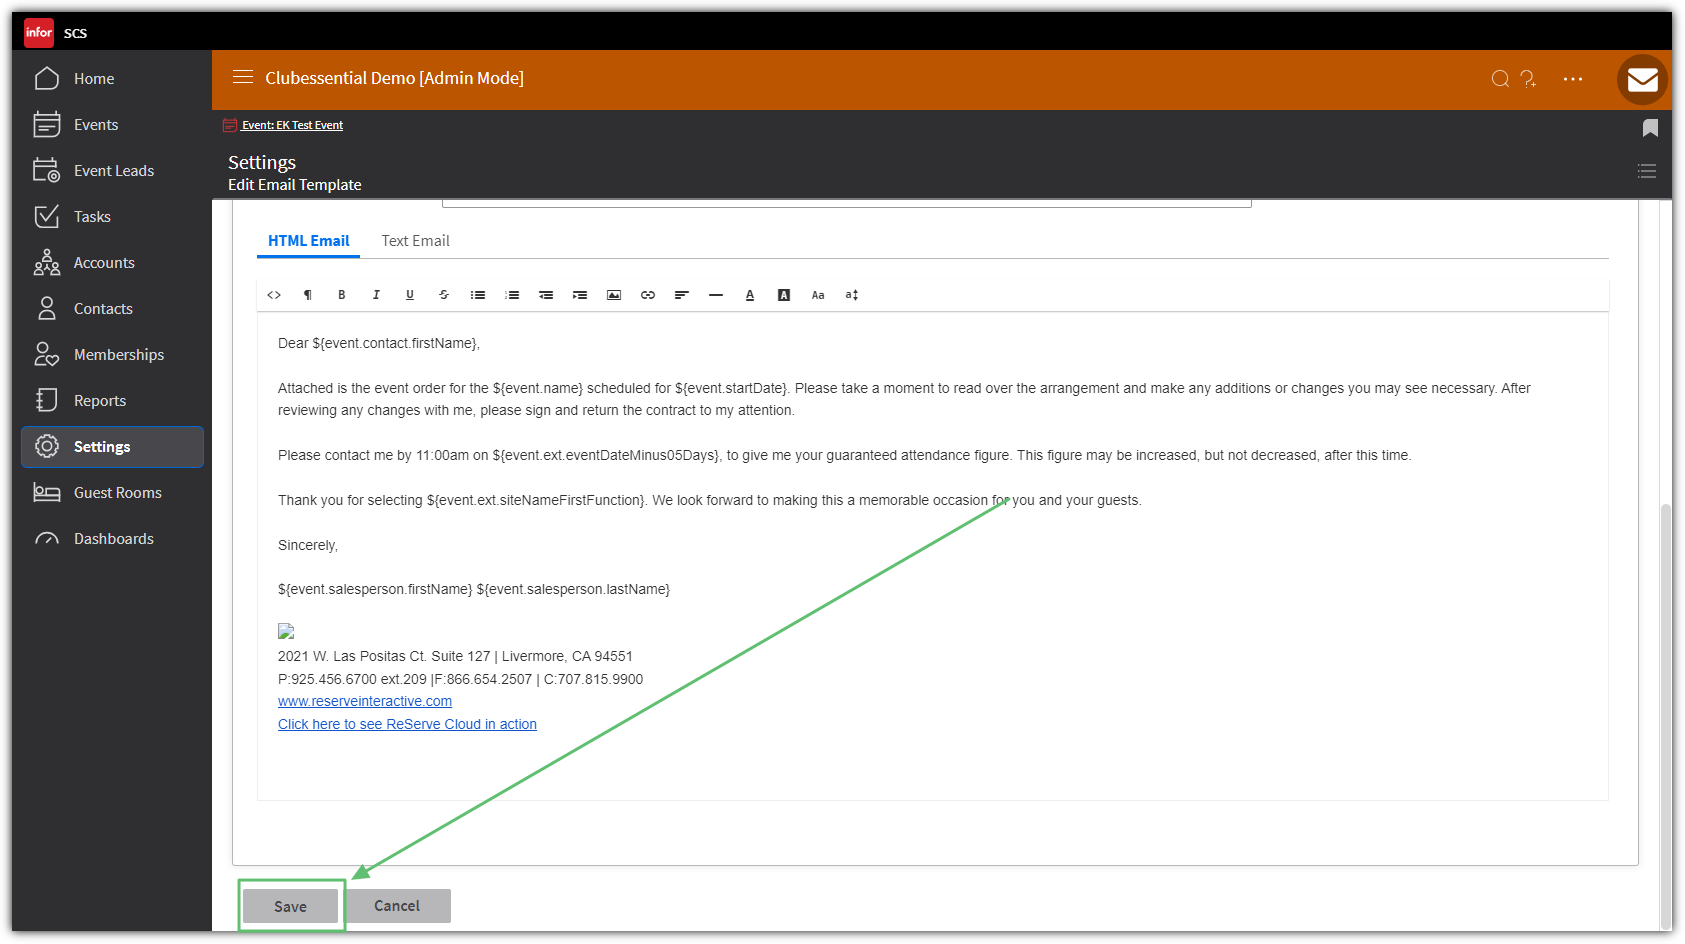
The email template is now available to edit. The email may contain ‘merge fields’, which are indicated by brackets { }. Merge Fields are used to display specific information that may be unique to the event, contact, etc.
Editing Templates
To edit the hard coded information, simply type before, over, or after the existing verbiage.
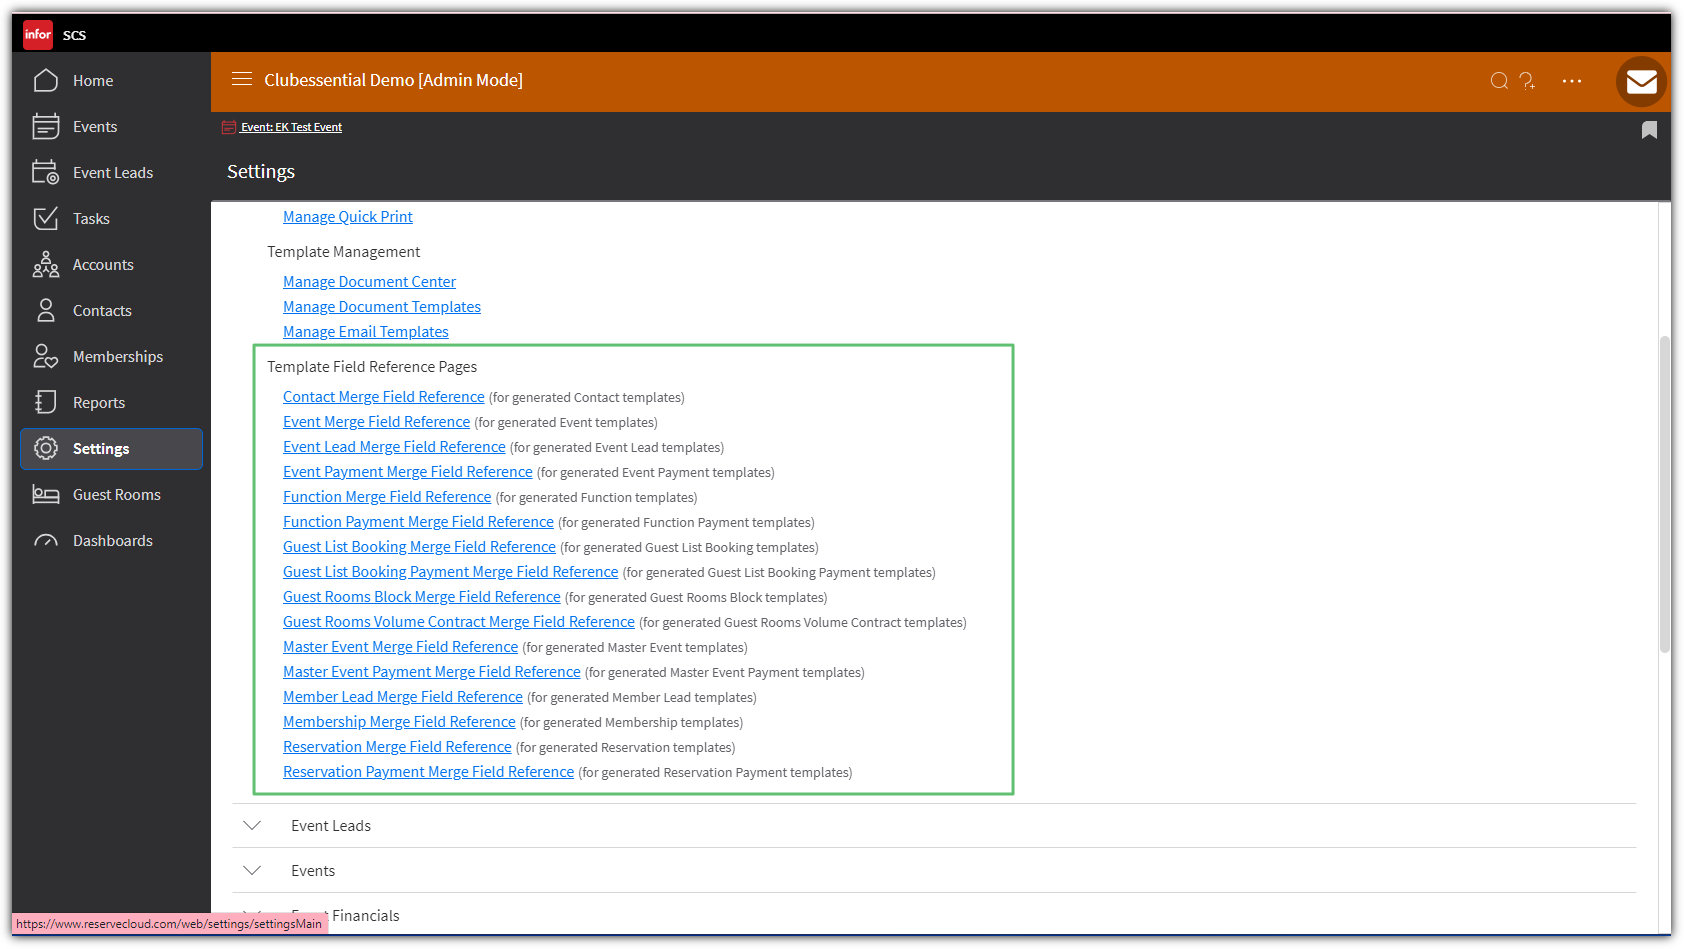
To add or edit a merge field in the email, navigate to Settings > Correspondence, where various merge field reference pages can be found. Select the type of reference page needed, find the desired merge field, and copy/paste (Ctrl C/Ctrl V) the field value into the document.
Save once complete.
The email template is now ready to be sent to clients.
Creating New Email Templates
Creating a new email template is very similar to the process of editing an existing email template.
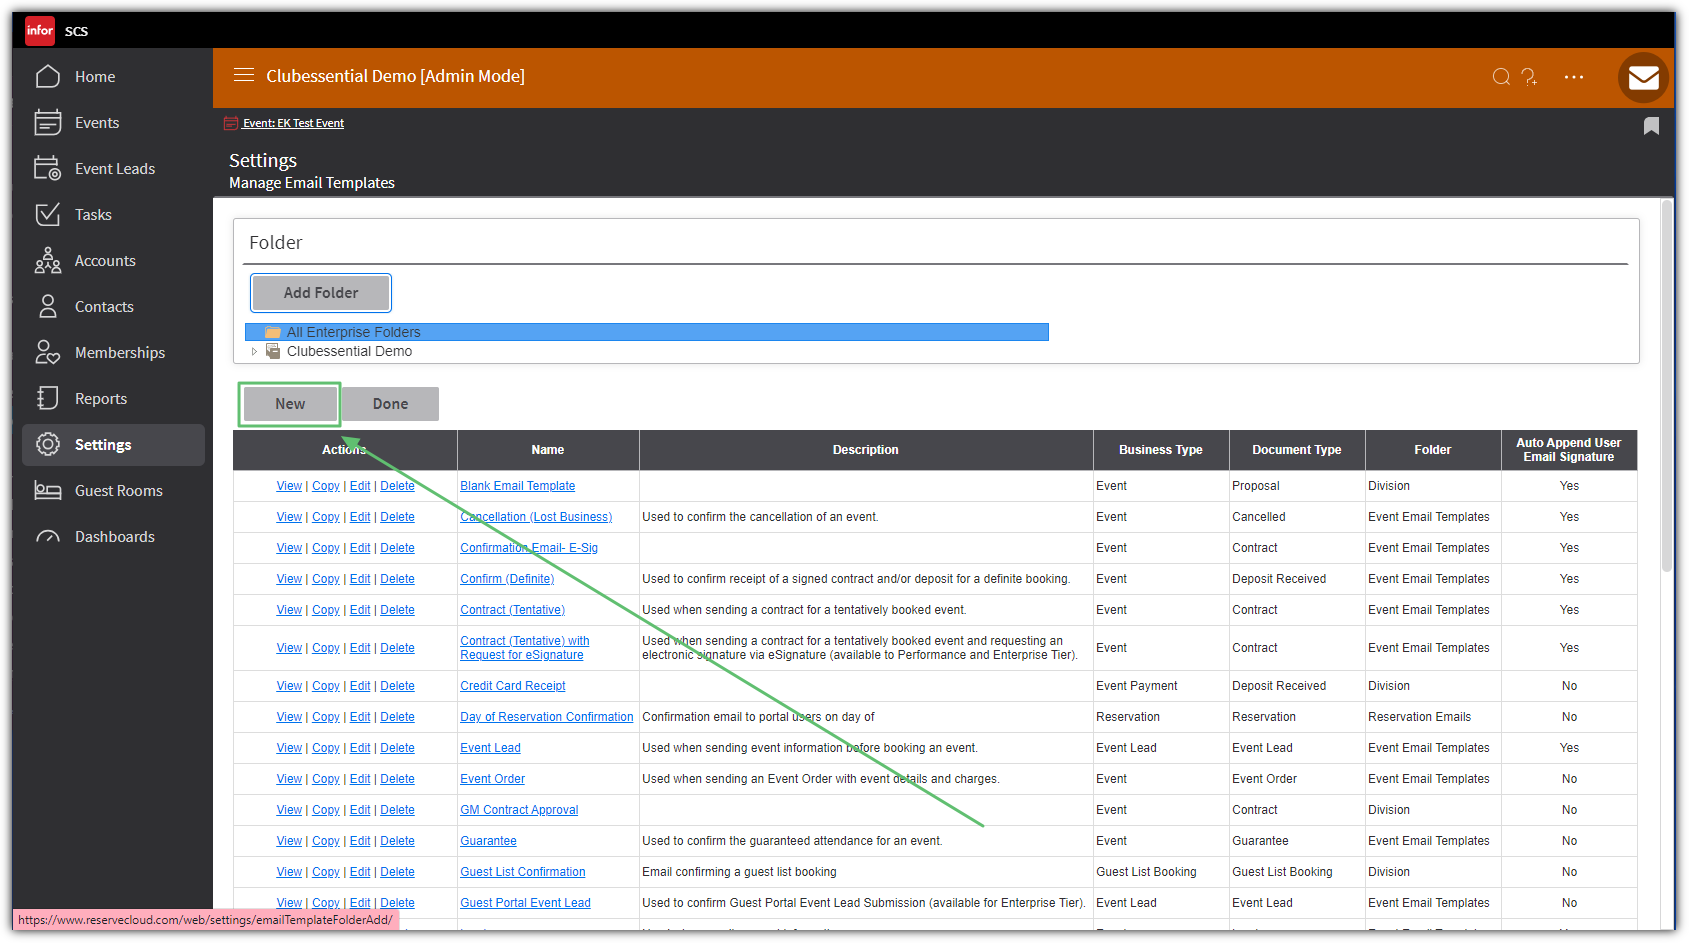
First, navigate to Settings, click Correspondence then Manage Email Templates.
Click the New button.
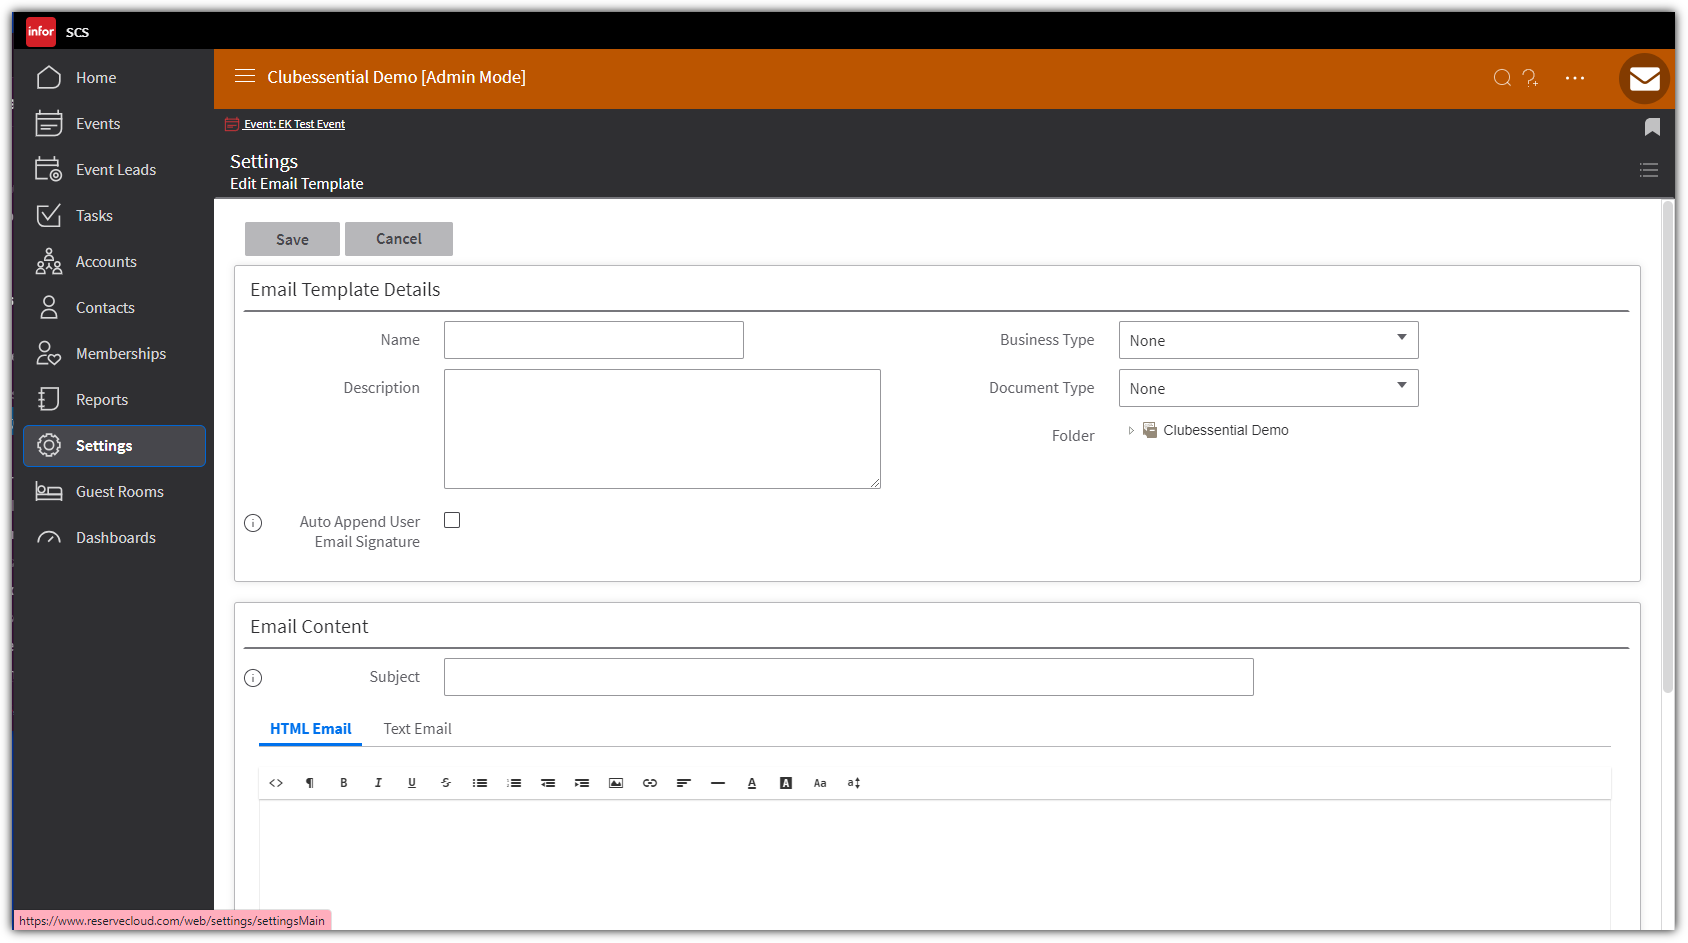
Begin drafting the new email template. Be sure to choose a Business Type (event, contact, lead, etc.), a Document Type and a Folder for the email to live in.
If at any point you need to navigate away from the edit screen, click the Save button so that you do not lose your work!
When you have finished creating the new email template, click Save.
Best Practices
Give the new template a new name; using “Revised” is a good practice.
Test the email after making changes to make sure that all the information is showing as you would like it to.
FAQs
How do I know what merge field to use?
Depending on your needs, all applicable merge fields can be found in Settings >Correspondence, then merge fields.
What happens if I’m not using my cross marketing sidebar?
This will be blank for members and they won’t see anything. This does not throw off the design and only Admins/Editors can see the click to edits. You do not always need to have a cross marketing piece placed in these sections.
