...
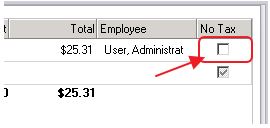
8) If the charge should be exempt from Sales Tax, check the No Tax box.
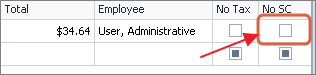
9) If the Charge should be exempt from Service Charge, check the No SC box.
10) Enter additional charges on the next line as applicable.

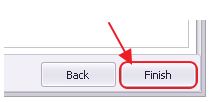
1011) When all charges have been entered, click Finish.
...
For more information on Member Groups, please see our Member Groups document.
2) Area - Use the lookup button to select the Area where the sale took place.
...
Crediting a Member's Account (Negative Member Charge)
Negative Member Charges are used to make corrections and Credit a Member’s account when necessary. In this section, we will demonstrate entering a Negative Member Charge to Credit a Member for a mistakenly entered Late Fee.
To begin, please follow the same steps as described in the Entering a Member Charge - Individual Member section of this document.
However, in the Price field, please enter a Negative Dollar Amount in the amount the Member should be credited. In this example, we are crediting a Member for an erroneous Late Fee, therefore, the Late Fee Item must be charged.

Click Finish and Post the batch as normal.
AR Activity - Member Profile
Charges posted to a Member’s Account can be viewed on the AR Activity tab within the Member’s profile.To access this tab, please navigate to the Membership Menu, select Manage Members, and double-click the appropriate Member.
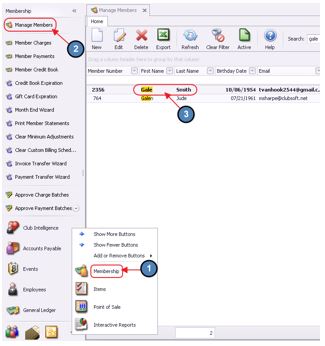
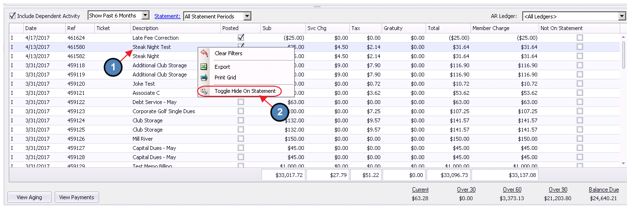
Select the AR Activity Tab and a list of charges and payments posted to the Member’s Account will populate. This is known as the AR Activity Grid.
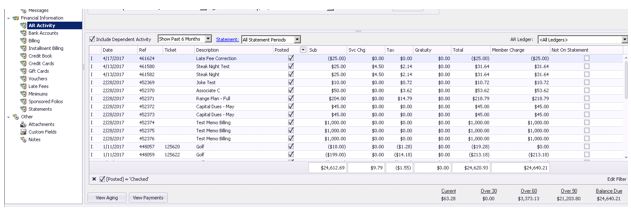
Double-click on a particular charge to view additional details on the charge.

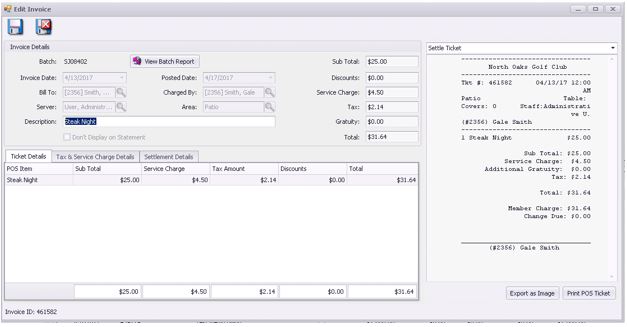
Invoice Details
Invoice Details appear at the top of the Edit Invoice screen.

1) Batch - The Batch the charge was posted from.
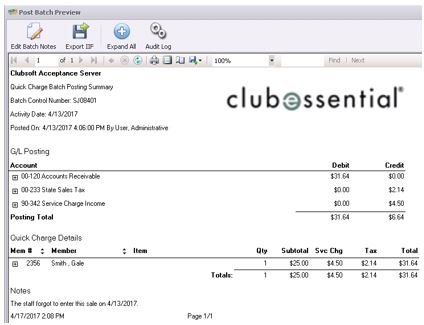
2) View Batch Report - Select this to view the Batch Report of the Charge Batch associated with this Invoice.
3) Invoice Date - The date on the Invoice.
4) Posted Date - The date the Batch was posted.
5) Bill To - The Member the charge will be billed to.
6) Charged By - The Member who made the charge. This is primarily used to reference Dependent Members who created charges to a Primary Member’s Account.
7) Server - The Employee who entered the charge.
8) Area - Area at the Club where the charge took place.
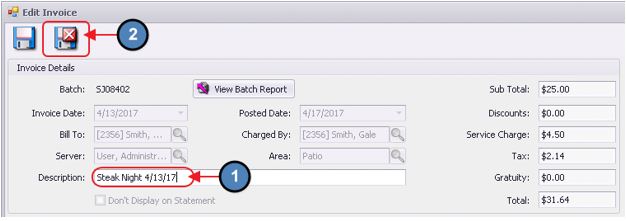
9) Description - This is the Description that will show on the Member’s Statement. If necessary, the Description here can still be edited after the Batch has been posted. Be sure to select Save & Close after adjusting the Description.
10) Don’t Display on Statement - If for any reason a charge needs to be hidden from a Member’s statement, simply right-click on the charge within the AR Activity Grid and select Toggle Hide on Statement
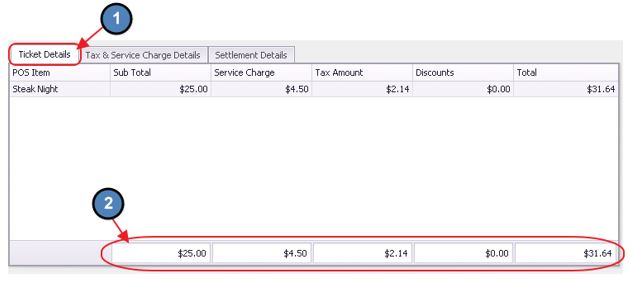
11) Totals - To the right of the Invoice Details is a quick snapshot of the Subtotal, Discounts, Service Charge, Tax, Gratuity, and Total of the Invoice.
Ticket Details
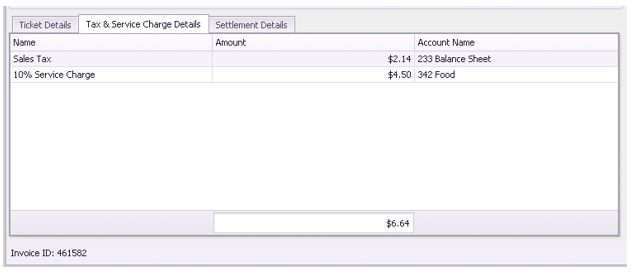
Tax & Service Charge Details
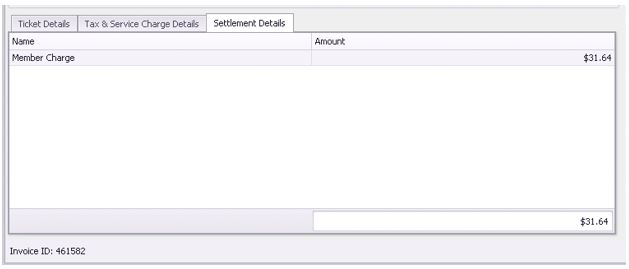
Settlement Details
Export Image/Print POS Ticket
...