Table of Contents
| Table of Contents | ||||||
|---|---|---|---|---|---|---|
|
Accessing the Tool
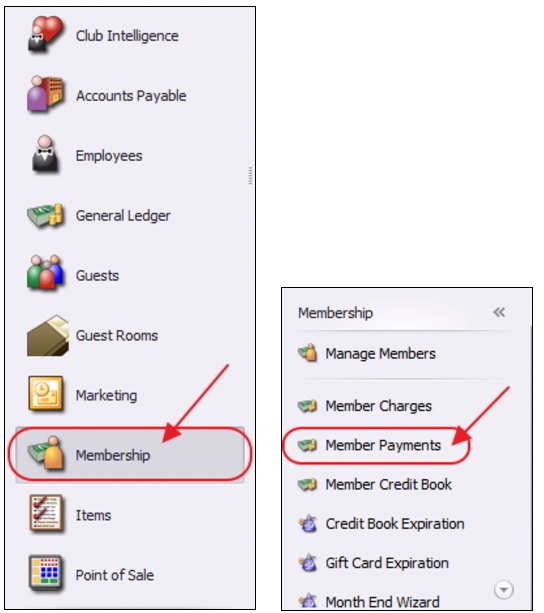
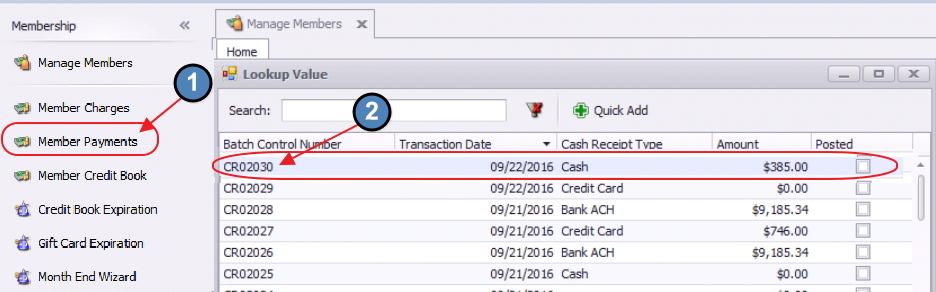
To access Member Payments,
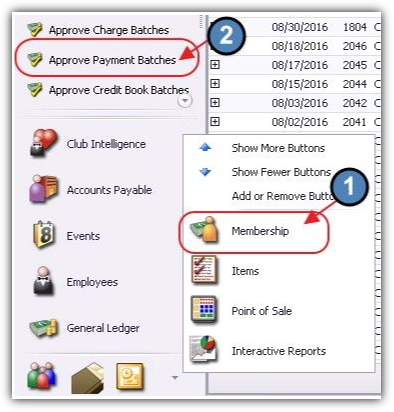
Select Membership from the user menu, and then choose Member Payments.

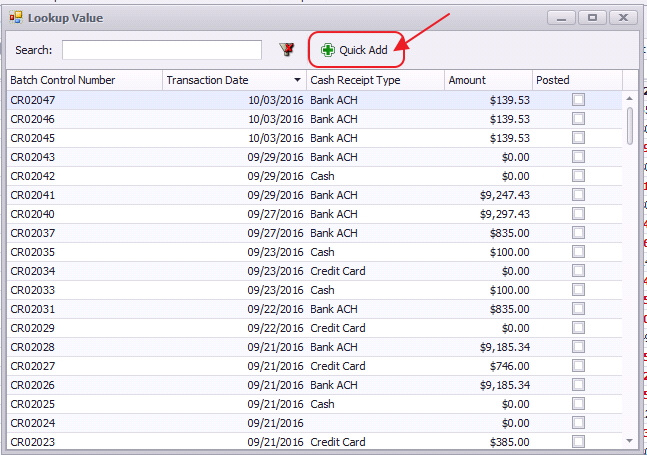
Select, Quick Add.

The Cash Receipt Wizard will launch.
Cash Receipt Wizard
The Cash Receipt Wizard is designed to help simplify the payment entry process. Please see instructions below.
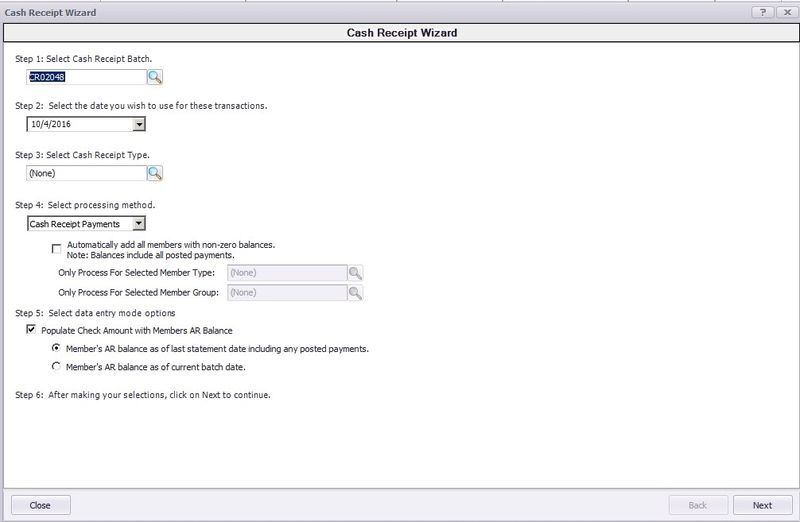
Cash Receipt Wizard - Screen 1 (Payment Specifications Screen)
To enter a new payment, please follow the below steps in sequential order.
Step 1 - Select theCash Receipt Batch. When creating a new batch, the system will default to the next available batch number.

Step 2 - Verify the Transaction Date. This is date the transaction will post to member’s account and to the General Ledger.

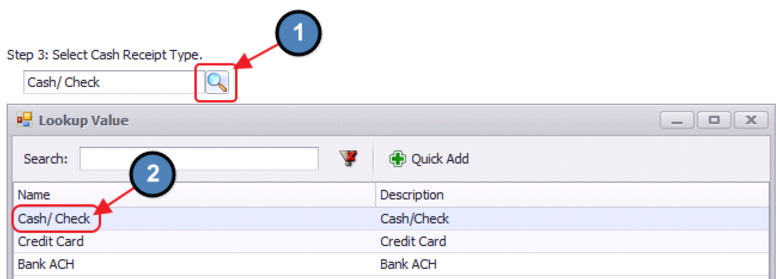
Step 3 - Select the Cash/ Check, Cash Receipt Type by selecting the lookup. Cash Receipt Types specify which GL account to debit, and the payment type to process.
Step 4 - Select the proper Processing Method.
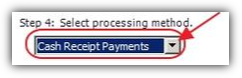
For Cash Receipt Type, Cash Receipt Payments processing method should default, therefore, move to Step 5. 
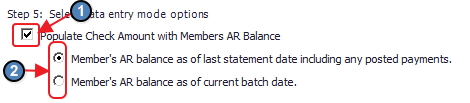
Step 5 - Select data entry mode options.
Populate Check Amount with Members AR Balance - Checked by default, the check amount on the next screen will equal the member’s AR Balance due. This is used to help quicken the payment entry process.
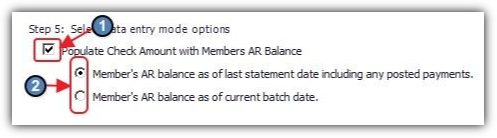
A) Member’s AR balance as of last statement date including any posted payments - If selected, the check amount entered on the next screen will be equal to the member’s AR balance as of the last statement date. This is the preferred option.
B) Member’s AR balance as of the current batch date - If selected, check amount entered on the next screen will be equal to the member’s AR balance as of the current batch date.
Step 6 - Click,Next.

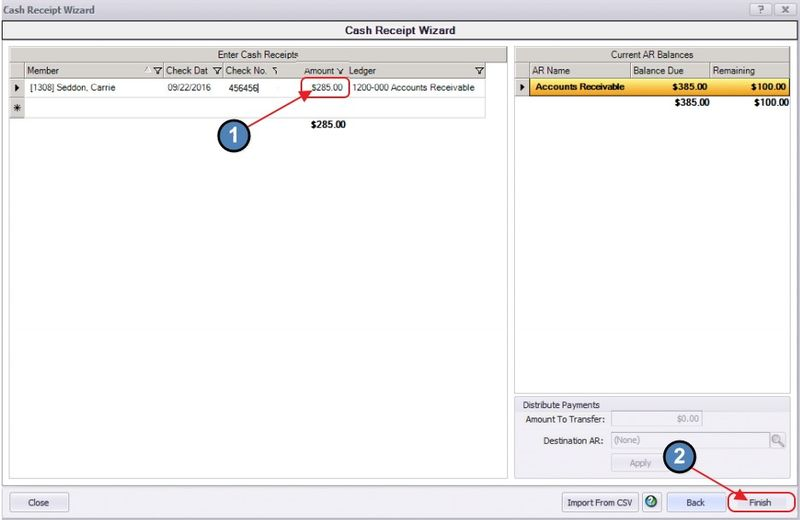
Cash Receipt Wizard - Screen 2 (Payment Entry Screen)
The following Payment Entry screen will appear next based on selections made in Screen 1 of the Wizard. The Payment Entry screen is used to specify the member, payment amount, and the AR account.
Please follow the below instructions:
Select the Member by utilizing the lookup button, or simply begin typing the Member’s name.
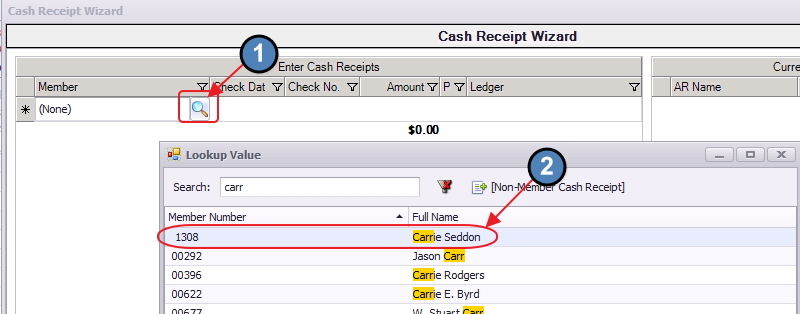

The member’s AR Balance will populate on the right side of the screen.
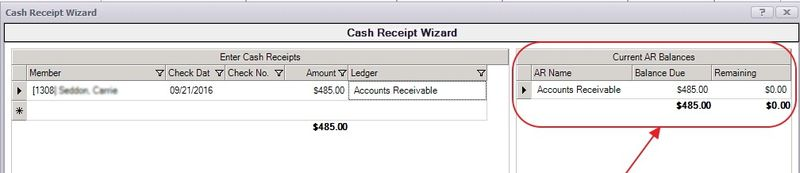
 2.
2. Enter the Check Date. The system will default to the date the payment was entered.
Enter the Check Number of the check received. Cannot be left blank.
Enter the Amount of the check. If specified in Step 5 of previous screen, the system will automatically enter the AR Balance due of the member in this field, however the amount can still be edited if this not the correct payment amount.
The Primary AR Account linked in System Settings will populate into the Ledger field.

Enter additional payments on the next line as applicable.
When entry is complete, click Finish.
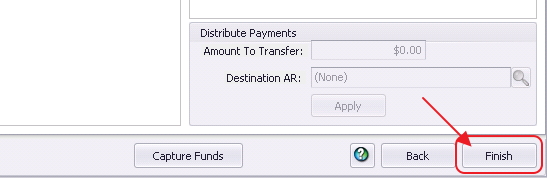

Batch Exit and Re-Entry Note: To exist batch prior to batch completion, click Close at any time. Batch will automatically be saved, and can be re-opened by selecting Member Payments and choosing the appropriate batch from the lookup list.
Print Deposit Slip
Once Finish has been selected, system prompt “Would “Would you like to print a deposit slip?” will appear.
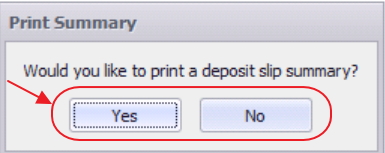

Click Yes to load the Cash Receipt Deposit Summary, and select printer icon to print the deposit slip. After the slip has printed, close the Cash Receipt Deposit Summary and the Payment Batch will generate.

Click No to proceed directly to generating the Payment Batch.
Post the Payment
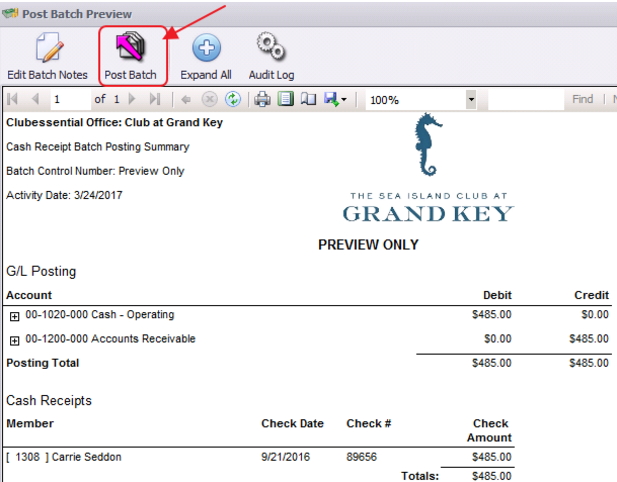
Payment batch will appear for batch review. Verify the GL posting is correct and selectPost Batch.
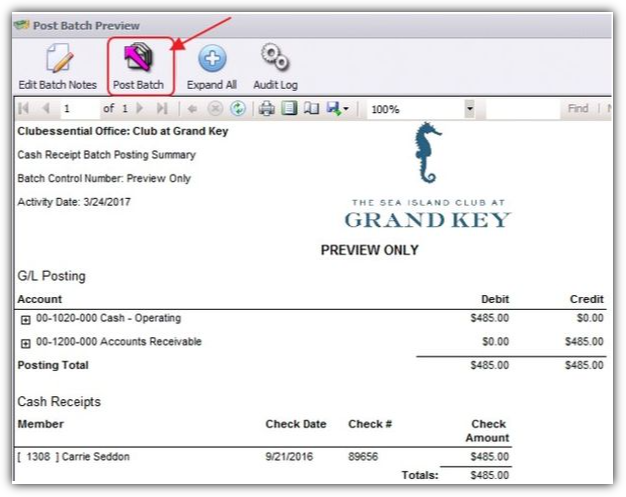
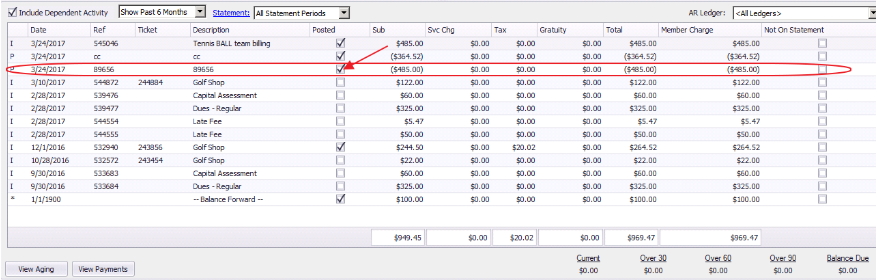
Payments will post to Member accounts as noted in this Member’s Profile.
Editing Posted Payments
All Payment Batches can be unposted unless they are flagged within a bank rec, in which case the system will not let the user unpost un-post the batch.
To unpost un-post a Payment Batch, please navigate :
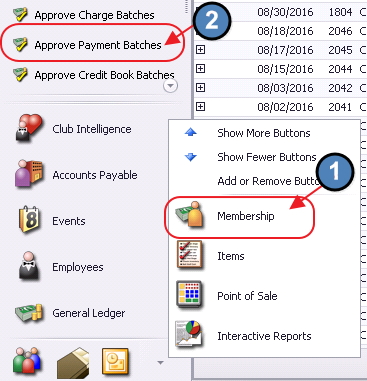
Navigate to the Membership menu
.
Select Approve Payment Batches.
Click to select the Payment Batch that needs unposted and choose Unpost Batch.

In addition, once a Payment Batch is unposted, the edits can only be made within the Cash Receipt Wizard found via Member Payments. Select
Select the unposted Payment Batch from the lookup and make the necessary edits.

Select, Next to move to the payment entry screen.

Make any needed adjusts to the payment, select Finish, and proceed to post the batch as normal.


Best Practices
Perform bank recs timely to ensure cash postings are properly reconciled.
FAQs
Q. Can I have multiple payment types in the same batch?
A. Batches are intentionally limited to one payment type to assist with the processing and the reconciling of the payments.
Q. I accidentally entered the wrong amount for a cash payment, how do I fix this?
A. Unpost the batch using the Approve Payment Batches function. Then, re-open batch (through the Wizard) to correct payment amount. Re-post when finished.