Table of Contents
| Table of Contents | ||||||
|---|---|---|---|---|---|---|
|
Accessing the Tool
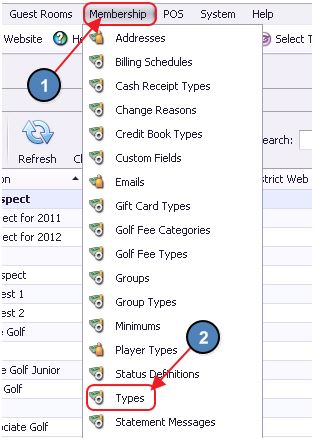
To access Member Types, select :
Select Membership across the top toolbar
.
Choose Types.
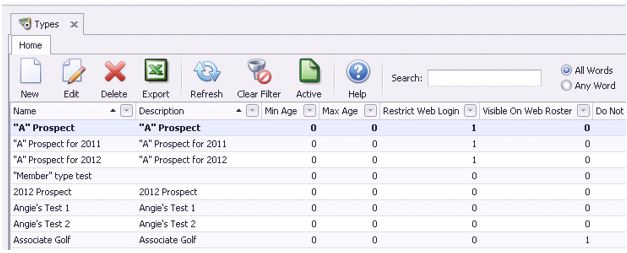
The Member Type Grid will launch.
The primary functions associated with managing Member Types are embedded in the Member Type setup screen, which can be accessed by double-clicking on an existing Type, or clicking the New button.
Member Type Setup - Tab Overview
In this section we will be review the various tabs within a Member Type.
General Information
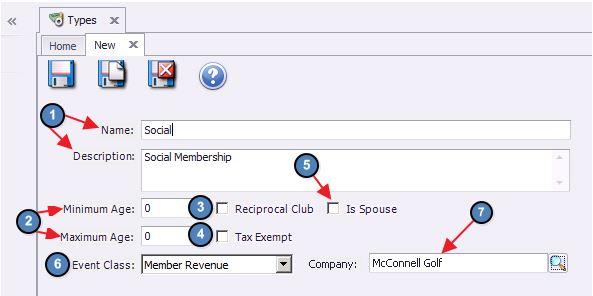
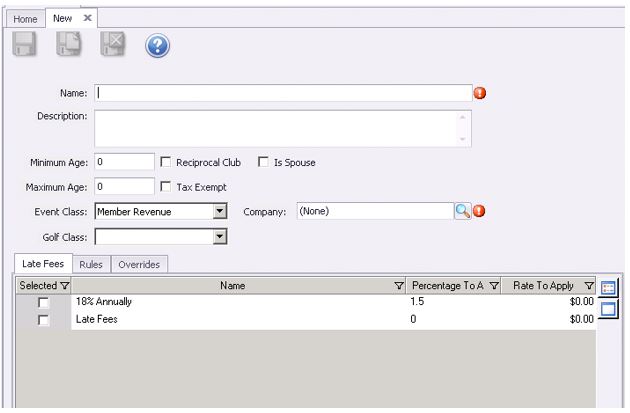
Enter a Name and Description (Optional) for the new Member Type.
Specify if theMember Type should have Minimum Age, Maximum Age, or both.
Reciprocal Club - If checked, the user will be required to enter reciprocity information at the POS when any member within the Member Type is selected.
Tax Exempt - If checked, members within the Member Type will be exempt from tax on all transactions completed at the club.
Is Spouse - If checked and the member is a dependent of another member, members within the Member Type will automatically populate into the Spouse Field on the Primary Member’s account. Please see our Membership Management manual for more information on the Spouse Field.
Event Class - Specify if the Member Type will be considered Member or Non-Member Revenue.
Company - Select the applicable Company to be attached to the Member Type.
Note: With the new multi-company capabilities, to see any Members or Member Types associated with a specific Company, the employee must have rights to a Department linked to that Company.
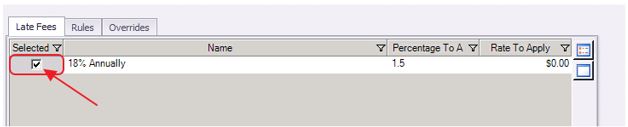
Late Fees
Select the applicable Late Fees on this tab. For more information on Late Fees, please see our Late Fees guide.
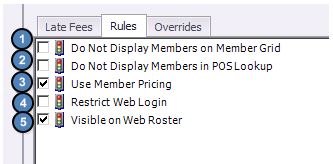
Rules
TheTheRules tab allows the user to apply certain rules specific to the Member Type. Please see below for a description of each rule:
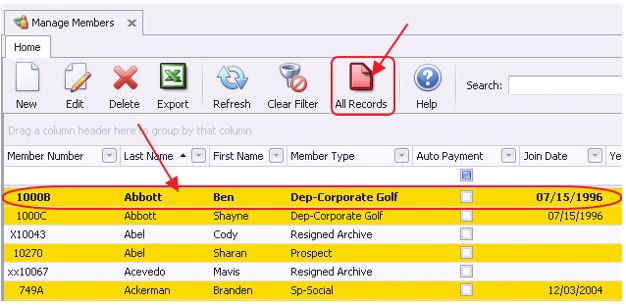
Do Not Display Members on Member Grid - If checked, members within the Member Type will not display on the Manage Members Grid.
Note: If Do Not Display Members on Member Grid is checked and the user needs to edit a member within the Member Type, simply select the Active button on the Manage Members Grid and hidden members will be highlighted in yellow. Double click on the yellow highlighted member and edit as normal.
Do Not Display Members in POS Lookup - If checked, members within the Member Type will not display in the POS.
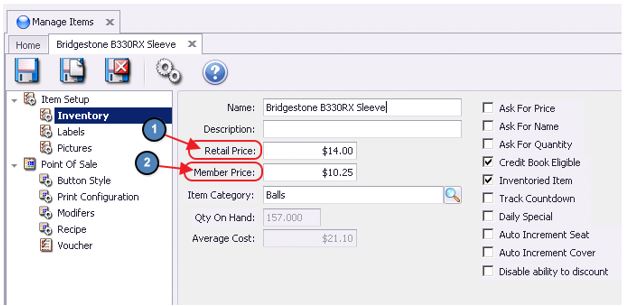
Use Member Pricing- If the club distinguishes between Member and Retail pricing, check this box and members within the Member Type will receive the Member price rather than the Retail Price.
Note: Be sure to specify at the Item level the Retail and Member Price if applicable.
Restrict Web Login - Only applicable to Axis and CSWeb clients. If checked, members within the Member Type will not be able to login to the website.
Visible on Web Roster - Only applicable to Axis and CSWeb clients. This box MUST be checked for members within the Member Type to be visible on the website roster.
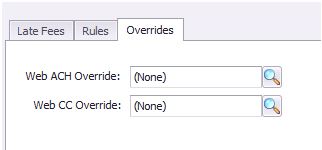
Overrides
This tab is ONLY applicable to CSWeb clients. Links and Axis clients please ignore this tab. If web payments coming from CSWeb should default to a different Cash Receipt Type for ACH and Credit Card payments, please specify them on this tab. This Override will only apply to members within the Member Type.
Creating a New Member Type
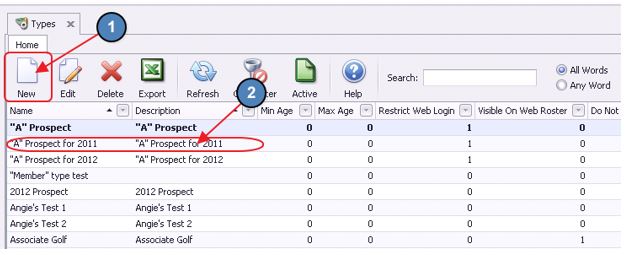
To create a new Member Type,
Navigate to the Member Types Grid and perform either of the following to launch the Member Type setup screen:
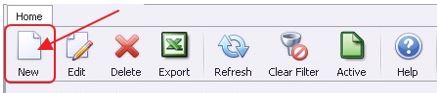
Click the New icon on the toolbar.
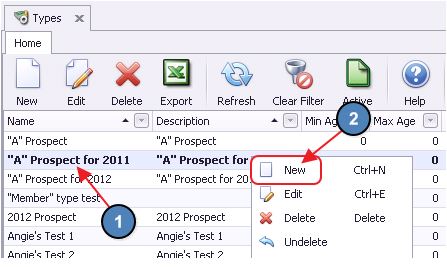
Right-click anywhere on the Member Types Grid and select New.
The Member Type setup screen will launch.
Complete the
General Information, and then navigate to each of the below tabs and enter all relevant information. It is recommended to enter information on these tabs in sequential order. Please see the Tab Overview section of this document for further instructions on each tab.
General Information
Late Fees
Rules
Overrides (If Applicable)
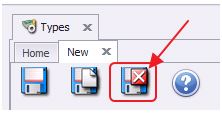
Lastly, click
Save & Close to complete the setup of the new Member Type.
