...
Table of Contents
| Table of Contents |
|---|
Overview
Clubessential has updated our certification with Microsoft for our CMA & POS products. In addition, Microsoft offers an added level of protection to ensure your safety when downloading new content. When our next product enhancements are released, you may need to accept this new certificate to enable the update. We want to ensure a smooth process for your updates to CMA & POS so we have created the following guide to assist. Please follow the steps below in accordance with your operating system to successfully accept this new certificate and update to your Clubessential system.
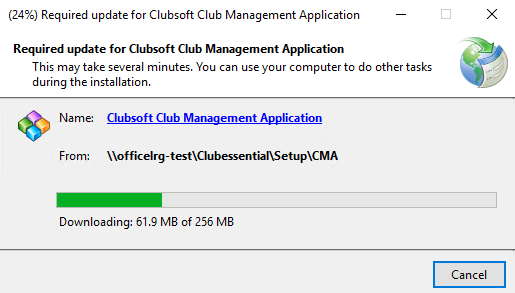
Please Note: Previously, when opening CMA/POS Users would see the following dialogue box installing the update from Clubsoft Club Management Application, and the update would begin automatically.
What Operating System do I have?
The Microsoft Certificate acceptance messages may look different depending on your operating system. To find your operating system, follow the steps below.
Please Note: If the examples below do not look like your system, you may have an earlier version of Windows. For earlier versions of Windows navigate to the Start button, then Computer, then Properties to find your operating system.
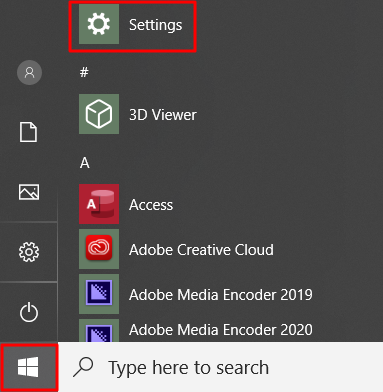
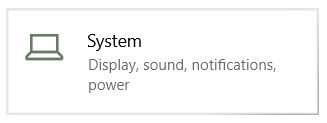
First, navigate to the windows icon (start) and select Settings (Settings can also be typed into the search bar that populates). Within the Settings menu, select System, shown below.
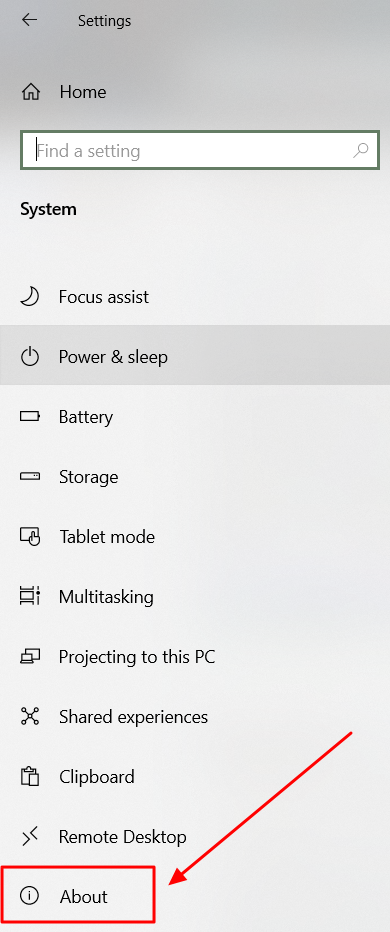
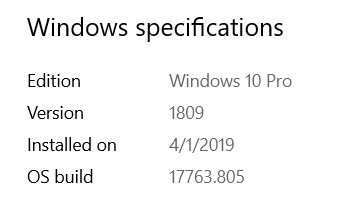
Within the System menu, select About. Then, scroll down to Windows Specifications. Your Operating System will be listed under Edition, shown here.
Please proceed to the corresponding operating system below for specific instructions.
Windows 10
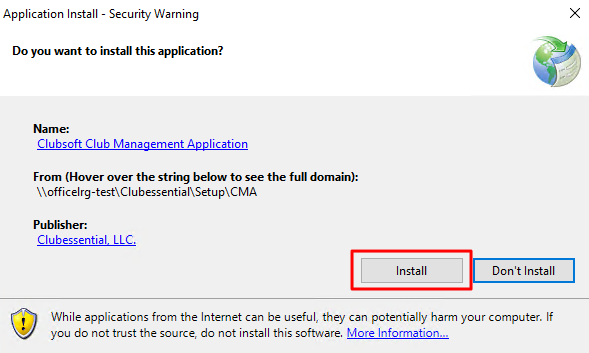
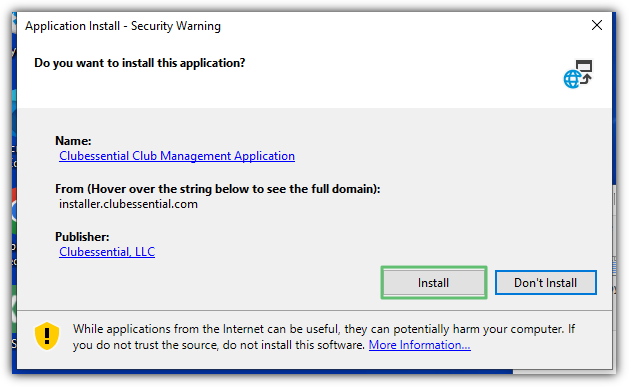
When clicking the shortcut for CMA or POS, the following dialogue box will populate. Select Install.
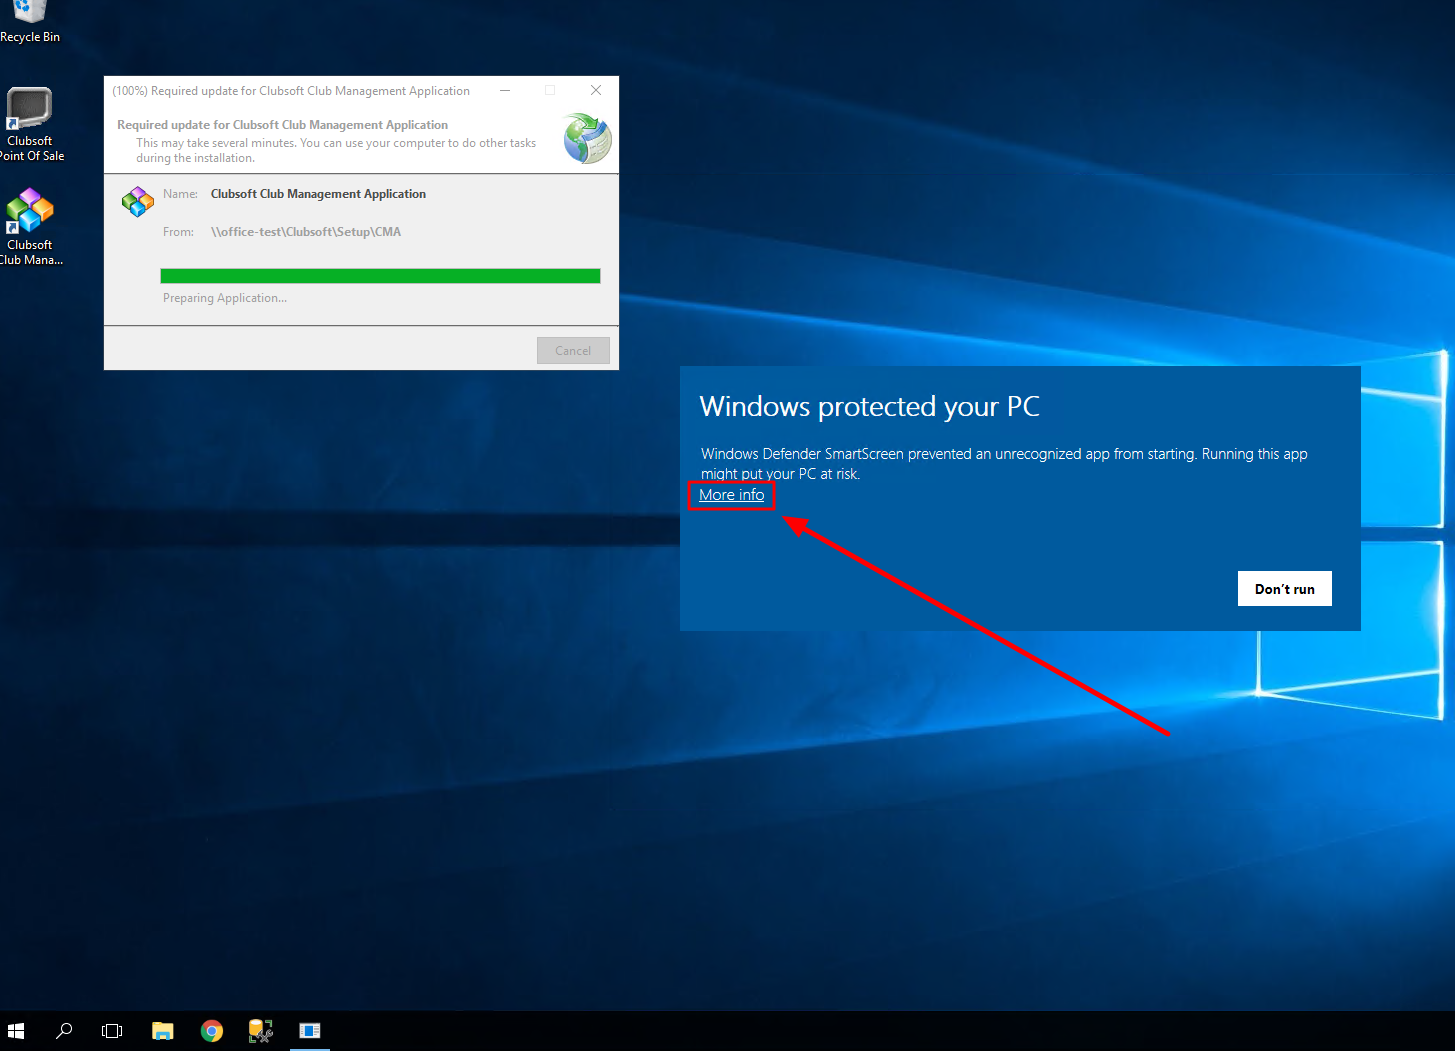
After selecting Install, another dialogue box will populate beginning the installation process. In addition, some users may see a Windows SmartScreen display “Windows protected your PC”. In order to continue with the installation, select More Info, highlighted below.
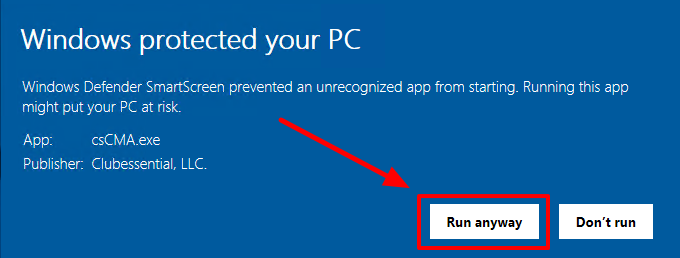
Once More Info is selected, the following dialogue box will open. Select Run Anyway.
Once Run anyway is clicked, CMA/POS will launch as usual.
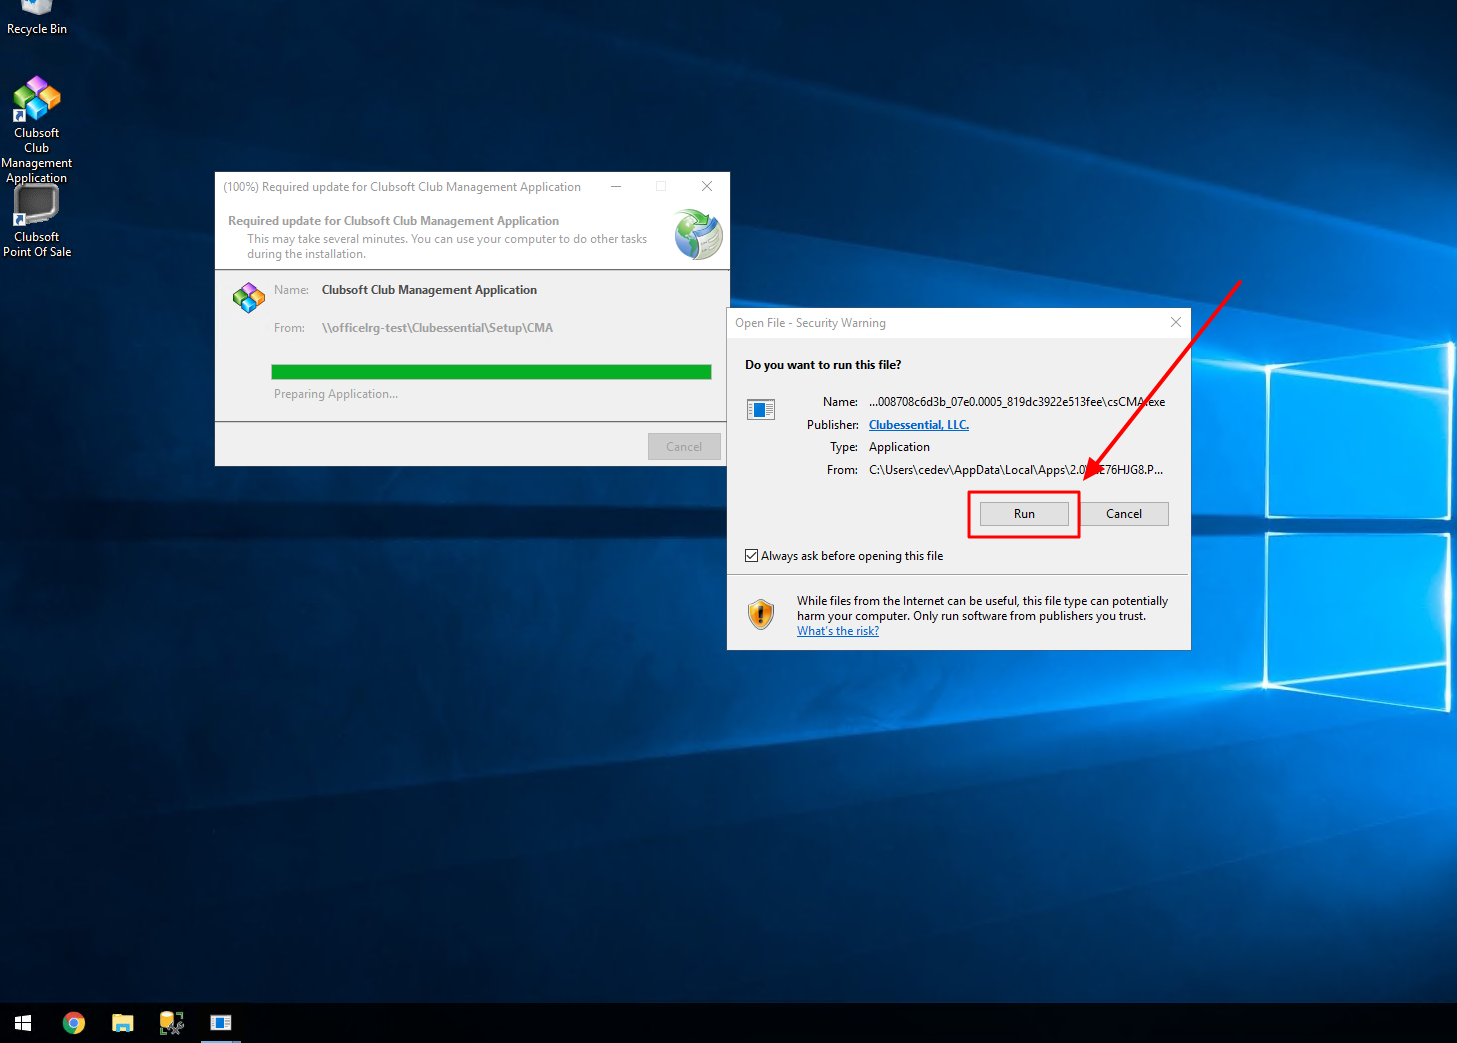
For systems without Windows SmartScreen, the following dialogue boxes will populate. The system will prompt “Do you want to run this file?” Select Run and the system will launch as usual.
Windows Server 2008
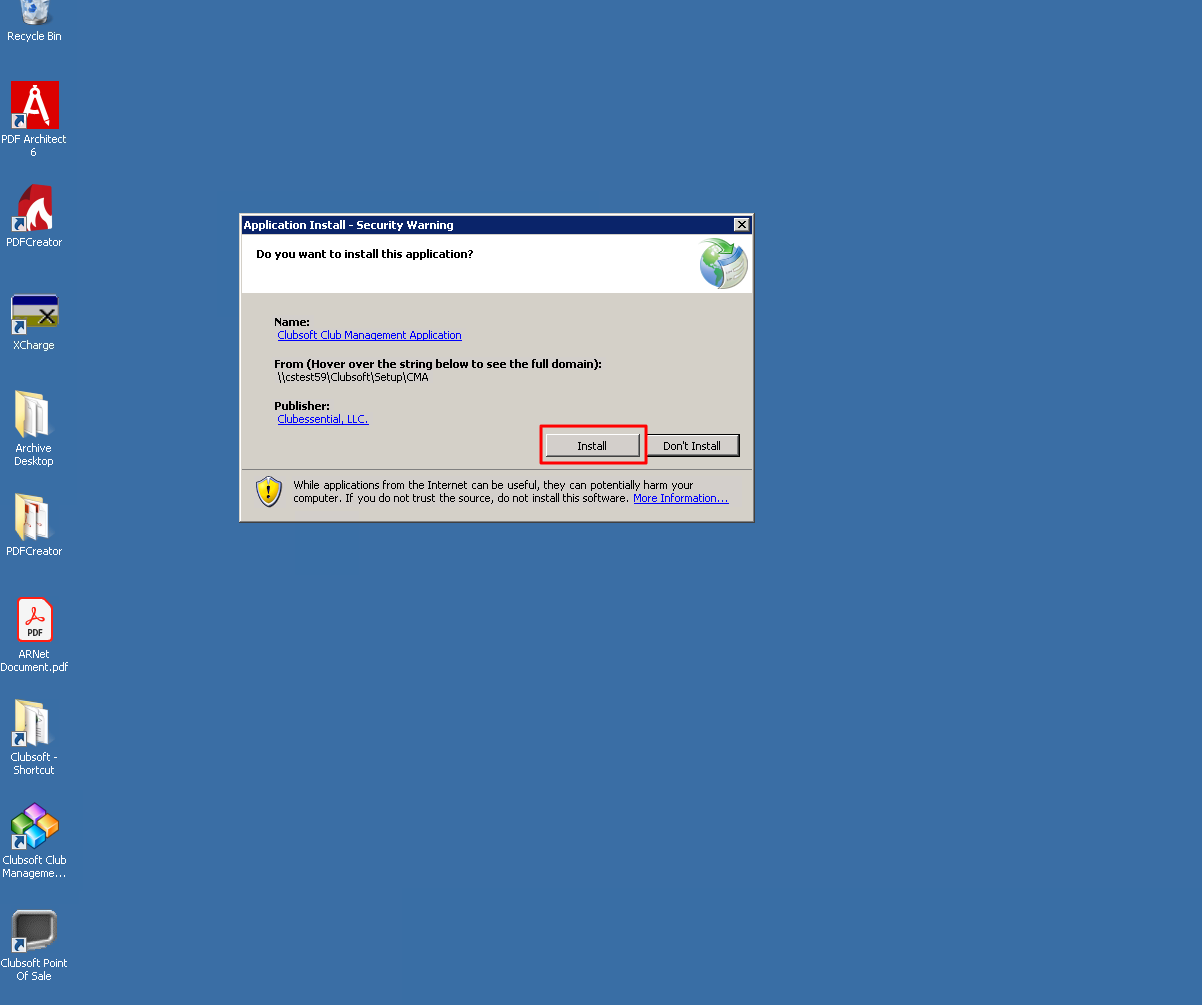
When clicking the shortcut for CMA or POS, the following dialogue box will populate. Select Install.
The update will then install, seen here.
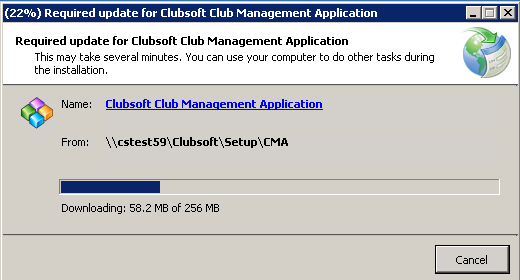
After the update is installed, the CMA or POS login screen will populate and the user can log in as normal.

Hosted Clients
If you are a hosted user accessing the Clubessential software via Remote Desktop Connection, after double-clicking the CMA/POS icon and selecting "Install" you may see a Windows SmartScreen display “Windows protected your PC”. In order to continue with the installation, select More Info. Once More Info is selected, the following dialogue box will open. Select Run Anyway.
After this selection, the CMA/POS will open as usual when initiating an update.
Windows XP, Windows Vista, & Windows 7
Windows XP, and Windows Vista, & Windows 7 users may see a dialogue box asking “Do you want to install this application?”. If this is the case, select Run or Install as usual.
Best Practices
- It is important to note that Clubessential will send out a notification of this change and instructions within the Office product. However, that popup message will not show on POS systems. Please ensure all members of your team, especially those who only use the POS product are aware of this change.
|
What will happen if I do not take any action?
If the uninstall/reinstall is not completed, you will no longer receive automatic updates with new features, fixes, and other changes, and could potentially result in issues when using the application in the future. Additionally, starting on Wednesday, October 25th, you will begin to receive an update pop-up prompt each time you login to the application that will continue until the update has been completed.
Uninstalling
Uninstall/Change
Select the Start menu and search for Uninstall then select, Uninstall a Program.
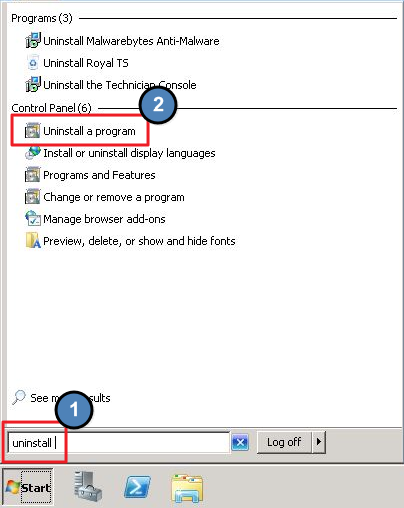
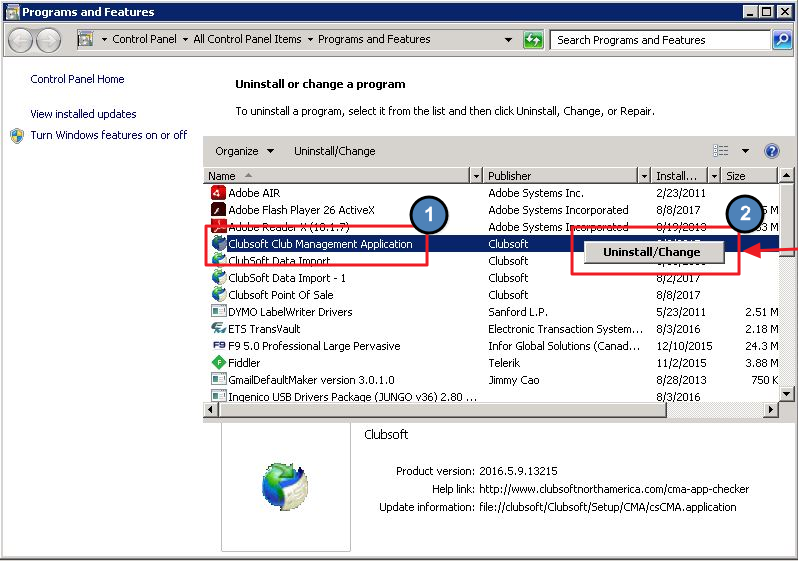
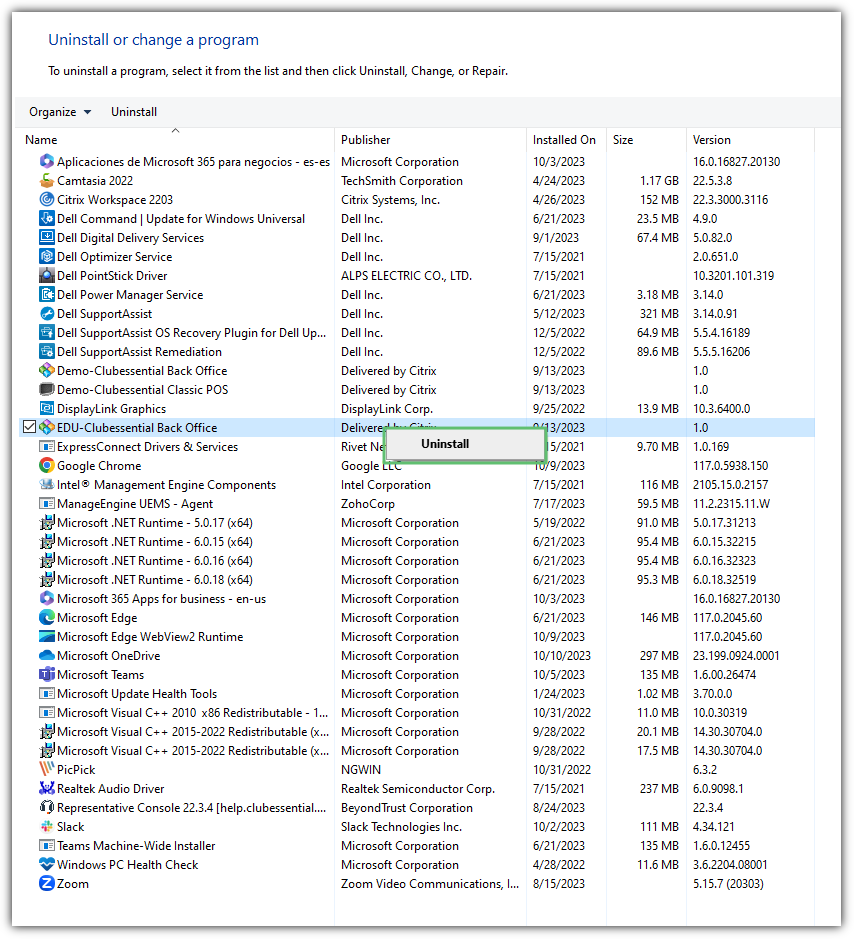
From here, select Clubsoft Management Application, right click and select Uninstall/Change.
Please Note: You will need to repeat this step to remove the Clubsoft Point of Sale application also.
Uninstall Using Windows 10
Uninstall from the Start menu
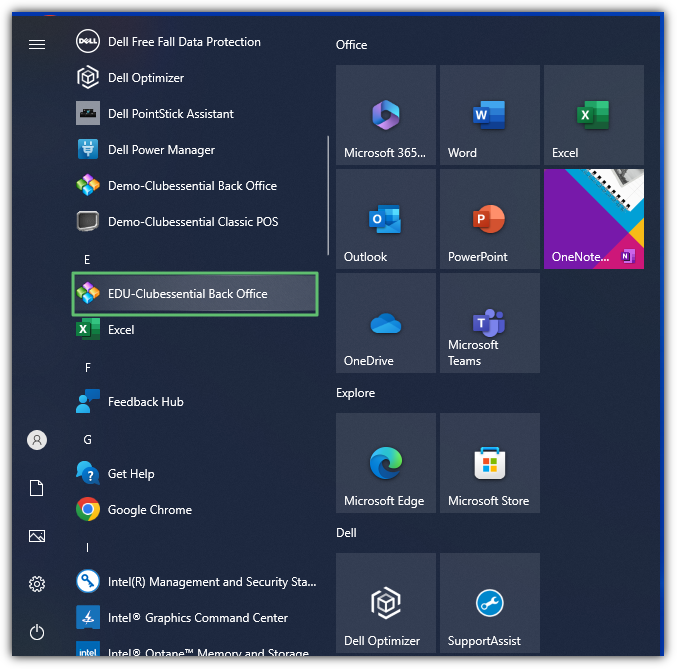
Select Start and look for the app or program in the list shown.

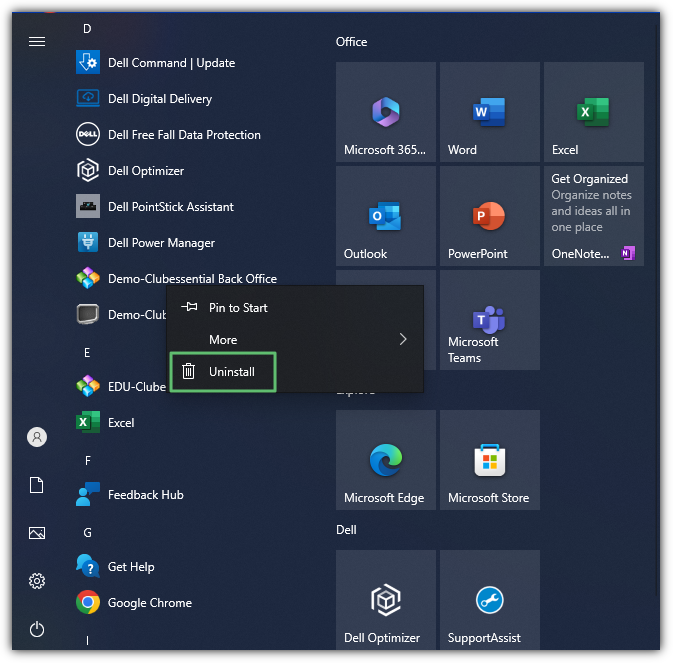
Press and hold (or right-click) on the app, then select Uninstall.
Uninstall from the Settings page
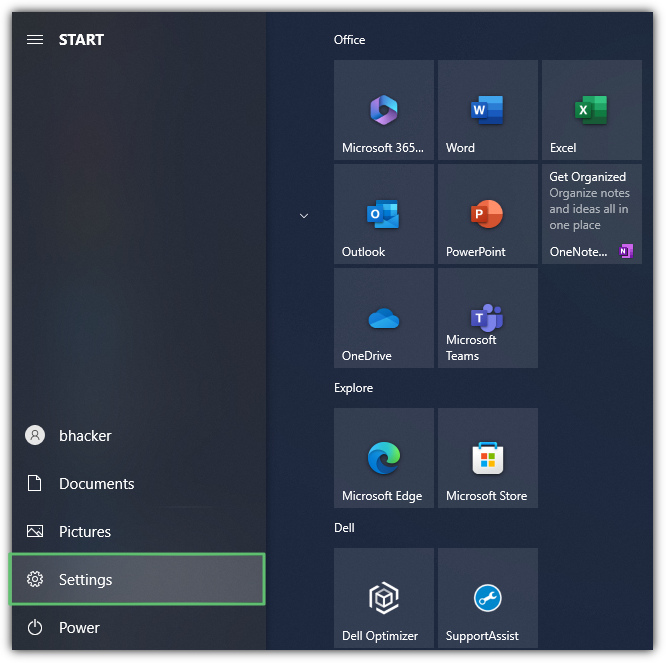
Select Start, then select Settings > Apps > Apps & features.
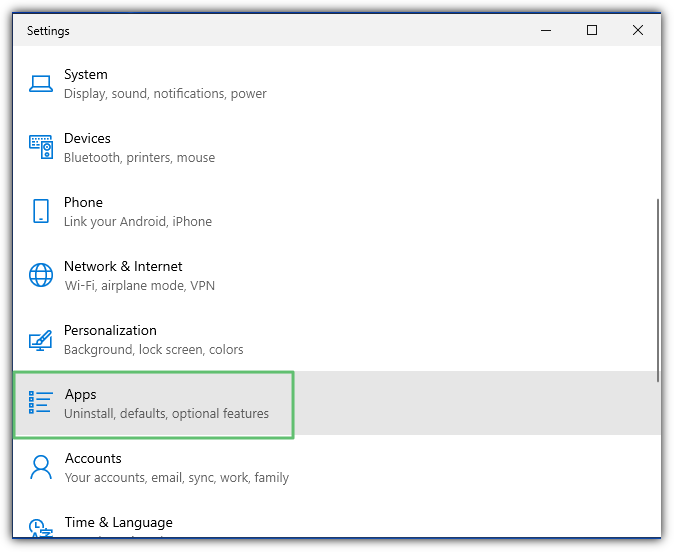
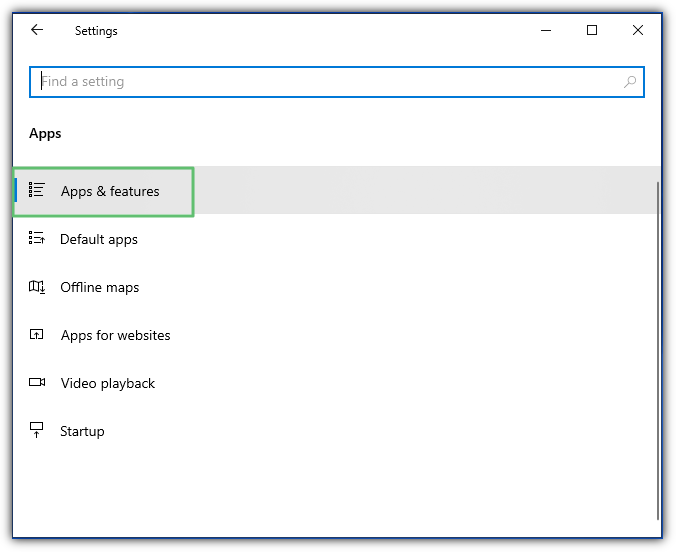
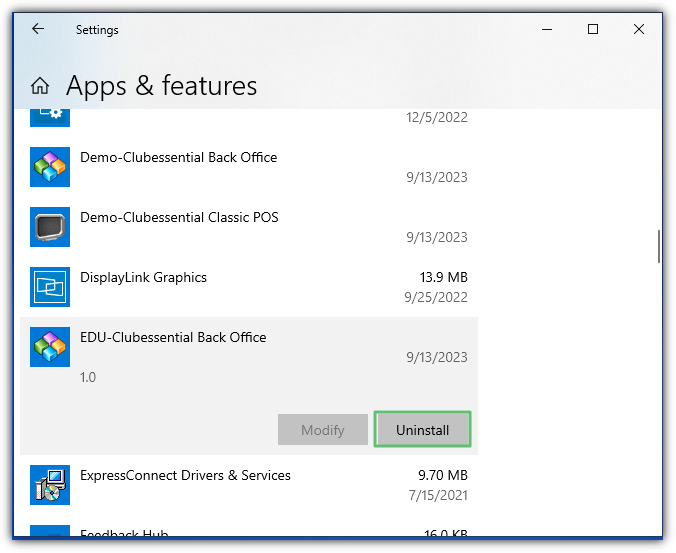
Select the app you want to remove, and then select Uninstall.
Uninstall from the Control Panel (for programs)
In the search box on the taskbar, type Control Panel and select it from the results.
Select Programs and Features.
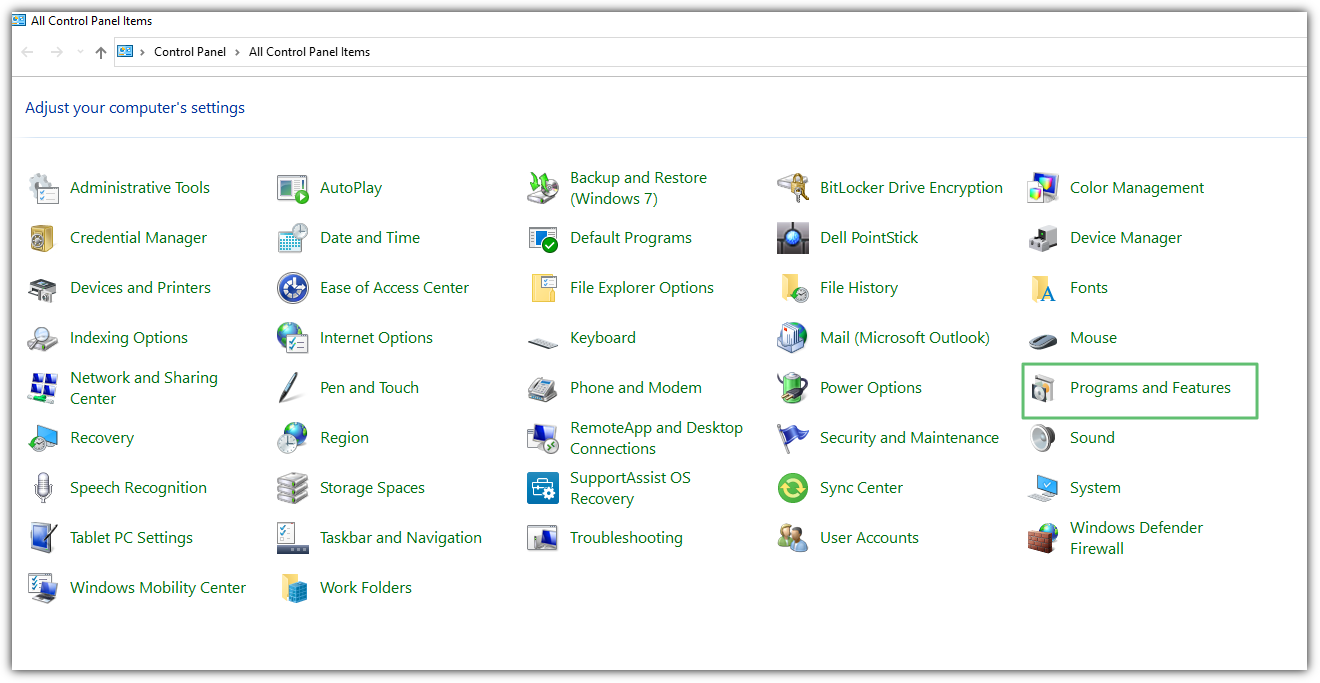
Press and hold (or right-click) on the program you want to remove and select Uninstall or Uninstall/Change. Then follow the directions on the screen.
Uninstall Using Windows 11
Uninstall from the Start menu
Select Start > All apps and search for the app in the list shown.
Press and hold (or right-click) on the app, then select Uninstall.
Uninstall in Settings
Select Start > Settings > Apps > Apps & features .
Find the app you want to remove, select More > Uninstall.
Reinstalling
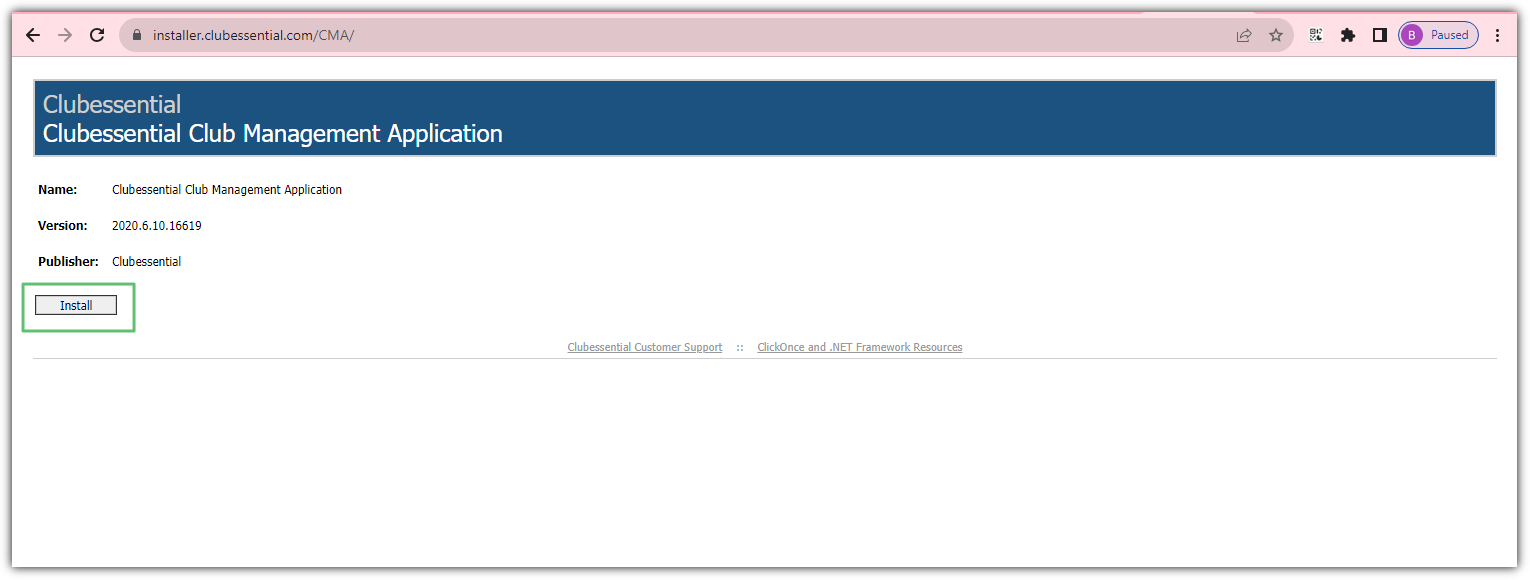
In a web browser, such as Google Chrome, visit the installation URL. The URL for the CMA installer is https://installer.clubessential.com/CMA and the URL for the POS installer is https://installer.clubessential.com/POS
Click the “Install” button on that page to download the installer.
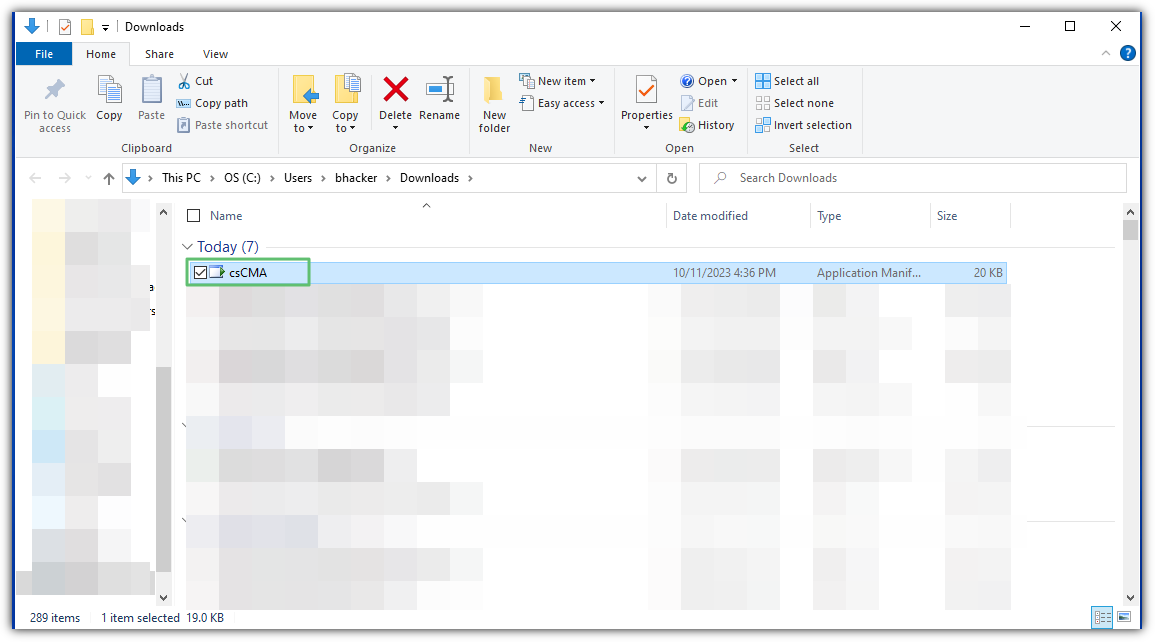
Go to your downloads folder and double click the installer to launch it.
When launched, click the “Install” button. The installation process will begin, and may take several minutes. You may do other tasks while the installation process runs.
Once the installation is complete, CMA or POS will launch, and the shortcut will appear on your desktop.
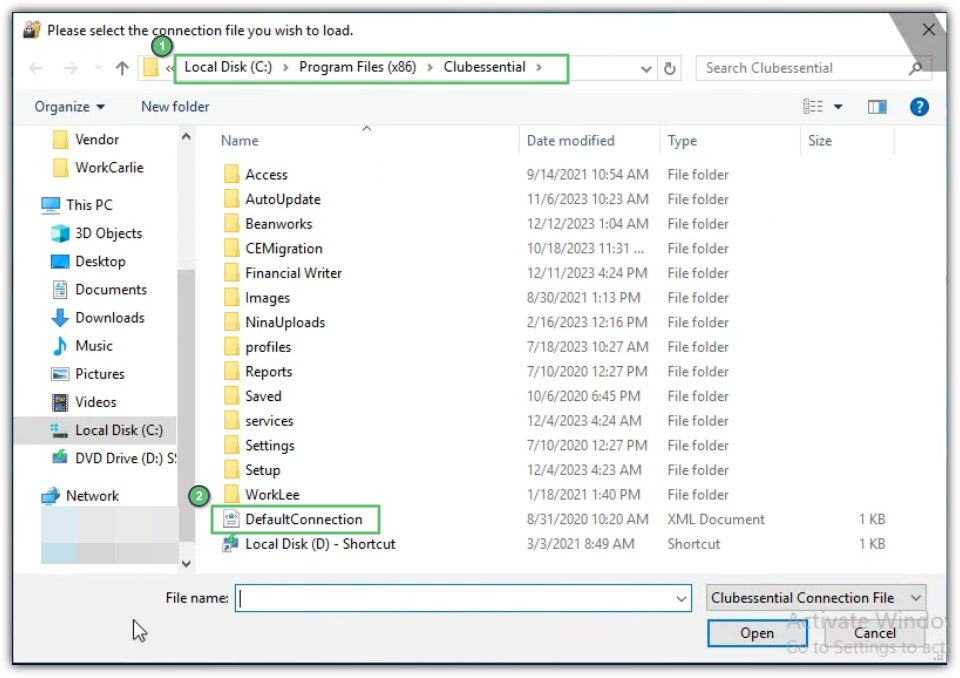
You will be prompted for the connection file. Locate the Clubessential file and double click on Default Connection.
Complete the same steps using the POS link above to get Classic POS on your PC. If the default connection file was assigned to CMA, you will not need to assign when installing the POS.
