Overview
This module will cover some basic how-to’s and FAQ’s for the Clubessential CRM. Use Case(s) This is a valuable module to read through if you are new to the Clubessential CRM, or to CRM’s in general, or if you are an experienced user just looking for a refresher. |
Content
Accessing the Tool
To access your CRM, first sign in to your member website as an administrator. Then, hover your mouse over the word “Admin” in the top left corner of the page. The CRM link should appear in either the Communication or Content Management section (sometimes the link will instead say CRM & Data Warehouse - this will take you to the same place!).
You will need to have a validated CRM User account set up before you can access the CRM. If you receive a message that says “Unable To Load Page, Invalid User” then you’ll need to contact your Account Manager to purchase an additional license to use the CRM.
How can I...?
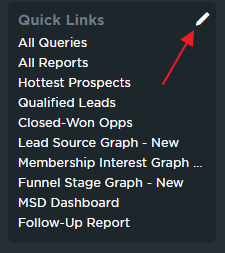
Configure my Quick Links
Each CRM User can configure their own unique set of Quick Links, for easy reference. Quick Links appear in the left sidebar of the CRM, and can link to Queries, Reports, or Views within your CRM.
To edit the list of Quick Links for your login, follow these steps:
Hover your mouse over the word ‘Quick Links’ from the Quick Links section in the sidebar, and click the edit icon that appears to the right of the section title.
This will bring you to the Configure Quick Links Screen.
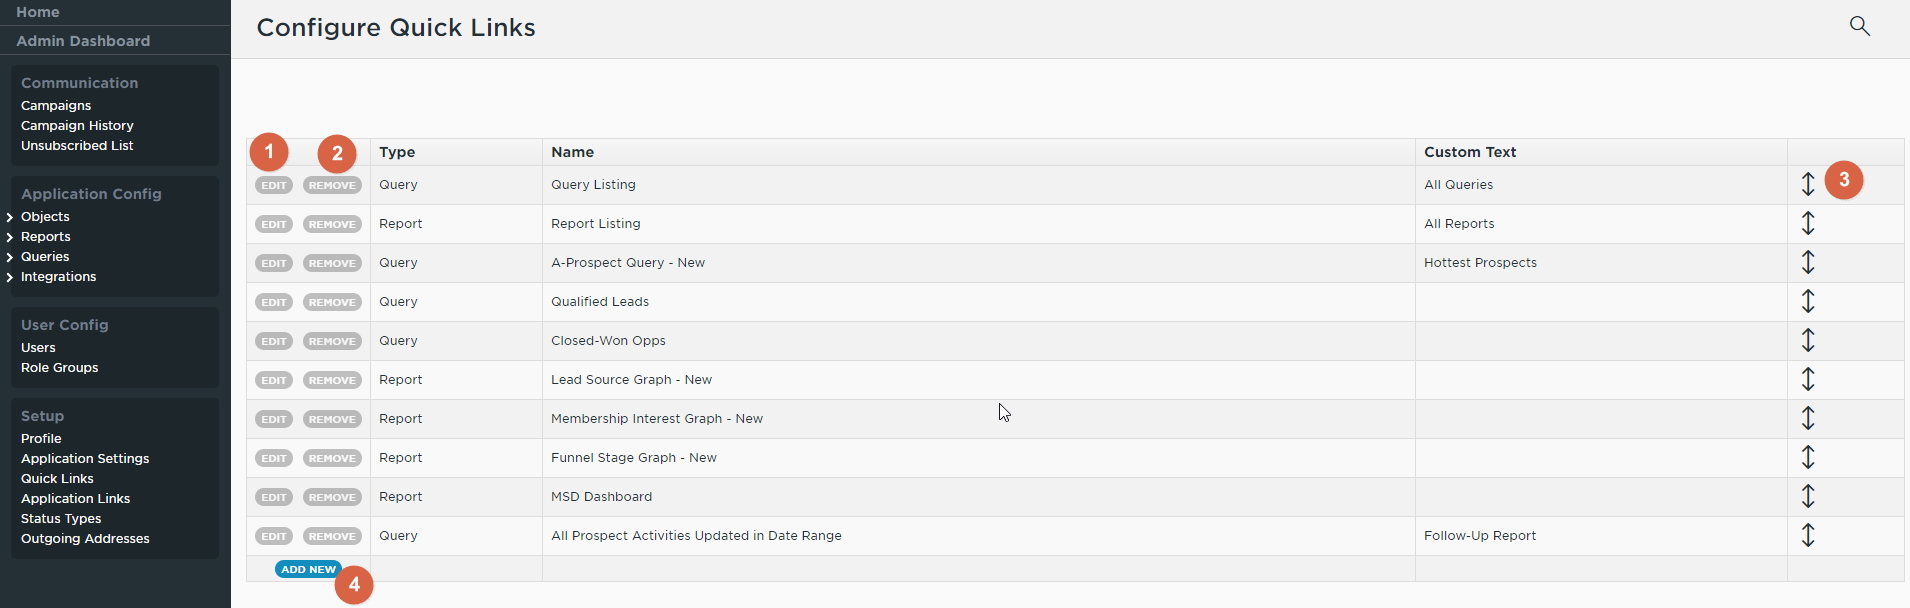
- To edit an existing link, click on the edit button (1) to the left of the display link. You’ll then be able to change the destination of the link, or any custom text to display as the name of this link in your Quick Links menu.
- To delete an existing link, click on the delete button (2) to the left of the display link.
- To rearrange the existing links in the list, click and drag on the arrow handle (3) to the right of the display link. Links will appear in the same order on the list of Quick Links from your home menu as they do in this list on the edit screen.
To add a new link, click on the Add New button (4) at the bottom of the list of existing links. A new line will be added to the list of links, and you’ll be able to select the type (View, Report, or Query), source (which will fill in based on your selection for Type, with all available Views, Reports, or Queries to choose from), and custom text for your new link. You’ll need to save your new link before you can reorder it in the list.
When you are done editing your Quick Links, you can navigate back to your home screen by clicking the Home button in the top left of your CRM. Once back at your home page, you should see your updated set of Quick Links!
Merge Two Records Together
Sometimes you may find the need to merge two CRM records together. This usually is the case when a record is manually created for a prospect, and then they later fill out an inquiry form which creates a second record for them. You may also merge converted prospect records into their Member record that syncs from the member website. Thankfully, the CRM offers the capability to easily merge two records into one, preserving any necessary data from both records. Here’s how it works:
First, you’ll need to have both records that you want to merge displayed in the same View.

From there, you should see a checkbox at the far left of each record (1). Check this box next to each record that you’d like to merge. Once you’ve clicked the second box, a new button labeled Merge Selected Records (2) will appear in the top right of your View. Click this button to start the process.
Clicking the Merge Selected Records button will bring up the Record Merge Wizard, seen here.

This wizard will display all fields in the selected Object containing the two records, and the associated value each record holds in each field. You will have the option to select a value from each field in cases where the two values don’t match. In some cases, such as the Activity History field in this example, a third option is available, which will allow you to keep the values from both records without overwriting any values. This will be selected by default for all fields in which this is an option, and is displayed as a button in the field name column to the far left.
Once you’ve worked your way through the list of all available fields and are satisfied with your selection, click the green Merge button, and the two records will be combined into one.
NOTE: This is irreversible, so please take care when merging records.
Downloadable Guide