Table of Contents
Overview
Users must ensure all Club financial records match the corresponding bank statement before the close of the month. In order to do so, they must use the Bank Reconciliation Wizard, accessible in the General Ledger module within Office.
Required Permissions
General Ledger
Bank Reconciliation Wizard
Accessing Bank Reconciliation Wizard
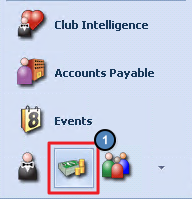
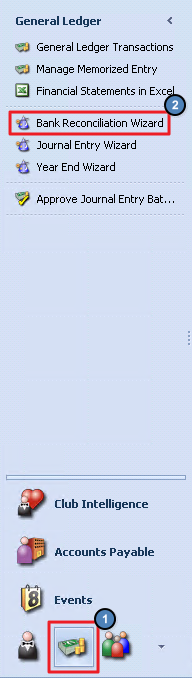
To access the Bank Reconciliation Wizard, select General Ledger from the left hand menu.
Next, select Bank Reconciliation Wizard. This will populate a grid that shows all existing and saved Bank Reconciliations from the past.
Creating a New Reconciliation
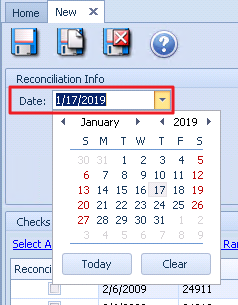
Select New on the top left.
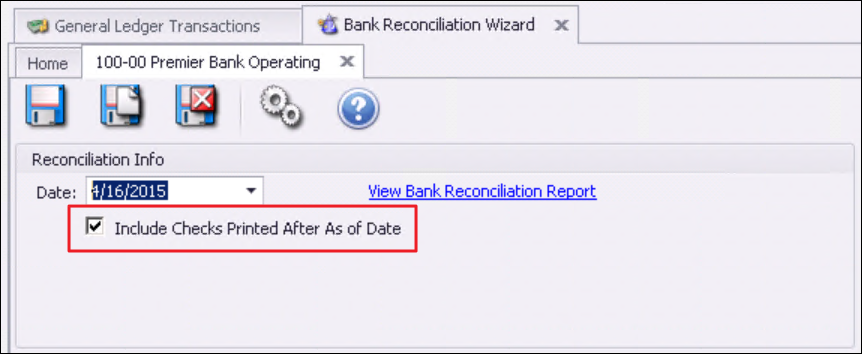
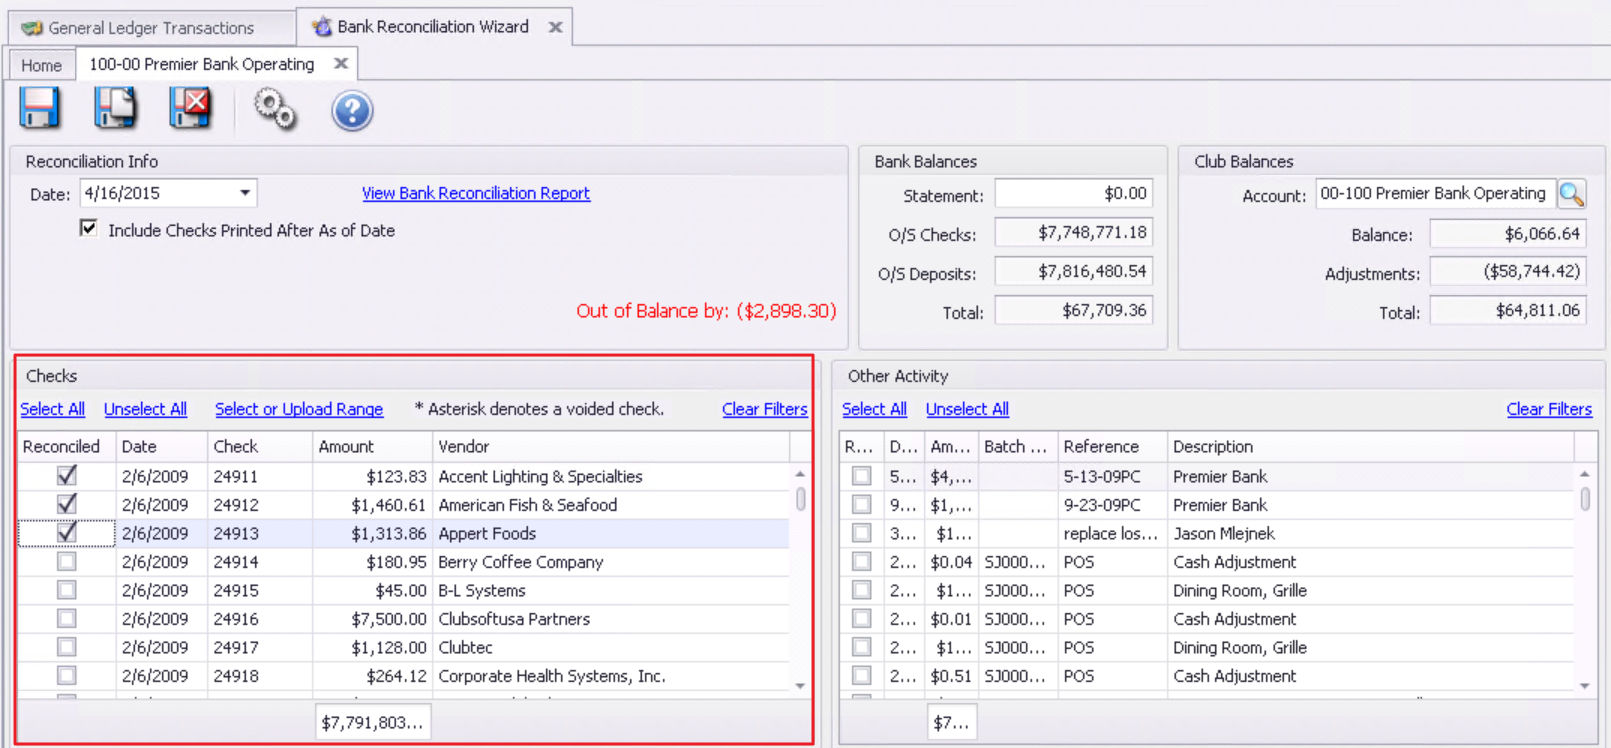
Next, set the date to the end of the month that is to be reconciled.
Utilize the Include checks printed after As Of date option to include/exclude checks that were printed after the bank rec was completed.
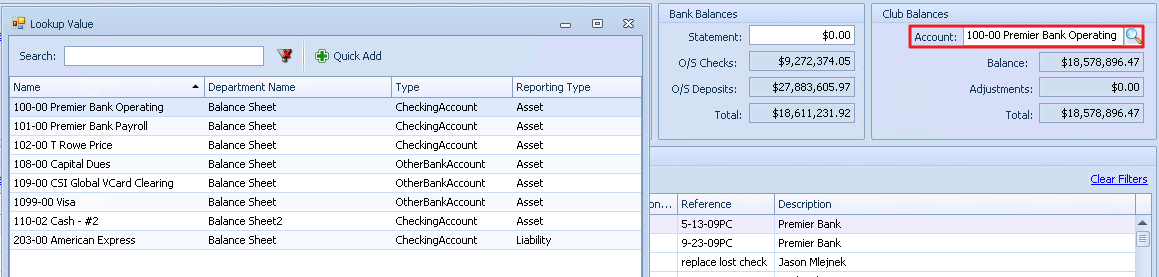
Set the Account Number to the corresponding General Ledger (G/L) account by typing it in, or selecting the magnifying glass icon.
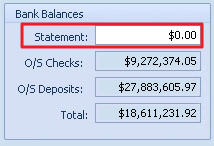
Enter the ending bank balance from the bank statement that corresponds with the date chosen.
The system will then pull in the balance on that G/L account, as of the date selected.
On the left hand side, labeled Checks, all checks written from that G/L account, that have not been flagged as reconciled, will display. Now, mark each check that has cleared.
If a check is voided, it will show on this side with an asterisk, that denotes it was voided. There will be a corresponding entry on the other side that you will check to keep it in balance.
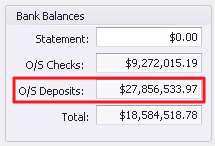
As you mark off the checks, the outstanding checks balance will change and adjust the total on the Bank Balance section.
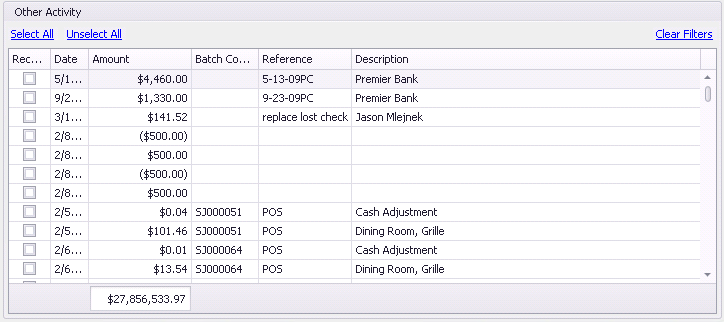
On the right hand side, all the journal entries that would be part of this G/L account will show as a debit or credit as it was posted in the batch.
The information that was posted to this account from any of the sales journals from the POS will show here, with CC types, Cash, etc. broken out to allow users to quickly reconcile the amounts. As batches are checked, the outstanding deposit amount will change in the bank balances box.
Once everything is in balance, Save/Exit. The system will show that everything is in balance and will be ready for the next Reconciliation.
Best Practices
Only work on one bank reconciliation at a time for each bank account. Complete the reconciliation before proceeding to the next month.
Users can stop and start the bank reconciliation process at any time. Users can Save/Exit and will receive an out of balance warning. Once they are finished, they can print the bank rec report and save it.
Users can print out a list of which line items they have checked off on either side during the process by using the filters on the grid show only what is selected. Then, right click and export the grid and print.
Only one Bank Rec can be open at a time, and Users can only reopen the last rec completed for that account.
For an account to show in the list to be reconciled, it has to be set up in the G/L and set as Checking or other banking. General type will not trigger the system that it needs to be reconciled. Type is listed when viewing a G/L account from General Ledger across the top, then Accounts and you have opened the account window.
FAQs
Q: What if I need to reopen the Bank Reconciliation after I have closed and finished?
A: If you need to reopen the bank rec after you have closed, go to the Bank Reconciliation Wizard grid where you see all the bank recs. Click on the last one you completed for the account you are needing to make changes. Click on it ONE time, just to anchor it (will be highlighted). Now, hit the delete key on the toolbar. A message will pop up confirming deletion, select yes. A second message will pop up to let you know that the bank rec has been uncompleted and you select ok and close the window and IMMEDIATELY hit the refresh button on the toolbar. Now, that bank rec will show as NOT completed and you can go into it and edit or adjust. All that was done in this process was to unpost and delete the Adjustment batch that might have been created when you first closed it. Again, just click on the bank rec you want to re-open ONE time in the grid, hit the delete key ONE time and then be SURE you hit the REFRESH button before you do anything else (after closing out of all the prompts).
Q: What if I have an Entry that needs to be made after the Bank Reconciliation?
A: Users can add an Entry in the Adjustment section along the bottom of the window, as seen below. Entering the adjustments will affect the other side of the entry for the G/L account being reconciled. The journal entry for the adjustment will not be made until you complete the Bank Reconciliation.
