Office - Mobile POS - F&B Guide - As a Server - Flyout Menu
Table of Contents
- 1 Overview
- 2 Required Permissions
- 3 Fly Out Menu
- 3.1 Member Lookup
- 3.2 Item Lookup
- 3.3 Ticket Lookup
- 3.4 Gift Card Balance
- 3.4.1 Reassign Gift Card
- 3.5 Messages
- 3.6 End of Shift Report
- 4 Best Practices
- 5 FAQs
Overview
In this manual, we will discuss the various functionalities within our Mobile POS- F&B System.
Required Permissions
POS Terminal
Fly Out Menu
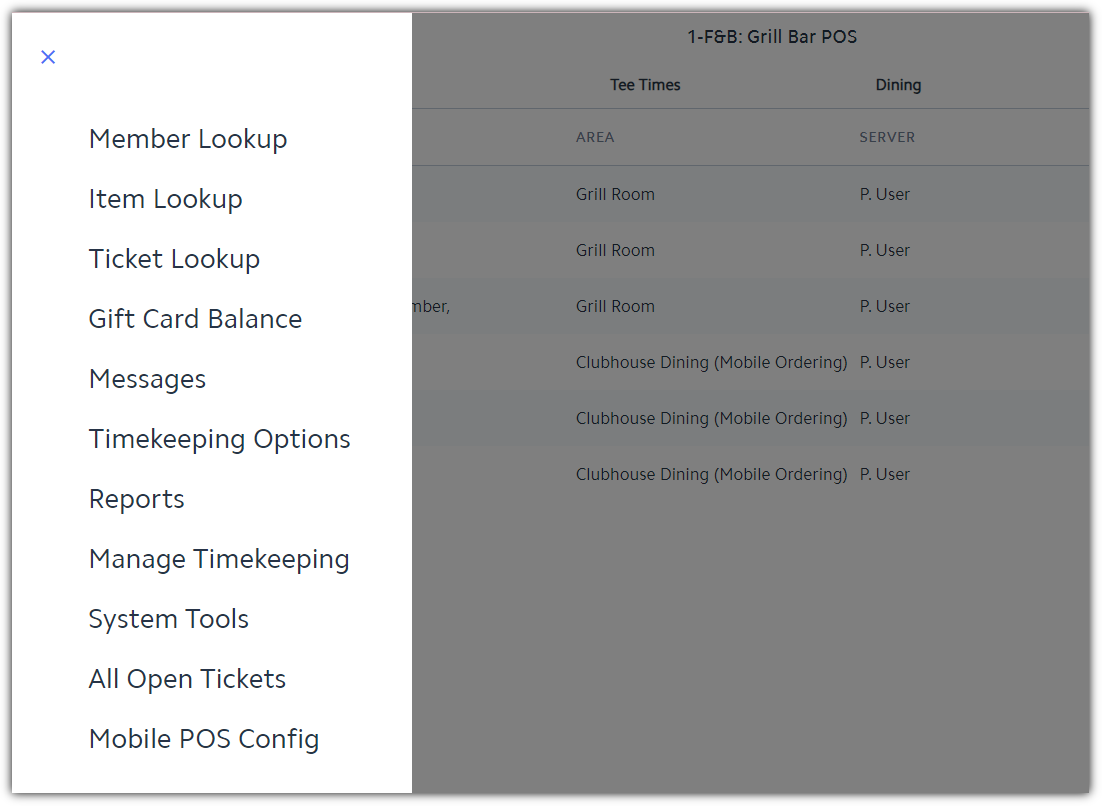
The Fly Out Menu provides users the ability to access additional functionality of the Mobile POS. This includes a Member Lookup (To Access additional information about the Member), End Of Shift Report, Shift History Report, Gift Card Balance, Item Lookup, and System Tools.
Select the Flyout Menu in the upper left corner of the POS.
Member Lookup
Please follow instructions below to access additional information about a Member
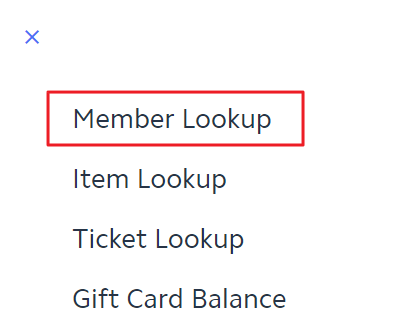
Select Member Lookup from the Fly Out Menu.
The Member Grid will populate. Search for and select the applicable Member.
Clubs with more than one company configured in CMA will see the All Companies checkbox in the upper right-hand corner of the screen. Checking/Unchecking this checkbox will allow users to toggle the list of displayed Members between the current company and All Companies.
Note: The All Companies checkbox will only appear for Clubs with more than one company configured and has assigned the Mobile POS device to an Area that has the Show Company Toggle on Member Lookup in POS enabled. (To enable this option, navigate to System, Areas, POS Options.)
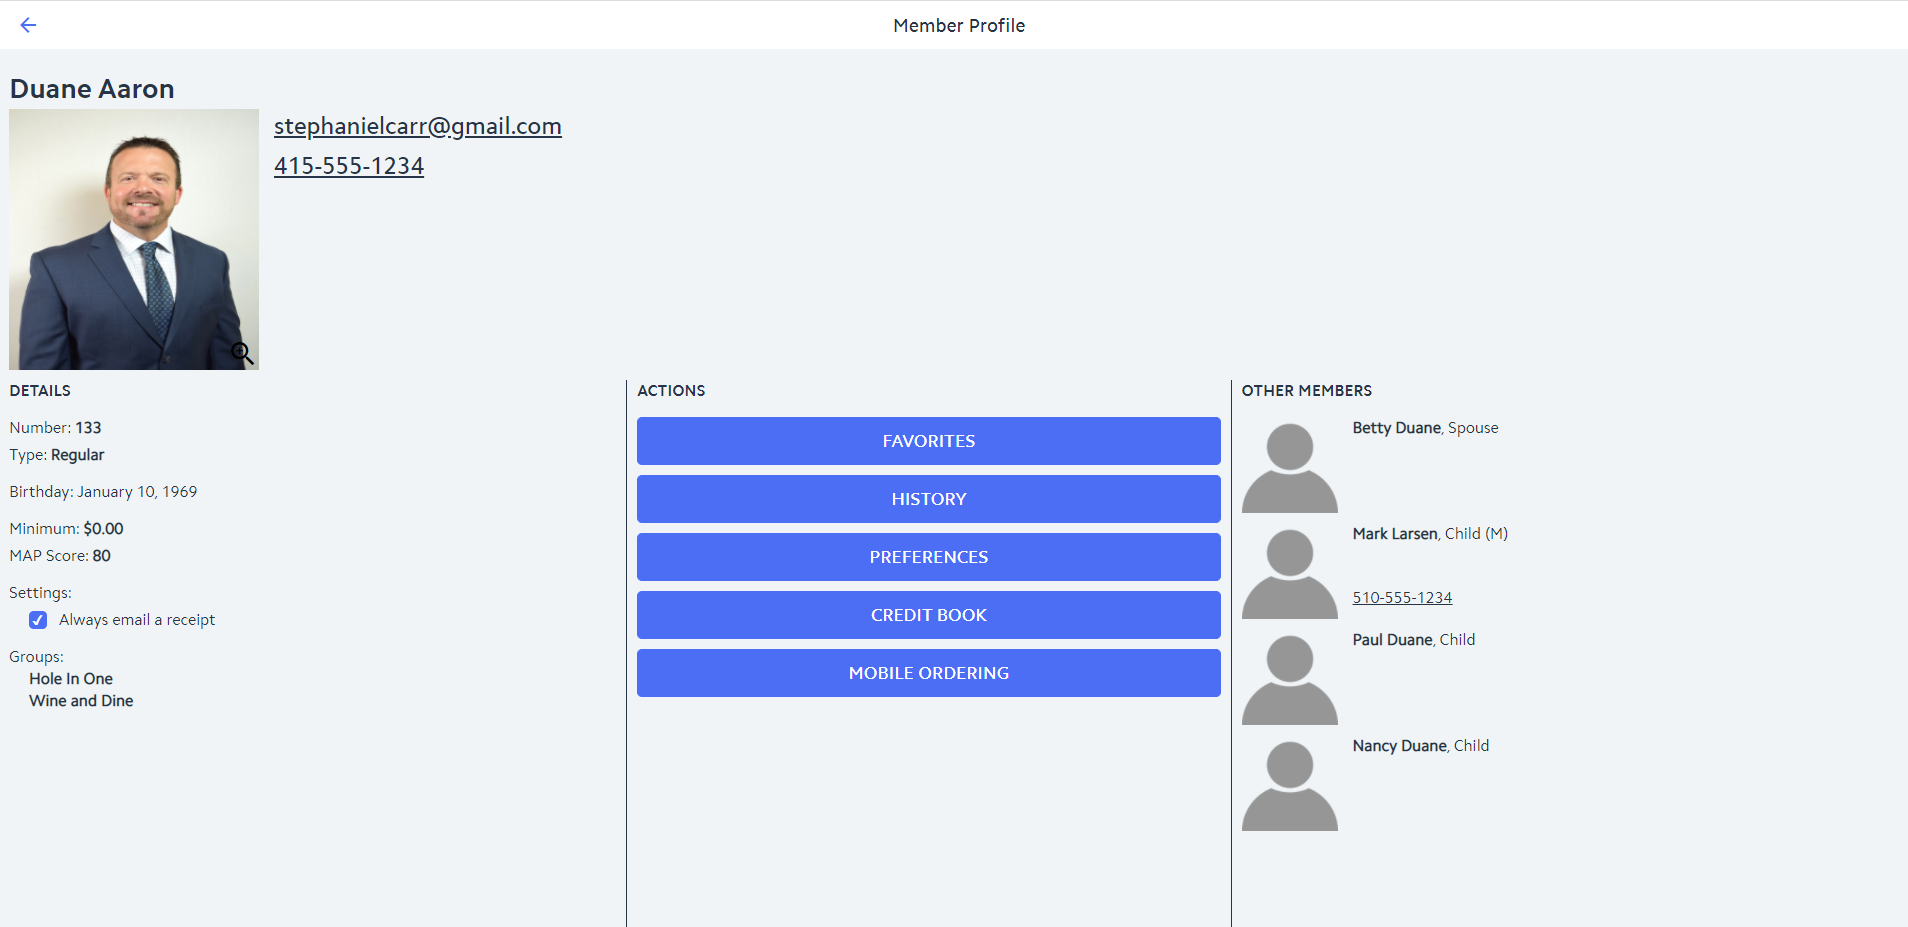
The Member Profile will be displayed and will include information about the member such as the member's email address, phone number, member number, member type, birthdate, minimum activity, MAP score, and member groups. In addition, the member's dependents will be listed within the Member Profile page.
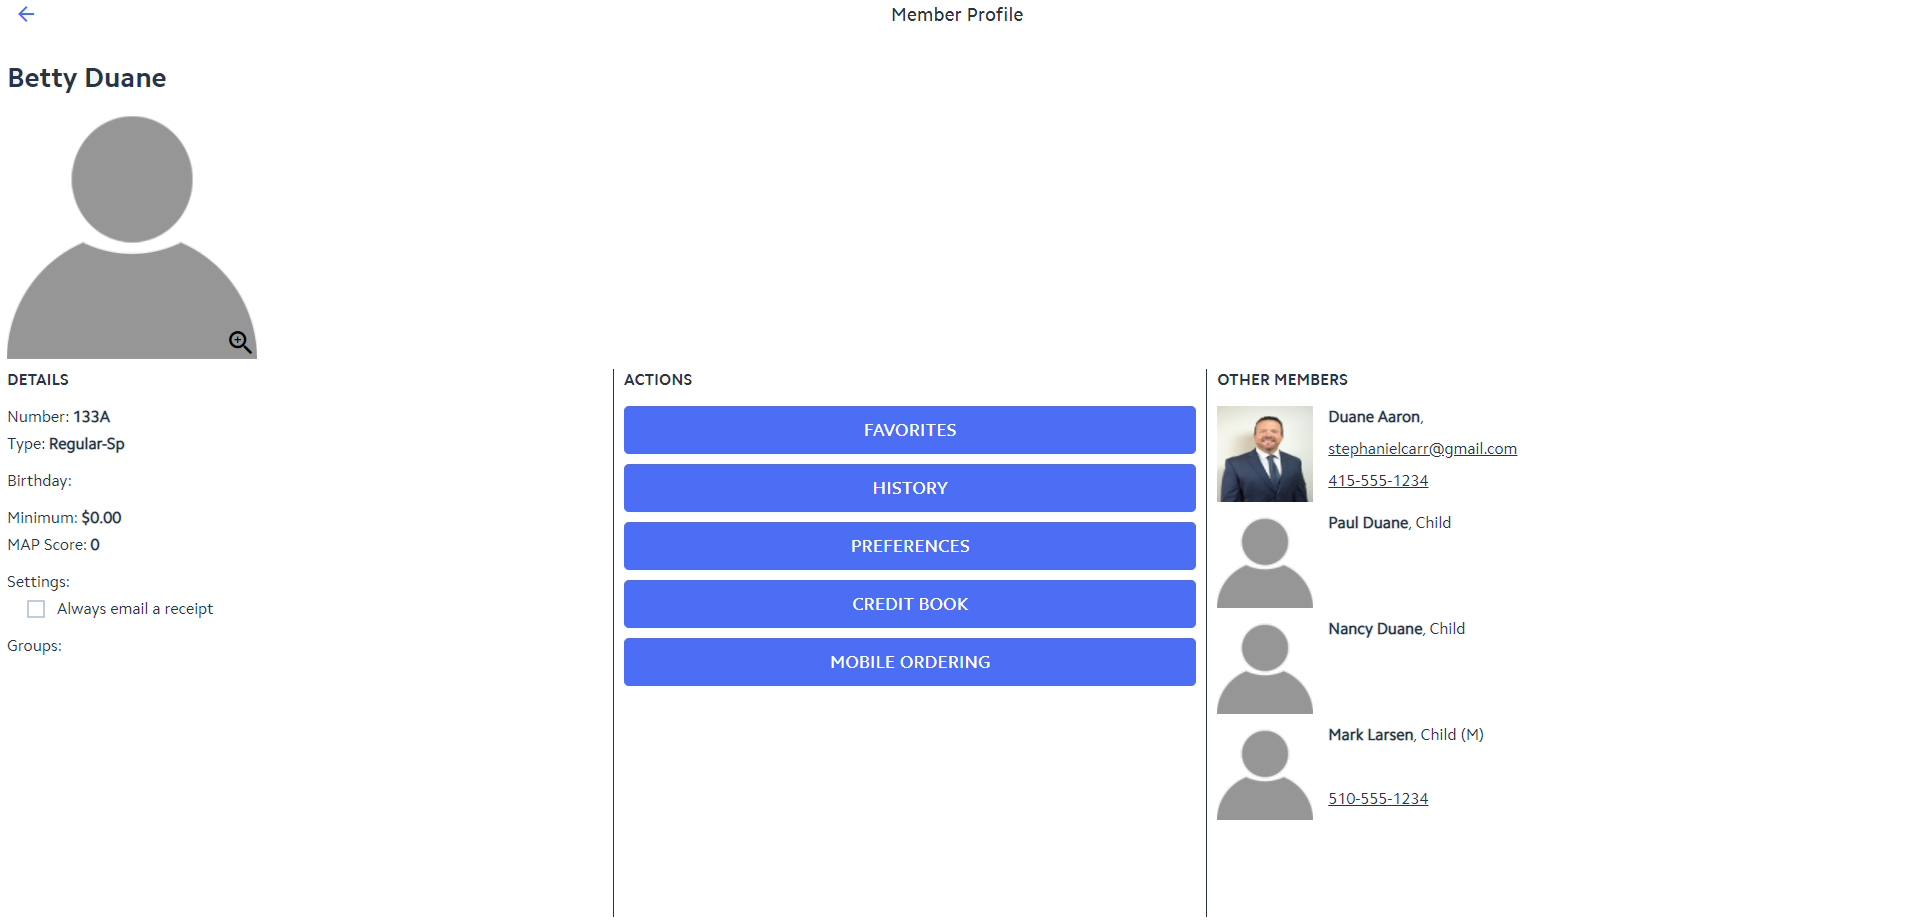
Click on any dependent to display their Member Profile at the top of the screen in place of the member that was being viewed. Click back and forth between dependents to display the Member Profile you want to view at the top of the screen.
Note: Minors will be displayed with a (M) behind their name. The determination of minors is based on Birthdate. If the Member does not have a Birthdate stored in CMA, they will not be flagged as a minor.
For additional information about the functionality of the Member Profile screen (Favorites, History, Preferences, Credit Book and Mobile Ordering), please refer back to section Additional Information About the Member.
Item Lookup
In the event an Item has a limited Quantity, users have the ability to turn on, as well as update the Countdown for the Item directly in the Mobile POS. Please follow instructions below.
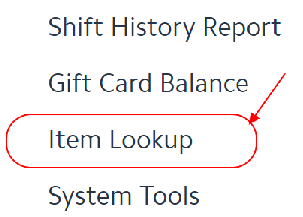
Select Item Lookup from the Fly Out Menu.
An Item Grid will populate. Search for and Select the applicable Item.
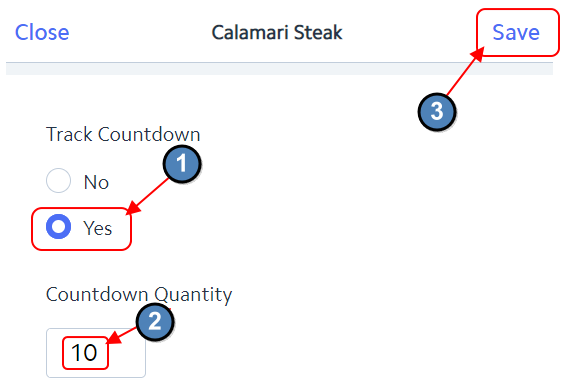
Select Yes to Turn the Countdown On (Or No to Turn the Countdown Off). Enter the applicable Quantity. Select Save when finished.
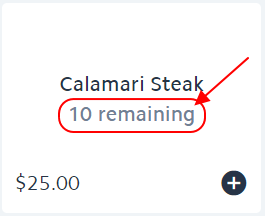
The Countdown will then be added to the Item Lookup Grid, and also be included on the actual POS Button for the Item.
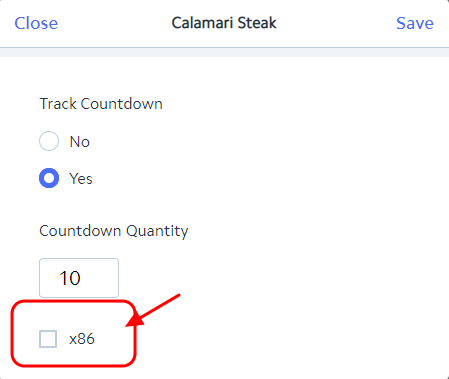
Users can also mark the item Inactive by selecting the x86 button.
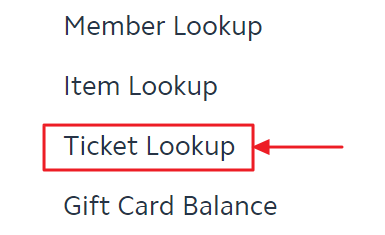
Ticket Lookup
Users have the ability to lookup previously Closed tickets.
Select Ticket Lookup from the Fly Out Menu.
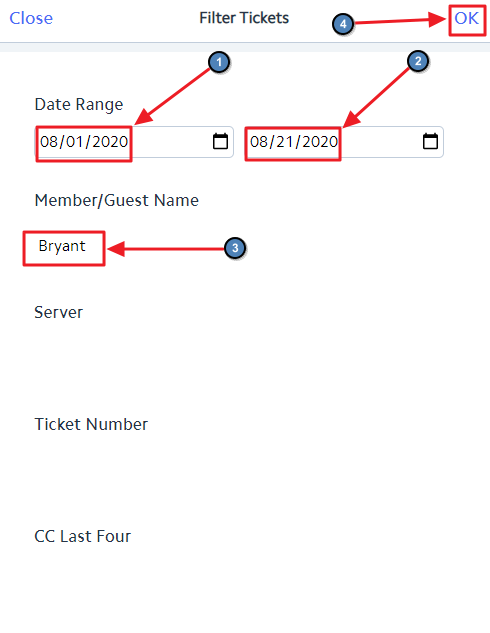
A screen will populate allowing the user to enter various filter criteria to be applied to the search including Date Range, Member/Guest Name, Server Name, Ticket Number, and the Last 4 Digits of a Credit Card. After entering the desired search criteria, click OK.
The Ticket Lookup results screen will be displayed with any Closed Tickets matching the search criteria.
From this screen, the user has the option to Change Filter criteria and re-execute the search. Users can also select a Ticket from this screen and take the following actions: Re-Open, Print Pay, Print Settle, and Delete.
To exit the Ticket Lookup screen without taking any action, click the Back Arrow at the top left-hand corner of the screen. This will take the user back to the Open Ticket tab.
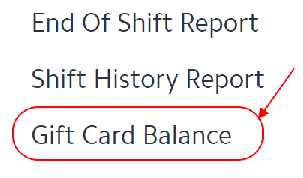
Gift Card Balance
The Gift Card Balance option allows the user to lookup the Balance of a Gift Card, as well as Reassign a Gift Card. Please follow instructions below for each option.
Select Gift Card Balance from the Fly Out Menu.
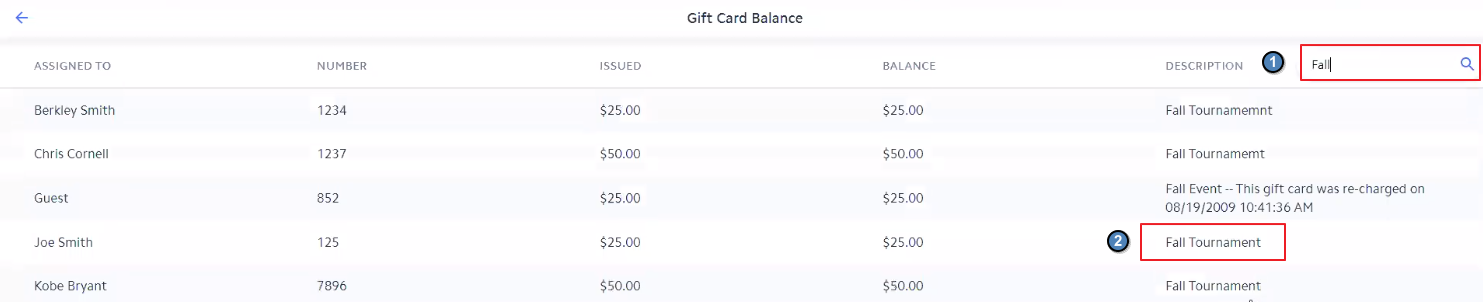
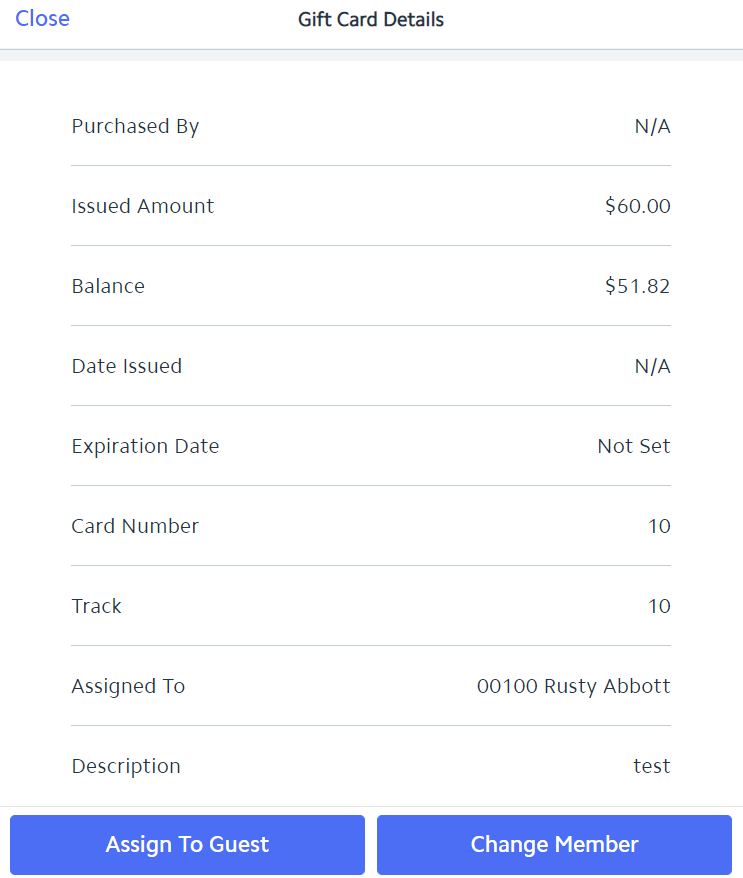
A grid will populate displaying all Gift Cards in the System. Fields displayed on the grid include Assigned To, Gift Card Number, Issued Amount, Remaining Balance and Description. Use the Search option to look up the applicable Gift Card. Touch or click the applicable Gift Card to view additional Details.
Additional Details include Purchased By, Issued Amount, Balance, Date Issued, Expiration Date, Card Number, Track Number, Assigned to, and Description.
Reassign Gift Card
Please follow instructions below to Reassign a Gift Card to a Guest or a Member.
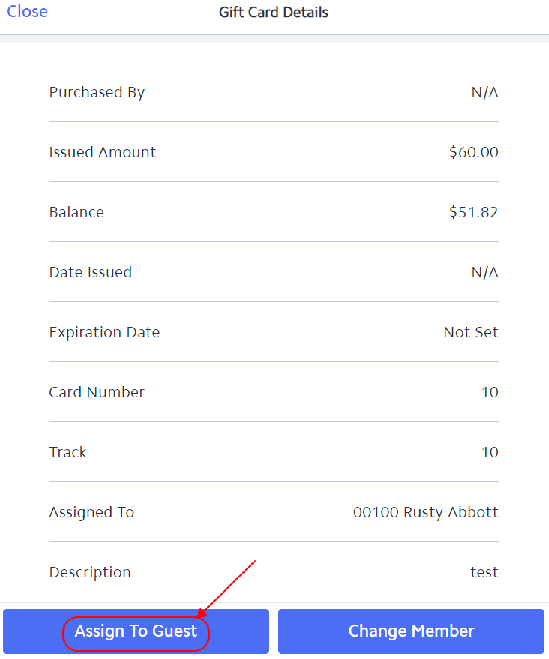
Guest
Select Assign to Guest.
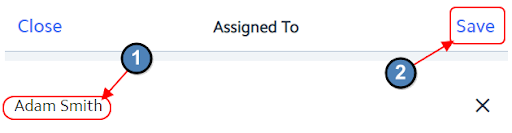
The System will prompt the user to enter the Guest’s Name. Click Save when finished.
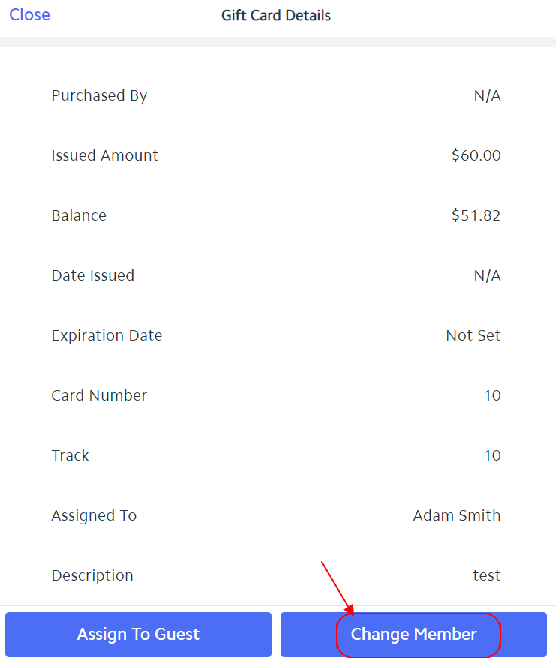
Member
Select Change Member.
A Member Grid will populate. Search for and select the applicable Member.
Messages
To view more about Employee, Member and Member Group Messages please CLICK HERE
End of Shift Report
Prior to running an End of Shift Report please verify the Open Tickets Tab is blank reflecting no Open Tickets. This will guarantee all sales for the day are reflected in the report (The system will error if there are any Open Ticket). The End of Shift Report can be printed as many times as the user wants, at any time. In addition, the system also keeps an archive of past End of Shift reports for the user to access and print at any time. Please follow the instructions below to run and print an End of Shift Report.
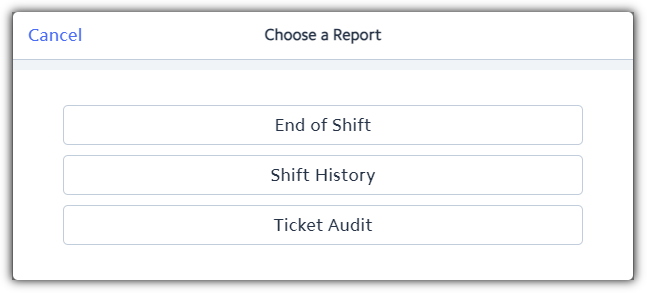
Select End of Shift Report from Reports on the Fly Out Menu.
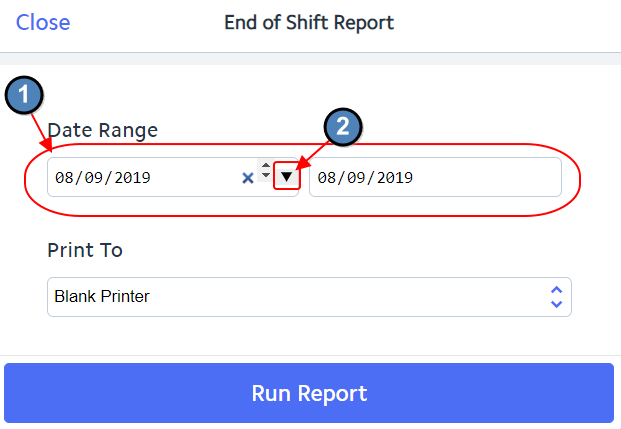
The System will default to Current Day for both the Start and End Dates. This is done because we are assuming the user is running the report for the Current Day, at the End of their Shift. Use the Date Dropdown to run an End of Shift Report from a different day.
Note: Please be sure the Start and End Dates are set to the Same Day. This will tell the System to only pull Sales for the Date selected. To run the report over multiple days, select the applicable date range.
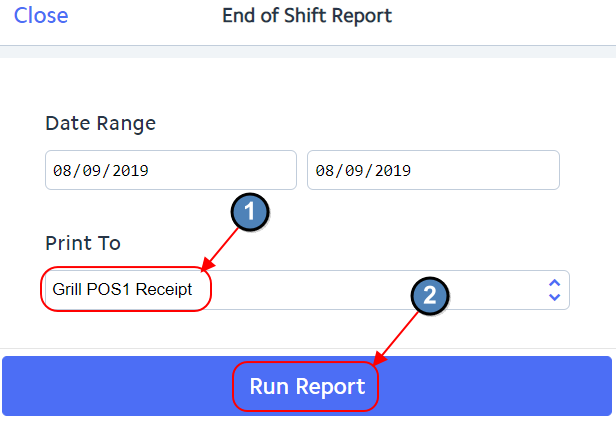
Select the Receipt Printer to where the report should be printed. Then choose Run Report.
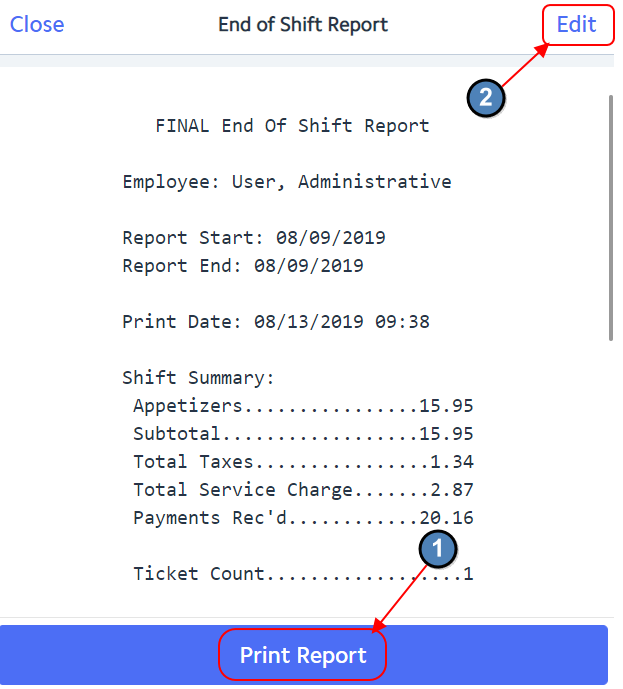
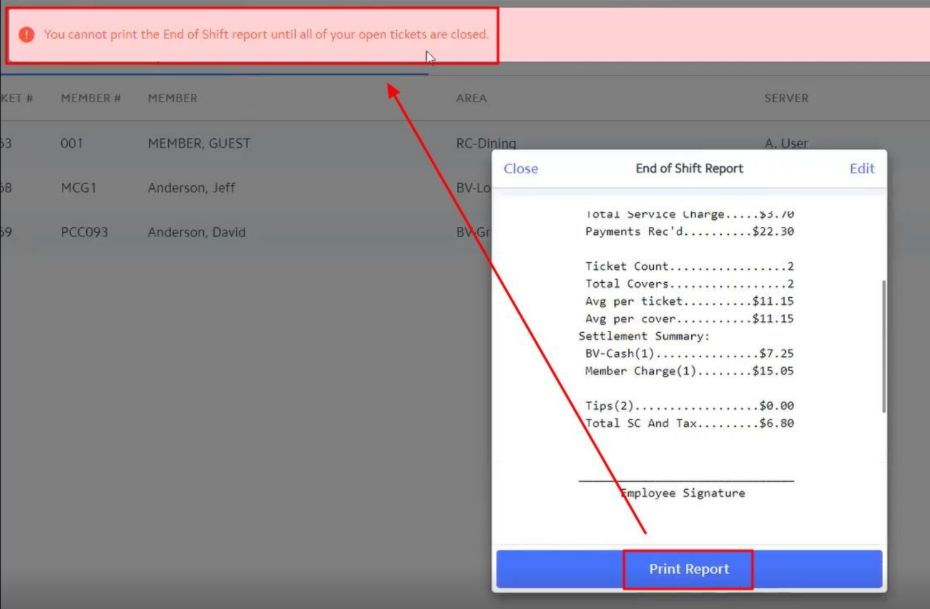
A Print Preview will populate. Select Print Report to physically print the End of Shift Report; or select Edit to navigate to the previous step.
Note: If the user has any open Tickets when Print Report is selected, they will receive an error message. Please be sure to Close or Transfer any Open Tickets before running the End of Shift Report.
Best Practices
If you find that you cannot perform certain tasks outlined in this guide, it may be due to a lack of permission. Please consult with your manager about access.
FAQs
Q: Can I sort various columns within the Mobile POS grid in ascending and descending order?
A: Yes, when navigating to any Mobile POS grid (Open Tickets, Dining, Events, Closed Tickets, Member Lookup, Item Lookup, Ticket Lookup, All Open Tickets, etc.), any column can be sorted in ascending or descending order by clicking on the column header. When a column is sorted, an arrow will appear indicating the sort order of the column. The up arrow indicates the column is sorted in ascending order. The down arrow indicates the column is sorted in descending order.
Q: When viewing the Closed Tickets grid in Mobile POS, can I see all closed tickets for any F&B Area?
A: When logged into a F&B Area, only closed F&B tickets for the Area(s) the user has the rights to view will be shown in the Closed Ticket grid.
