CE Payments - Targeted Member Adoption Groups
Table of Contents
Overview
This guide walks through the steps of identifying and creating a group of Members who have not yet begun submitting their payments online.
Required Permissions
Membership
Accessing the Tool
Creating the Report
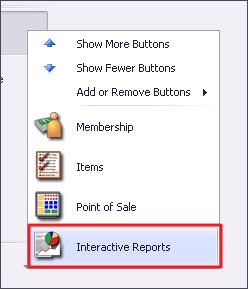
Navigate to the Interactive Reports module within CMA.
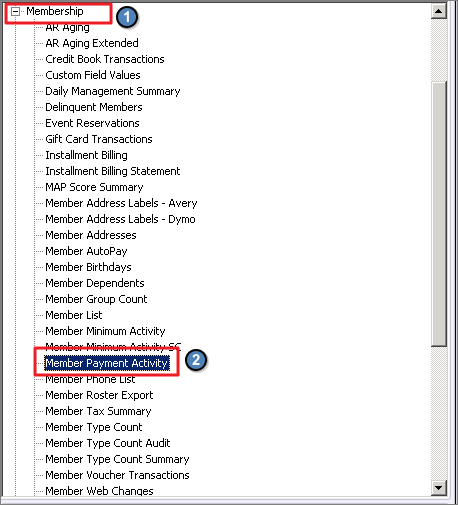
Expand the Membership option from the report listing and select the Member Payment Activity Report.
Set the Start Date to the day that you began accepting online payments.
Using the wrench icon, set the End Date to Current Day to ensure the group always contains member who have not submitted an online payment.
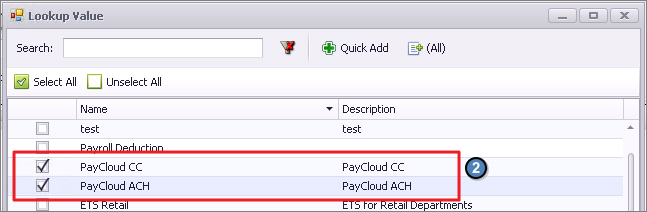
Under the CR Types selection, check both PayCloud CC and PayCloud ACH.
Check the box for Make Public and then Save Current Settings.
Creating the Group
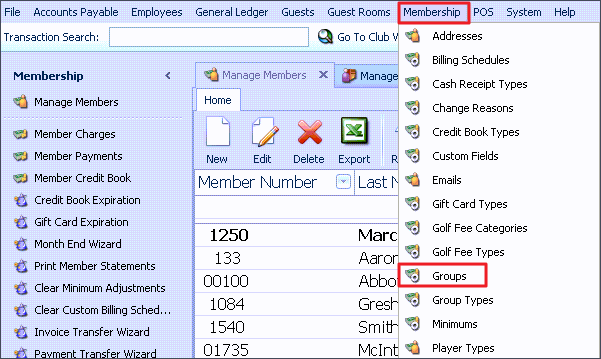
Navigate to Membership from the top toolbar and select Groups.
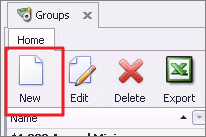
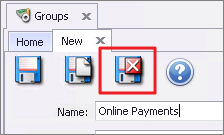
Click on the New button.
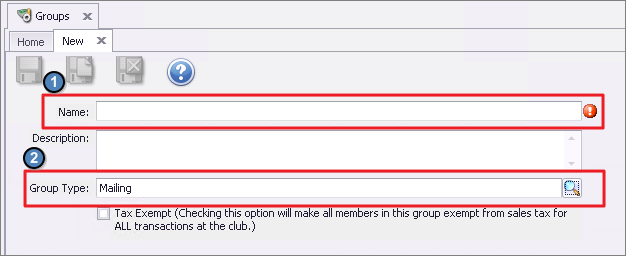
Enter a Name and choose the Group Type of Mailing.
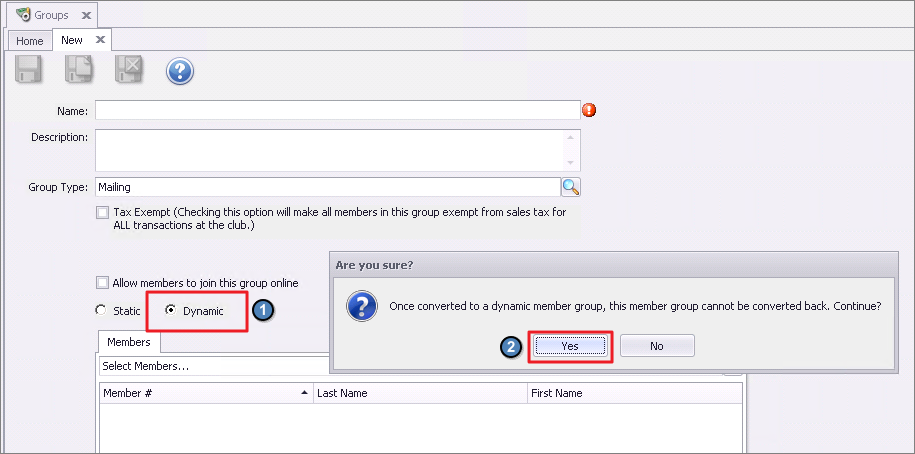
Select the Dynamic group option. A prompt will appear indication the following message, “Are you sure? Once converted to a dynamic member group, this member group cannot be converted back. Continue?” Select Yes on this prompt.
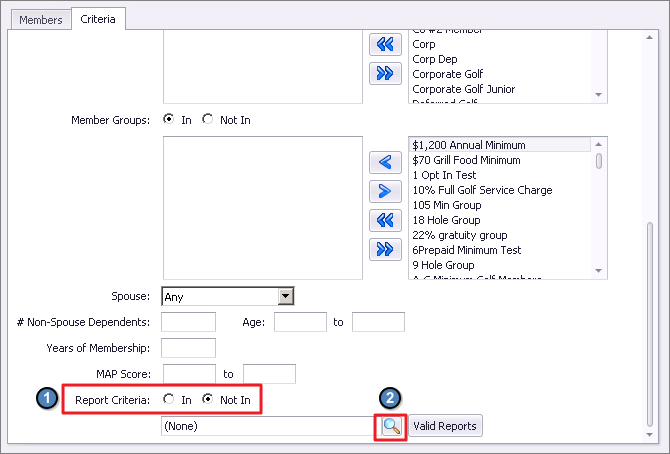
A Criteria tab will now appear next to Members. Scroll to the bottom of this section and select Not In under the Report Criteria option. Then click the magnifying glass icon to search for your newly created Online Payments Report.
Click Save & Close.
Sync The Group to Your Website
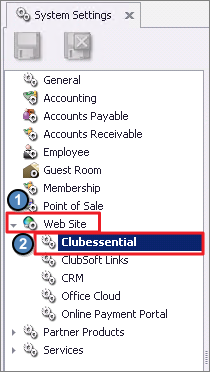
Navigate to System on the top toolbar and select System Settings in the menu list.
Expand Web Site on the left and click Clubessential.
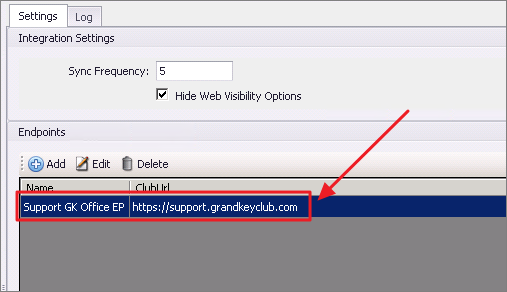
Within the Settings tab, double click the ClubURL.
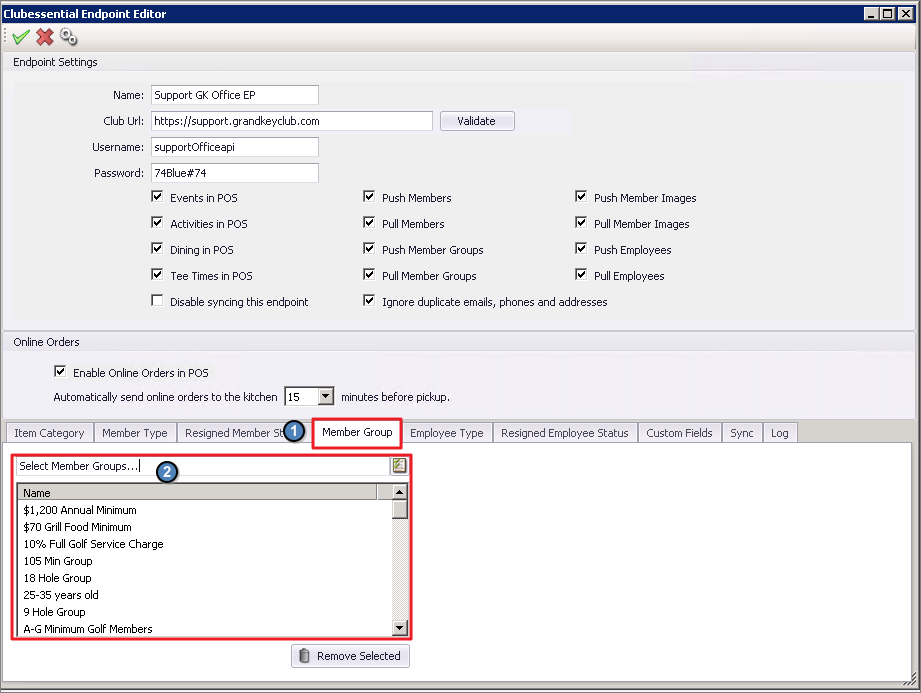
Clubessential Endpoint Editor will open. Navigate to the Member Group tab and select your newly created group.
Click the Green Check Mark icon to Save your changes.
The group will be available for recipient selection within the Email Editor on your Clubessential Website after the next auto sync, usually set up to run every 5 minutes.
Best Practices
After setting the group up to sync, you will need to wait for the next auto sync for the group to appear for use on the website or you can manually sync by pressing the sync tab within the endpoint editor and choosing to push the groups to the website.
FAQs
