...
The following Image Explorer Interface screen will launch.
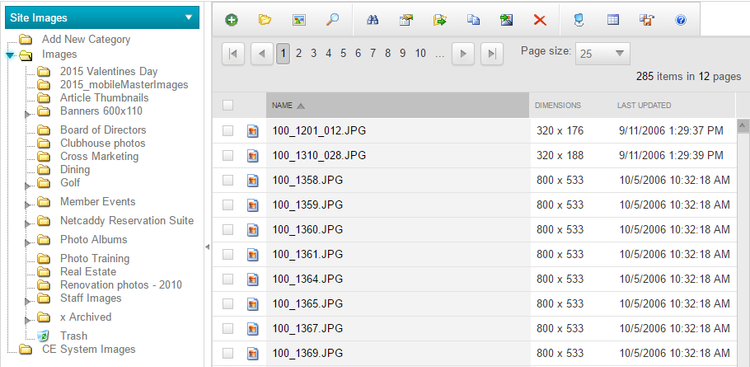
Image Explorer Interface
The Image Explorer is a repository for all images used on the website. It is simply a holding place to organize imagery, and allows for images to be edited.
Organizing Images
It is important to organize images, so the images are easy to find. Organizing folders is extremely important when working within Photo Albums, as Photo Albums pull images from an entire folder, or multiple folders. There is never a reason to delete images from the website, as there is no limit to the amount of images stored.
Folders are typically named after year, event, topic, dimension, or Photo Album title.
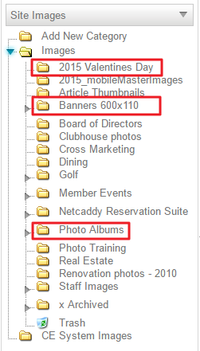
To add a New Folder, click the Add New Category folder at the top of the folder structure.
...
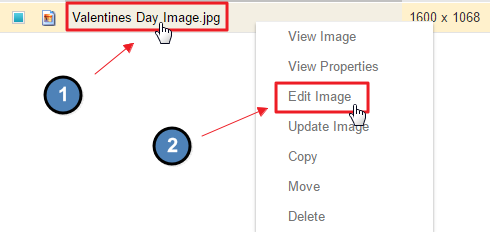
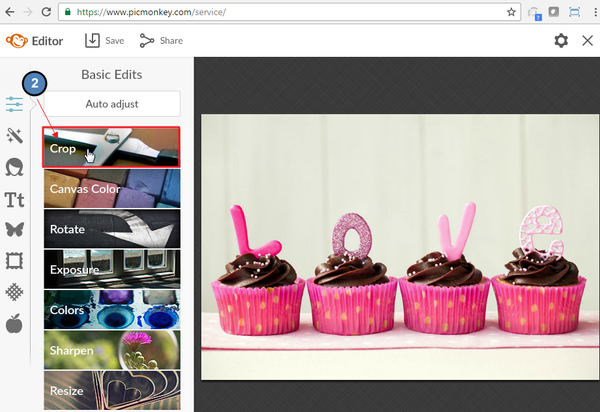
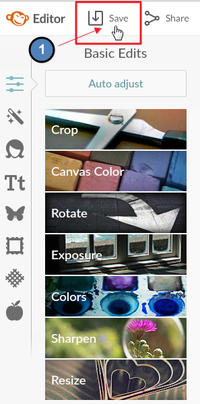
To edit images, right click on the image and choose Edit Image.
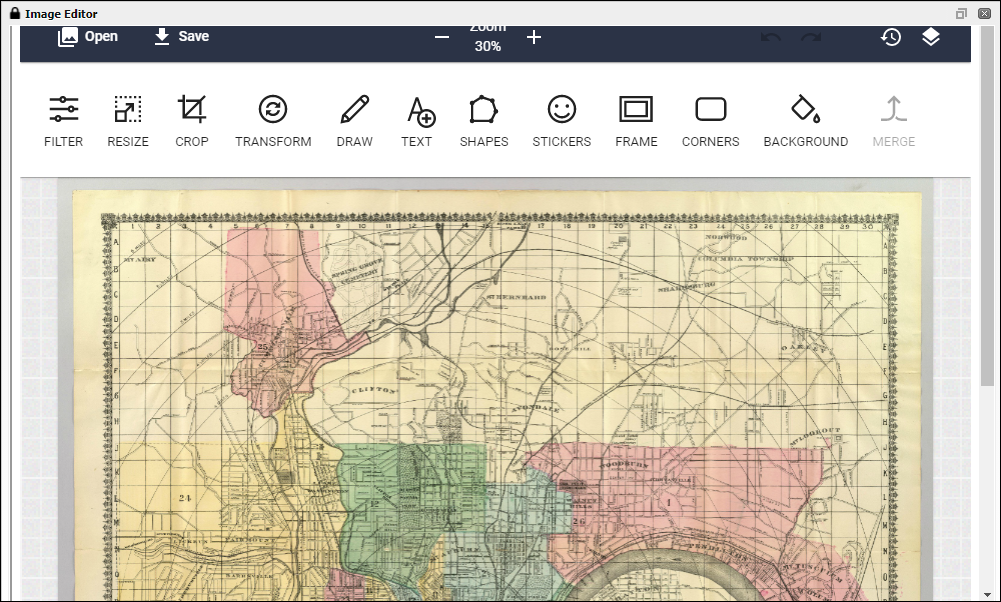
This will launch a free editing website, PicMonkey. If PicMonkey does not launch for you, it is most likely due to a browser setting. Recent versions of Chrome are disabling Flash which must be enabled to use PicMonkey. In the Address Bar, enter in chrome://plugins and then check "Always allowed to run" under the Adobe Flash Player option.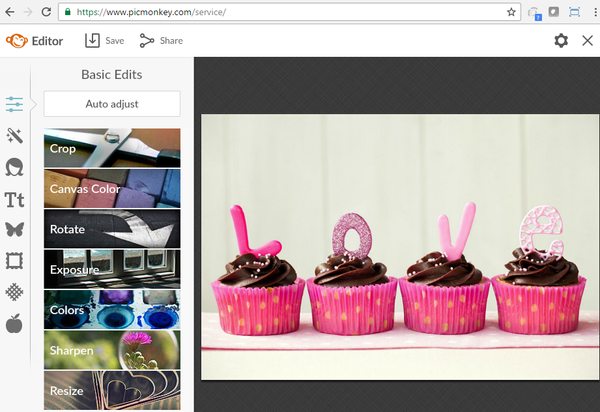 an image editor interface window. From here you have a variety of tools available to manipulate your image.
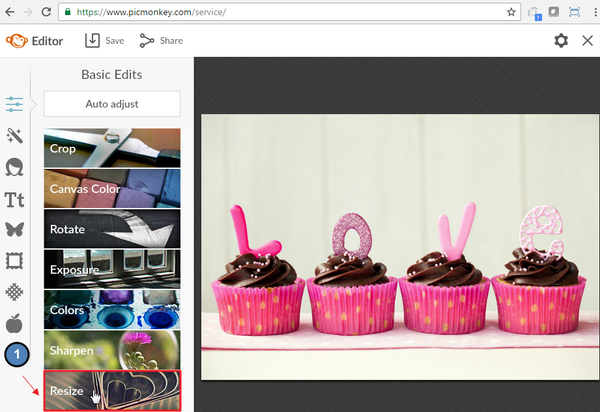
First, the image will need to be resized to reach the desired width or height. Open the Resize button to begin.

The Keep ProportionsMaintain Aspect Ratio option is checked by default, which should remain enabled as this ensures that when the image is resized the appropriate aspect ratio is kept.
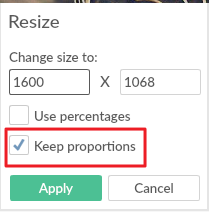

Change either the width box (on the left) or the height box (on the right) to get as close to the desired size.
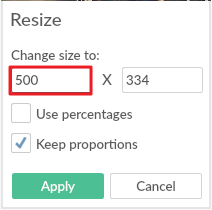

Width
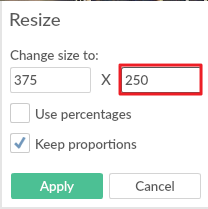

Height
When the width box size is changed, the height box will change accordingly to the appropriate aspect ratio and vice versa.
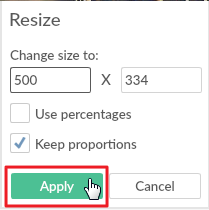
Once the desired height or width is reached, Click Apply.

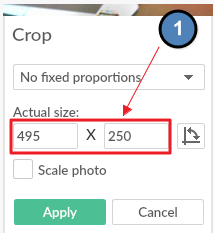
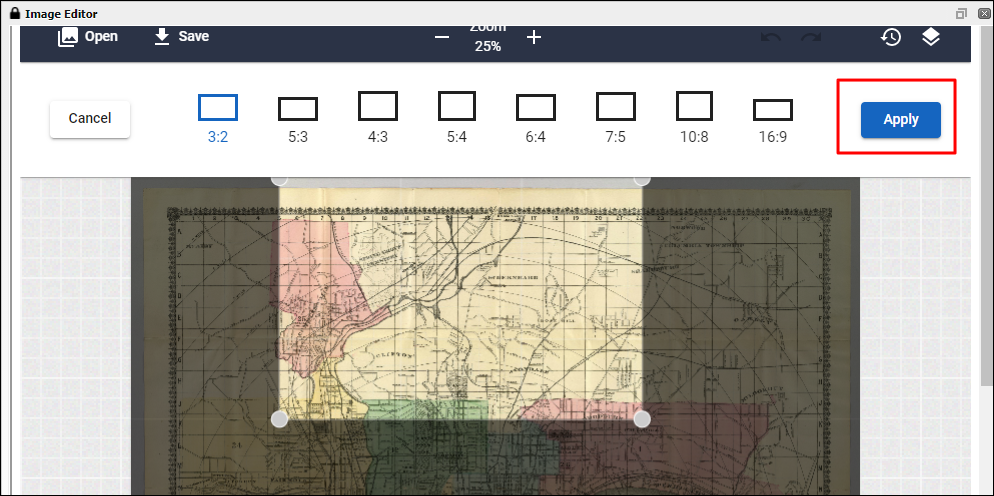
Next, Click Crop the image to meet the desired dimensions if Resizing did not meet the proper dimensions.
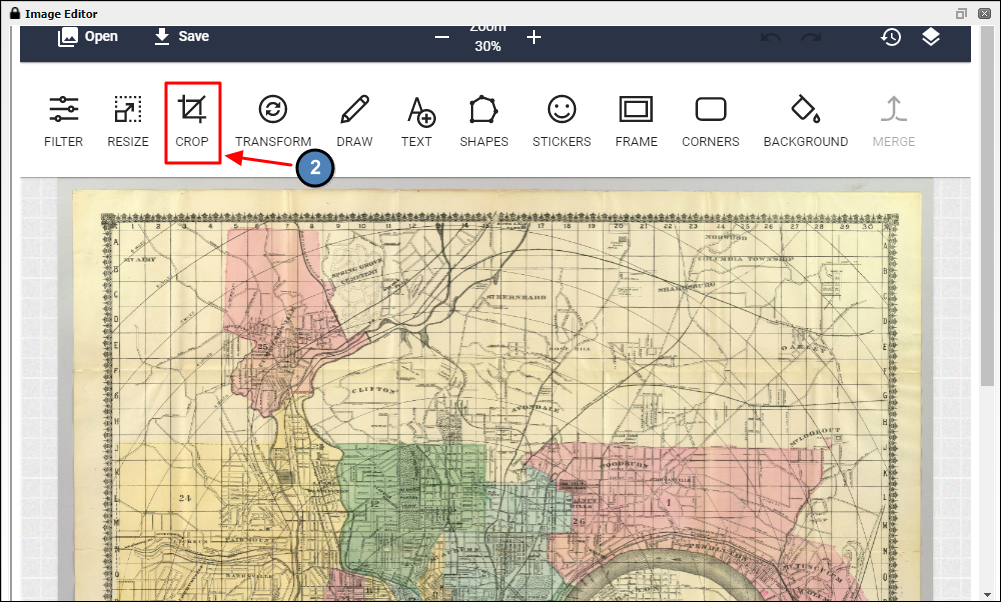
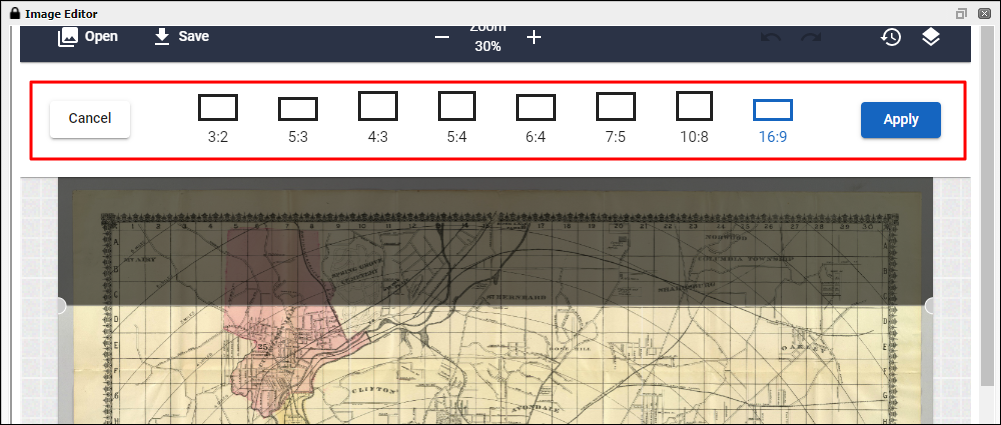
With the Crop option, both the width and height box may be changed to the select a new aspect ratio to the desired dimensions.
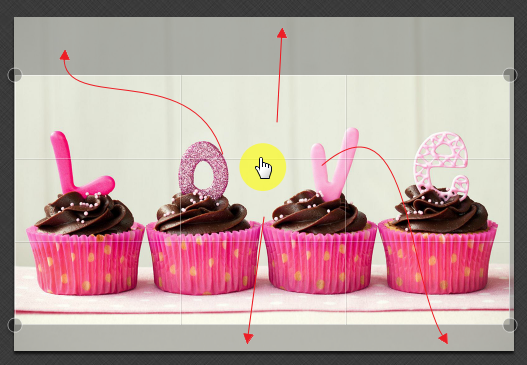
A box will show laying over the image. Drag the box around the image to choose the portion of the image you would like to keep. The opaque areas of the image will then be cropped out.

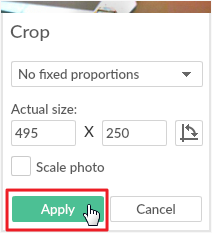
Click Apply to complete the Crop.
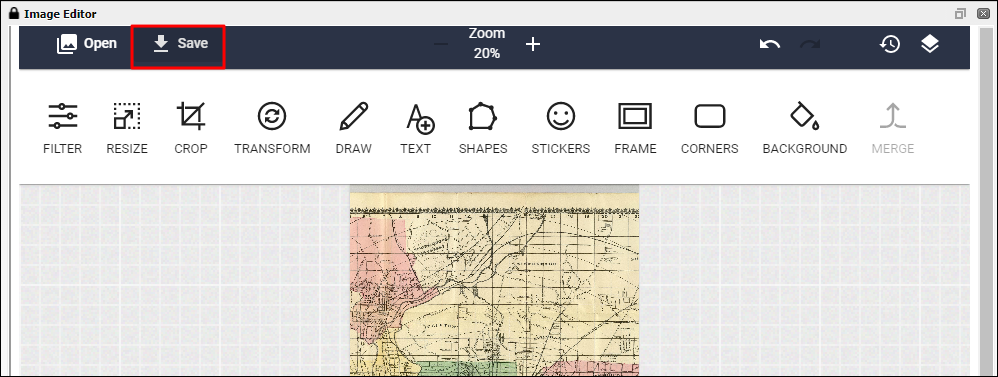
To Save the image in the Image Explorer, click Save at the top left of the PicMonkey screen.
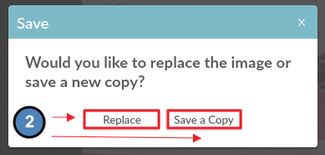
An option to Save and Replace Overwrite or Save a Copyas new prompt.
- Save and ReplaceOverwite: this will replace the original image in the Image Explorer. Not recommended, as it’s best to keep the original dimensions so the image may be edited again at a later time.
- Save a Copyas new: this will keep the original image and save the new editing image separately. Note: both images will have the same name once added in the Image Explorer. The images will need to be renamed in order to tell the edited and original image apart.

Once the image is saved into the Image Explorer, the browser may need to be refreshed to see the image.
...