...
Create the first Event Item using the appropriate Item Category and Group. This would be a Non-Prepaid Item.
Next, duplicate this Event Item however making this version Prepaid. On the prepaid Item:
Retail Price - This price should include tax and service charge
Item Category - Select the newly created Category specifically for events; the new Prepaid Events Item Category
Tax Inclusive - Check this box to ensure tax is calculated
Sales Account - Select the new Event Deposit Liability account
Website
Next will be the process of enabling the billing for the Event on the Website.
...
Sign into Mobile POS into the specific Event Area. Select the Events tab from the top menu. Use Date Picker to select the date of the Event and then the Event itself from the drop down list.
Select the registration you received the notification for and then select Create Ticket.


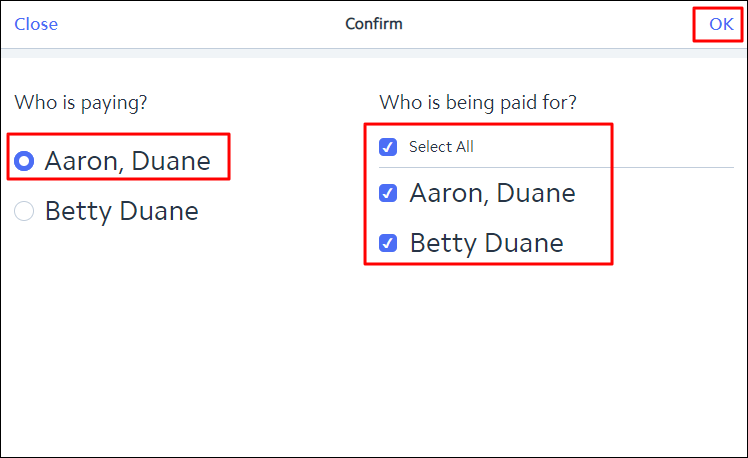
A pop-up window will appear and ask who is paying and who is being paid for.

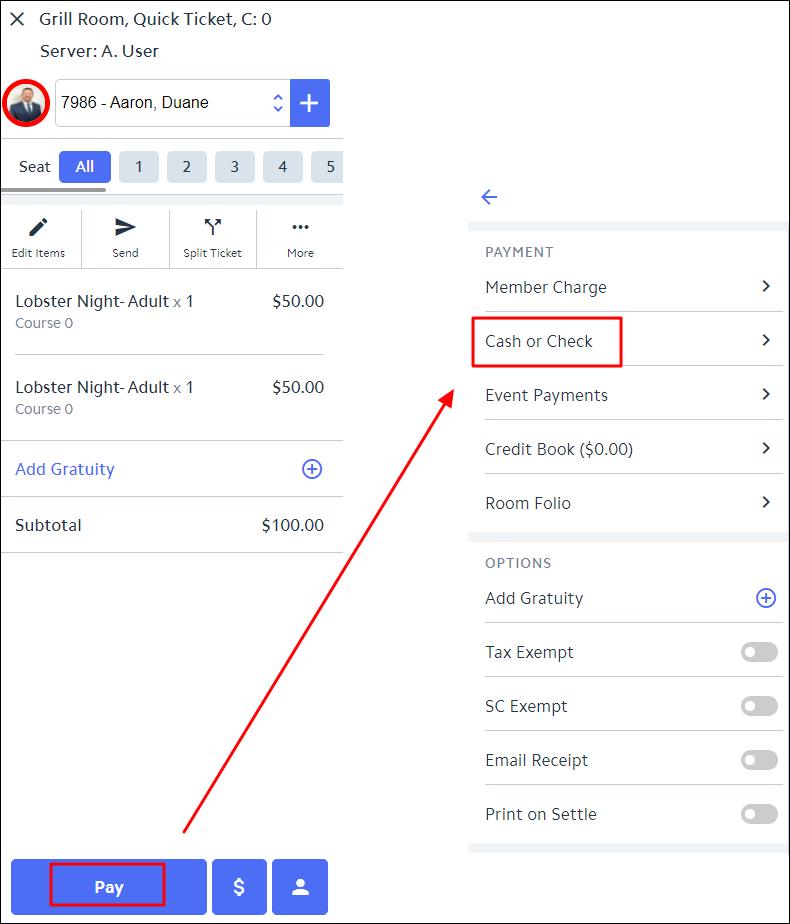
Once the ticket is open, nothing else needs to be added. Select Pay and then close the ticket using Cash or Check.

Day of Event (or after)
...
Sign into Mobile POS.
Select Create Ticket using the Guest Account for the member.
Add the number of items sold of the regular non-prepaid items (same amount in the report)
Add the negative of the same amount of the liability item (prepaid item)
Close the ticket to Cash
Ticket will net out to $0.00
CMA
Finally, approve the Charge Batch within CMA.
...
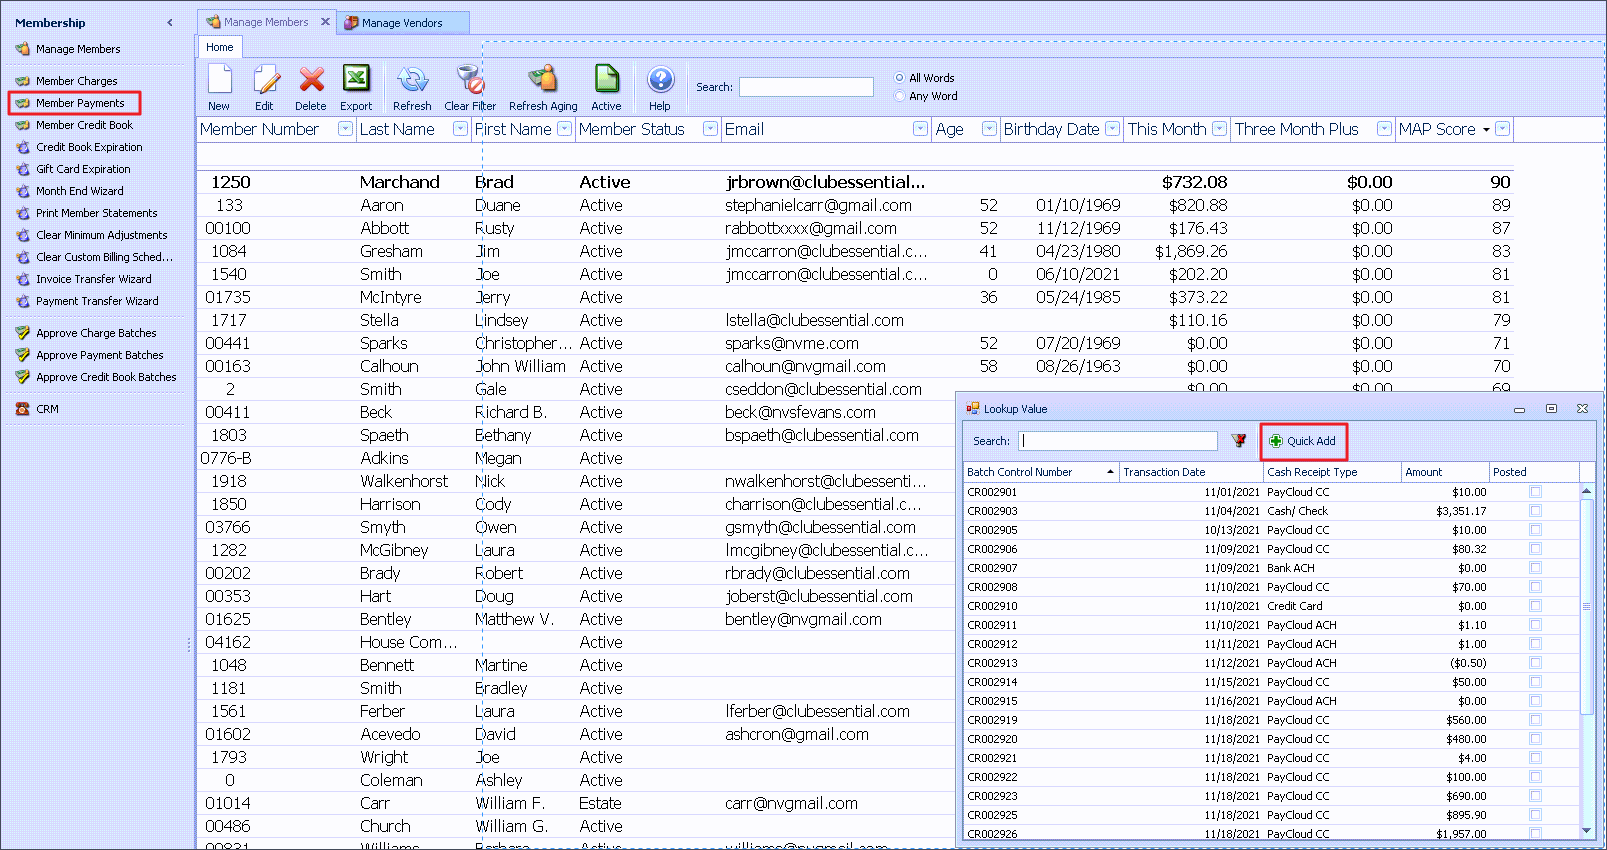
Sign into CMA.
Select the Membership module on the left hand menu.
Click on Member Payments.
Either use the Quick Add to start new batch or choose an open batch from the payment date.
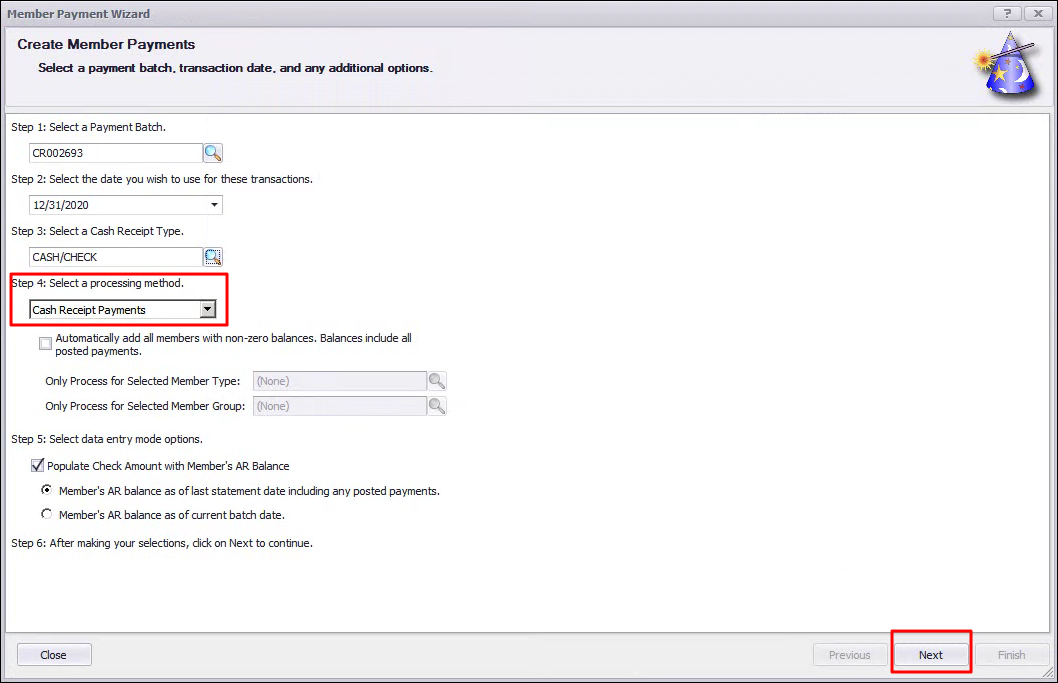
If using a new batch, choose the Cash Receipt Type. It will most likely be cash unless a special receipt type has been created.

Add the Member Number, the Amount, and adjust from the AR ledger to whichever asset ledger you need the payment to go into
...
Sign into CMA.
Click the General Ledger module on the left side menu.
Click Journal Entry Wizard.
Either use the Quick Add to start new batch or choose an open batch from the payment date.
Select the Cash Account for the settlement (ex. 1001 - Operating Cash Account).
Input the Reference, Description, Debit (the amount of the payment), and the Credit (the Liability or Revenue Account). Then, select Preview

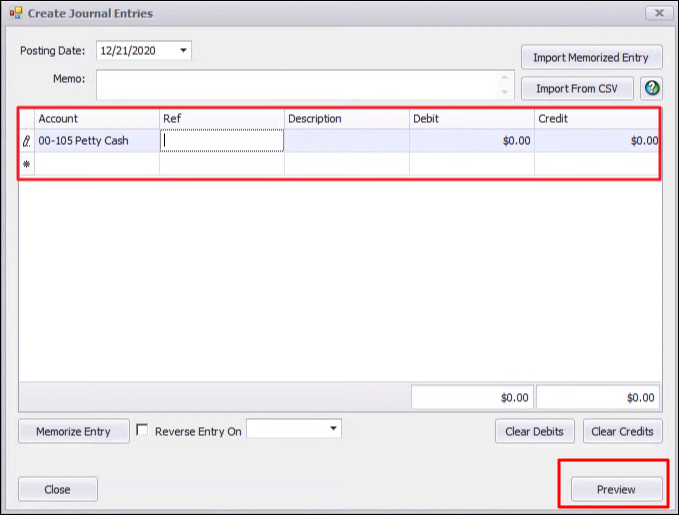
After previewing, you can post the batch.
