...
Table of Contents
| Table of Contents |
|---|
...
|
...
|
...
|
...
|
Video
This video provides an overview of how to use First Impressions.
Note: Sections of the video have been referenced below with corresponding times in the video for ease of access
...
...
Content
...
| Table of Contents | ||||||
|---|---|---|---|---|---|---|
|
...
...
...
...
...
...
...
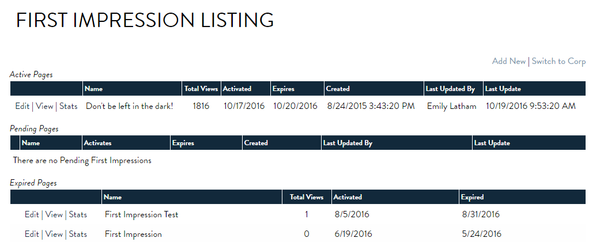
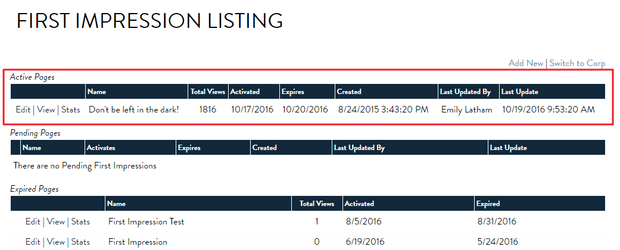
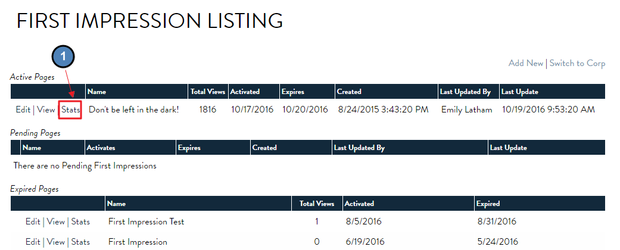
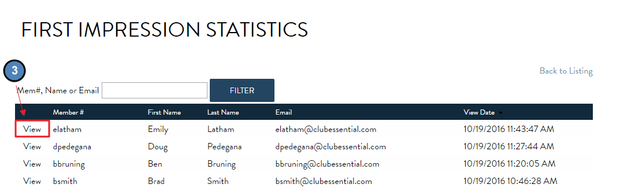
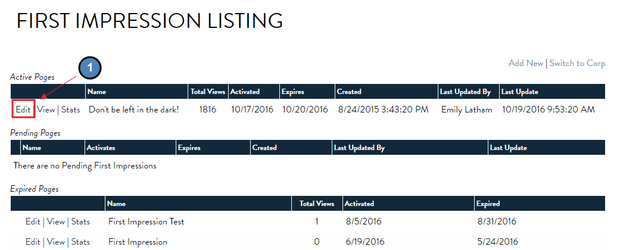
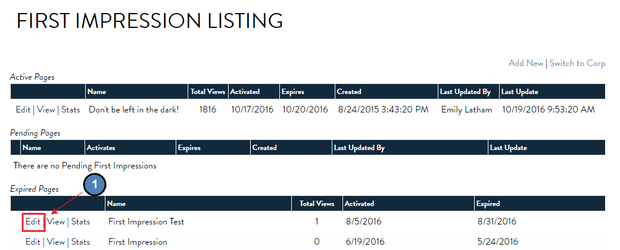
Active View
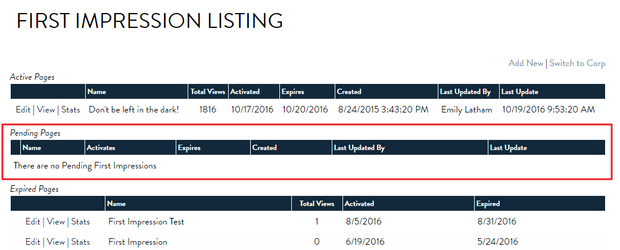
Pending View
Expired View

...
...
...
...
...
...
...
...
...

...
...
...
FAQs
...
...
Best Practices
Be conscious of how often members should see a First Impression listing. It is always best to only show the listing once so members do not need to see the listing every time they login. If a listing is shown every time upon login, this can deter users from logging in since they are unable to immediately go to their desired location on the website.
First Impressions are a great way to signal users to update their profile, or to alert members to an urgent message.
Use Target Marketing with First Impressions by using the listings to target specific users by selecting a Static Group to show the listing to. This will ensure the message is delivered to the right users.
Keep messages short and to the point within the listing so members can easily read and access the information. For longer messages, link to another page or article.
Downloadable Guide
...
