...
- Send To: Choose Query
- Query: Choose a query from the list that you would like to target with this Campaign.
- You may only select one query per Campaign.
- If you do not see the query that you need listed, it may need to first be created. Please contact your CRM support team for assistance (educational materials for CRM Query creation are coming soon).
- Email Fields: Select the CRM email field(s) that you would like to target for each selected record you’ve chosen. Please note that, in order to function, at least one email field must be returned in the selected query chosen as a Campaign target.
- Return Email Targets: Click this button once you have filled out each of the options above, and your targets will be selected for this Campaign.

Step 3 - Create Message
| Anchor | ||||
|---|---|---|---|---|
|
...
- From: Choose an email address from the list that you would like the emails in this Campaign to be sent from (if you do not see your email address on this list, please contact your CRM Support Team).
- Subject: Enter the subject of the email. This will be seen by the recipients.
- Content: Create the body content of the email that will be sent.Alternatively, the last icon on the right will bring up the full Axis Editor for you to edit your email with. For detailed instructions on how to use the Editor, please click here.
- You can enter the content directly into this box, and format using the tools on the toolbar above.
- "CLICK TO EDIT" - Opens the legacy editor to create your email
- "EDIT AS TEXT" - Opens a window that allows for HTML editing
- "CLICK TO EDIT - NEW" - Allows you to utilize the new email editor for composing your campaign
IMPORTANT NOTE: The list of available snippets in the CRM is different than those available to you through the Axis Website. When adding snippets to your email in the Axis Editor, be sure to only select snippets from the “Page Specific” section of the snippet dropdown, as these are the only ones that will reference your CRM database.
...

- Schedule: Select if you would like the emails in this Campaign to be sent only one time, or on a recurring basis.
- Send At: Select the time that you wish to send the emails out (or, if you have set up a recurring email, the time for the first batch of emails to be sent).

...

Step 4 - Review
In this step you have the opportunity to review your input for all previous steps. If you notice any edits that need to be made, you can easily return back to any step in the process either by clicking on the button at the bottom of the screen labeled Last Step - Create Message or by clicking on the name of the step from the cookie trail at the top of the screen.
...
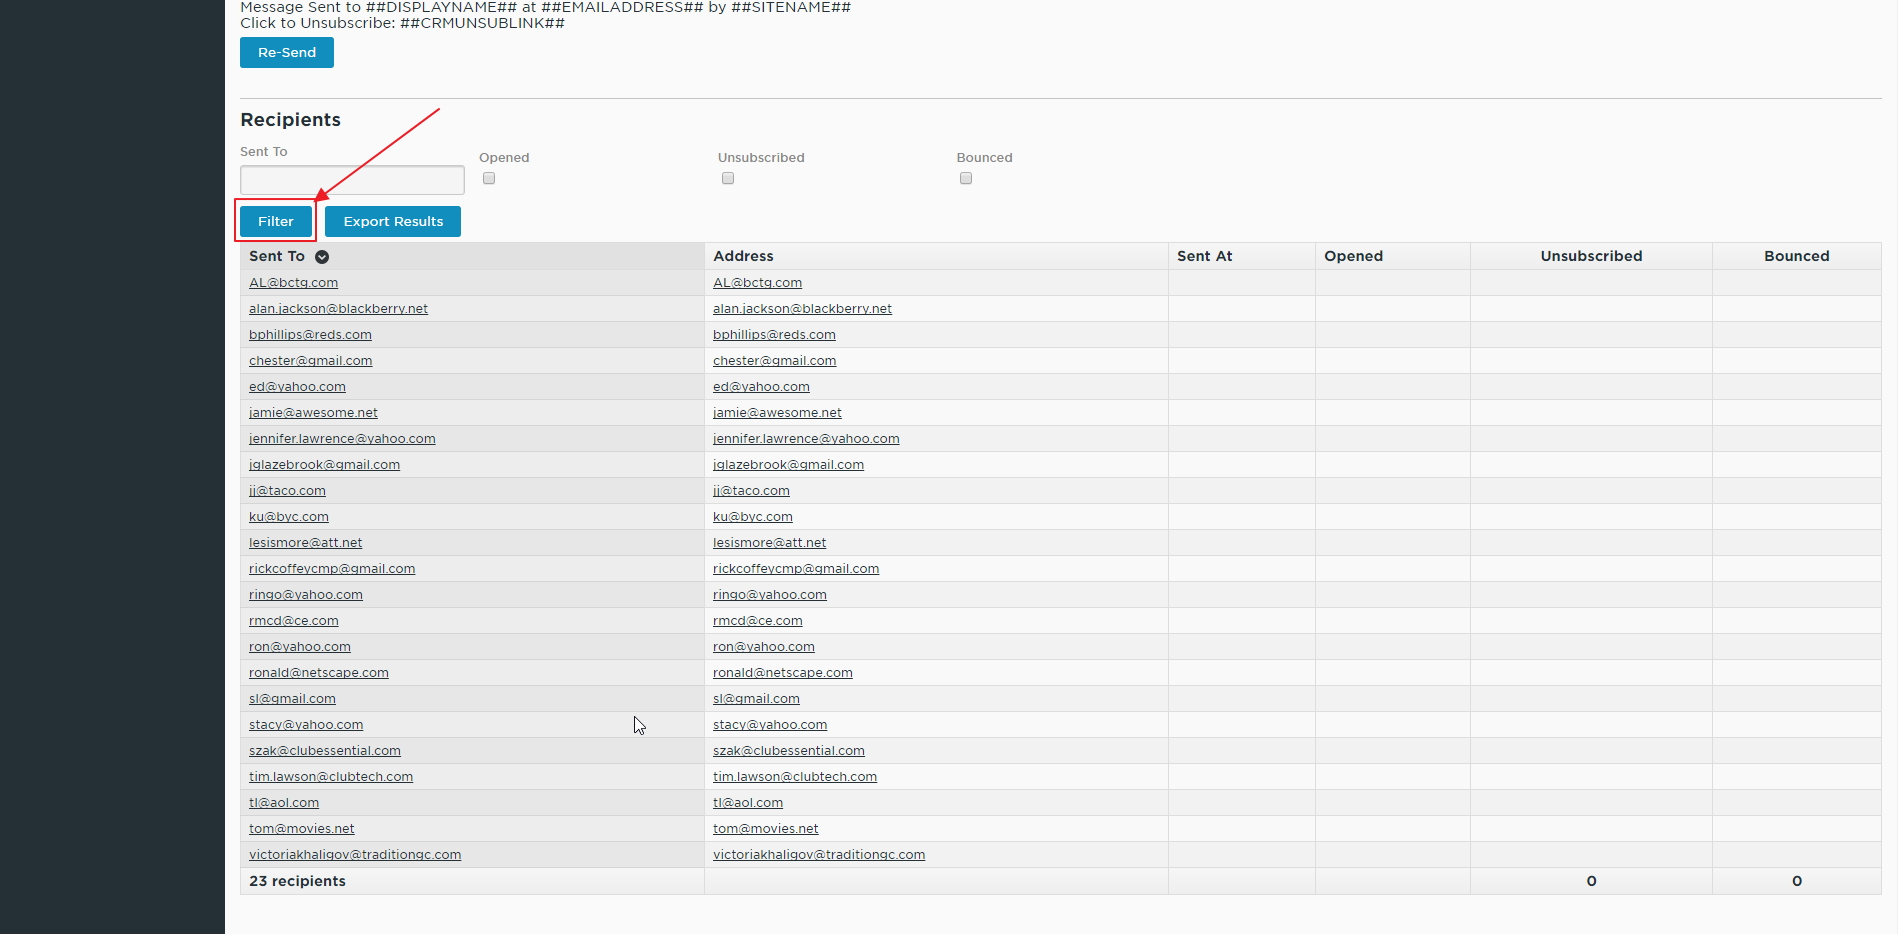
- Sent To: Displays the CRM record that this message was sent to. Click on this name to display the message history for this record.
- Address: Displays the email address that corresponds with the CRM record that this message was sent to. Click on this address to generate a new email to this email address.
- Sent At: Displays the timestamp at which this message was sent from Clubessential’s email servers to the recipient.
- Opened: Displays the time that the recipient opened the message. If the recipient did not open the message, this field will remain blank.
- Unsubscribed: Displays the time that the recipient unsubscribed from the message. If the recipient did not unsubscribe from this message, this field will remain blank.
- Bounced: Displays the time that this message was marked as having bounced. If the message was delivered successfully, this field will remain blank.
- Link Clicks: Displays the number of times that this recipient clicked on any link within the message.

FAQs
Q: How can I manually select which contacts to target with my Campaign?
...
- Contact your CRM support team to create a new query that targets everyone you need, and use this query as the target for your Campaign.
- Copy your Campaign, and change the Target for the new one.
Best Practices
...
- Always be sure to send a Test of your message before finishing your Campaign. This allows you to be sure that the formatting of your email is correct when viewed from within an actual email client. Microsoft Outlook is particularly notorious for displaying certain elements of email messages differently than the rest of the internet, so if you have this installed on your computer, it can be beneficial to send yourself a test there to troubleshoot.
- If you are sending your Campaign to the results of a Query, run that query before sending, and go through the results to ensure that the contacts returned are exactly who you expect them to be. If you notice any discrepancies, don’t hesitate to contact your CRM Support Team!
...
Downloadable Guide