CRM - Campaigns
- Emily Latham
- Emily Carlson
- Joshua Morrison
Table of Contents
Overview
Campaigns are utilized to send blast-emails within the CRM, and are an excellent way to provide a meaningful communication touch-point to Prospects and/or Members. The campaigns or blast emails may be targeted to contacts within the CRM, by utilizing filters with specific queries, or by selecting individual Contacts.
Required Permissions
CRM Admin
Accessing the Tool
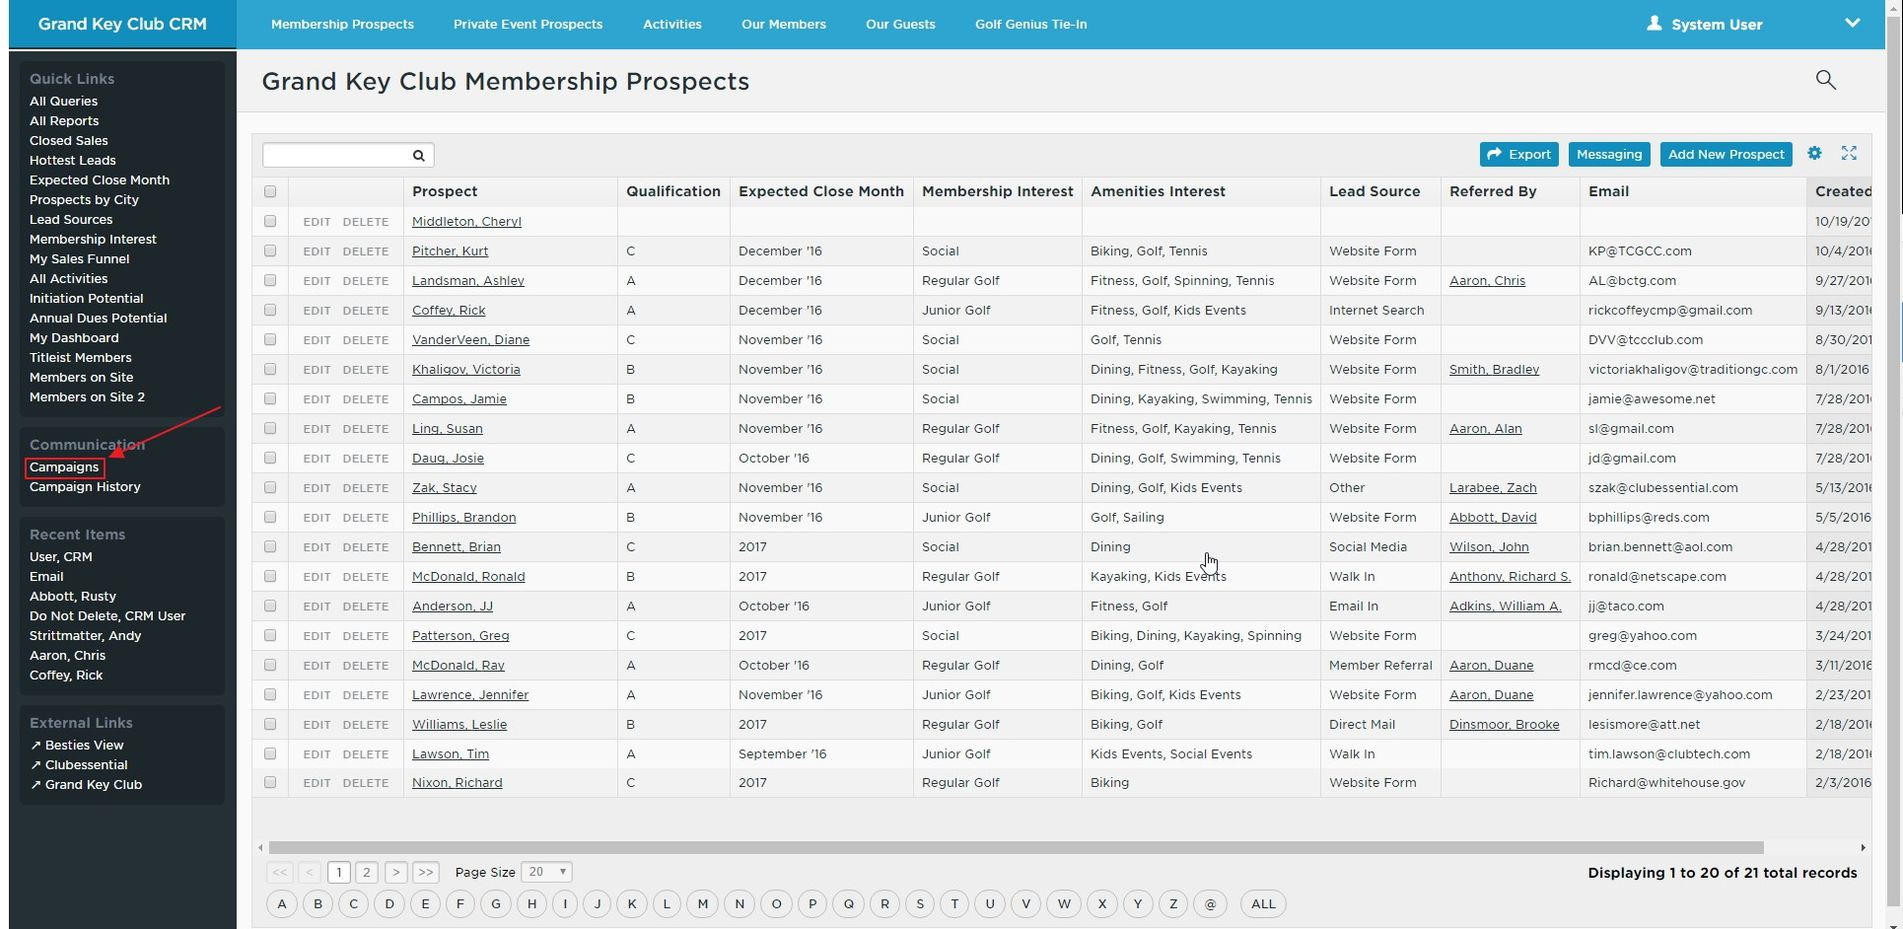
From within your CRM, click on the Campaigns link in the sidebar, under the Communication section.
Starting a New Campaign
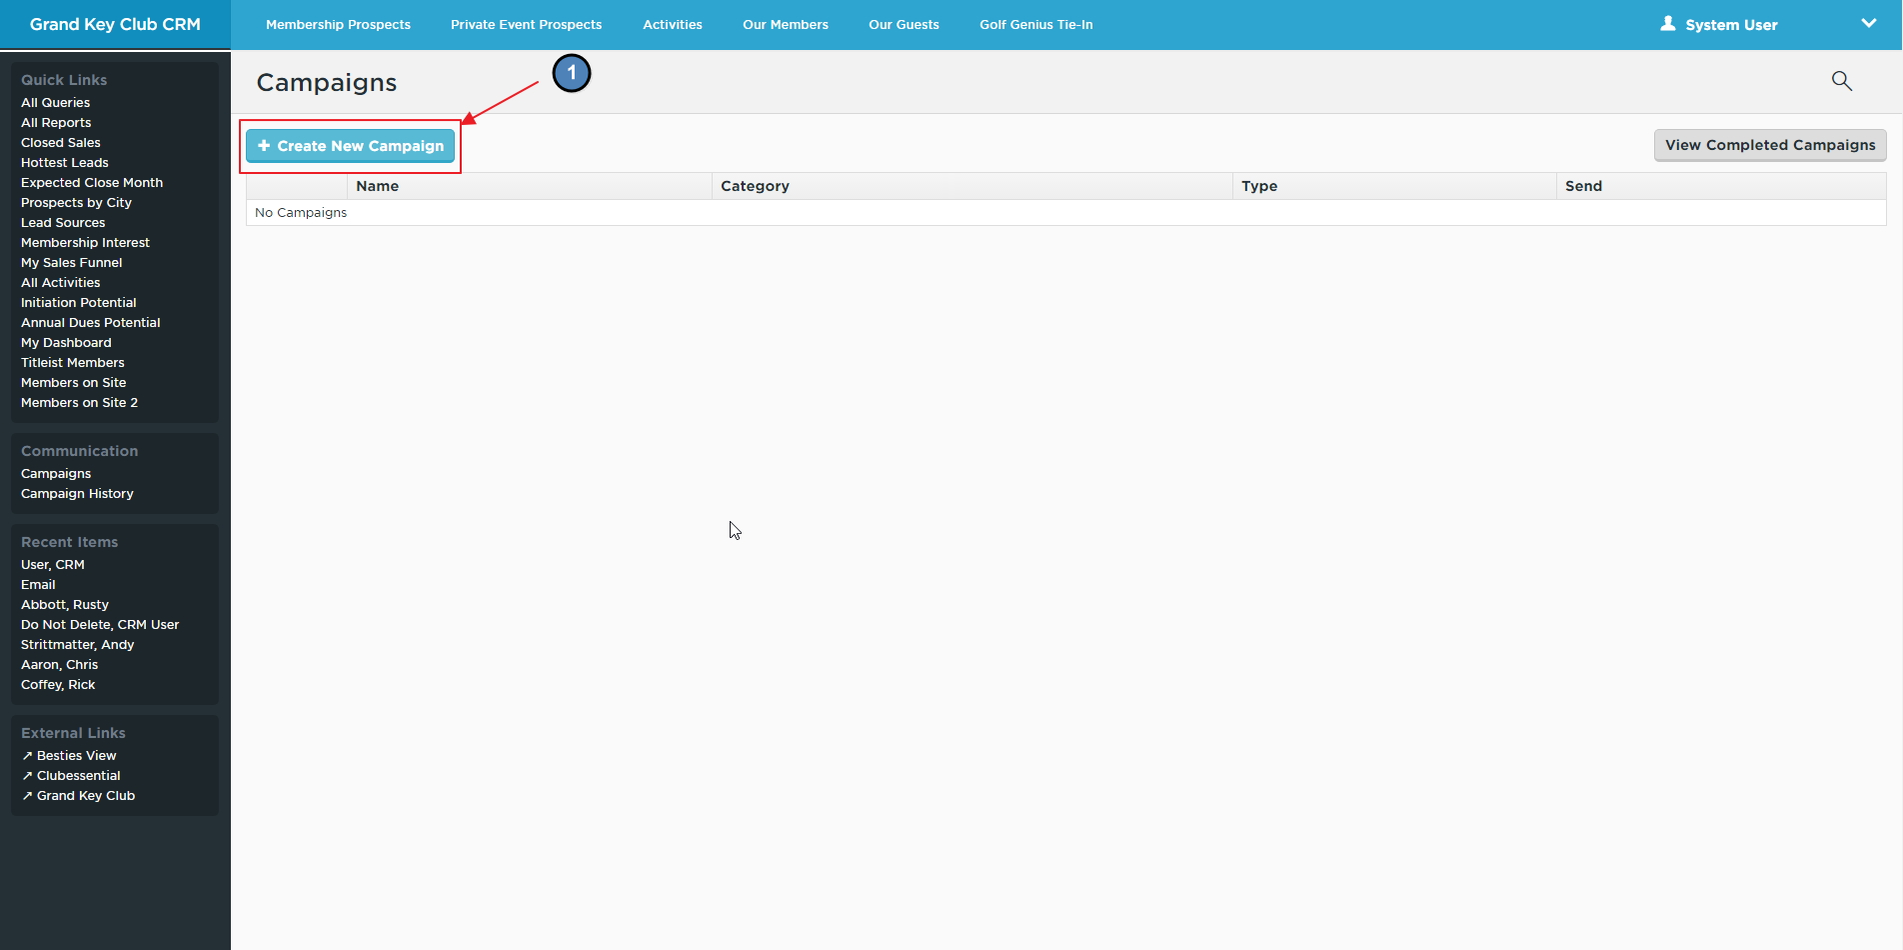
From the Campaigns screen, click on the blue button labeled Create New Campaign.
Properties
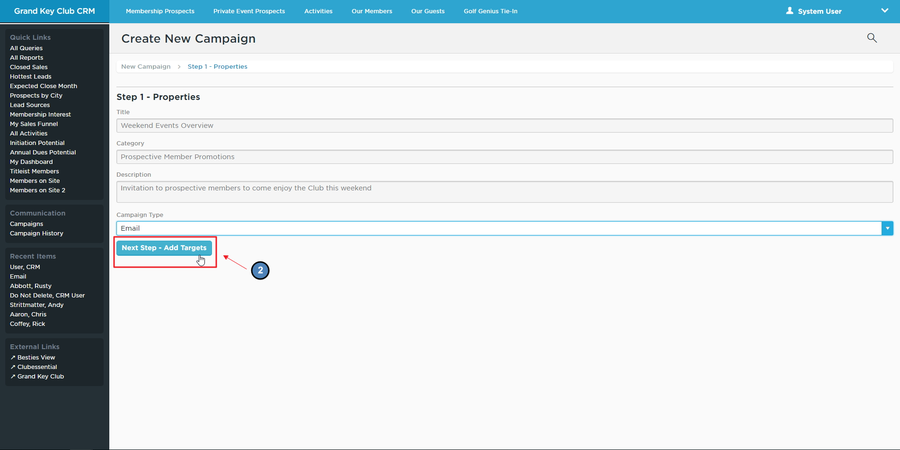
All the information on this screen is for internal use only - your selected recipients will not see anything that you enter on this page.
Title: Enter a title for your Campaign, that you will use to find the Campaign in your Drafts, or in your Campaign History. This is often the same as your email subject, but it can be anything that describes the current Campaign.
Category: Categories are optional, and can be useful if you are sending many Campaigns through your CRM, to help organize your Campaign History and/or Drafts. For example, if you are sending multiple Campaigns about the same event or promotion because you need to target multiple queries, using a shared Category would help you keep track of these linked Campaigns.
Description: Descriptions are also optional fields, and can be useful to differentiate your Campaigns if you are sending many/similar messages via the CRM.
Campaign Type: Choose either Email, or Mail Merge. Most Campaigns will be Emails, so this document will focus on this option.
When finished populating information, click Next Step - Add Targets.
Targets
In this step you will select who will receive the email from this Campaign. To begin, click the blue button labeled Add Targets.
In the Send To dropdown box select Object or Query
Object: This will allow you to send to all Contact records within your CRM at once (which you probably never want to do), or allow you to choose records to target one by one. This can be useful if the group you are targeting can not easily be selected in a query.
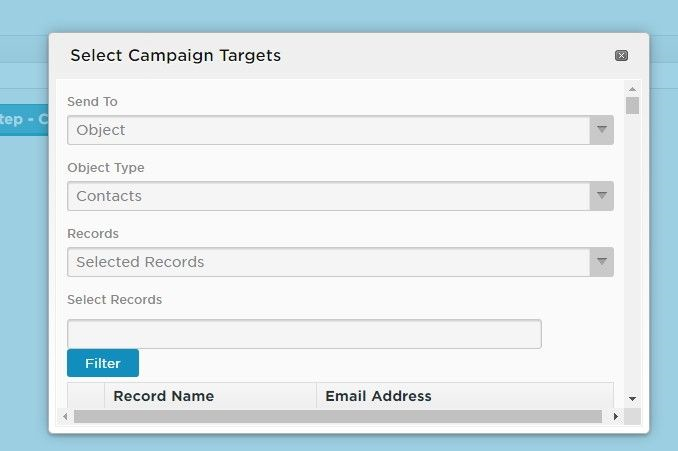
Send To: Choose Object
Object Type: Choose the Object to send to (most likely Contacts)
Records:
Choose All Records to send this Campaign to ALL records within your CRM.
Choose Selected Records to bring up an additional section for you to select individual contacts.
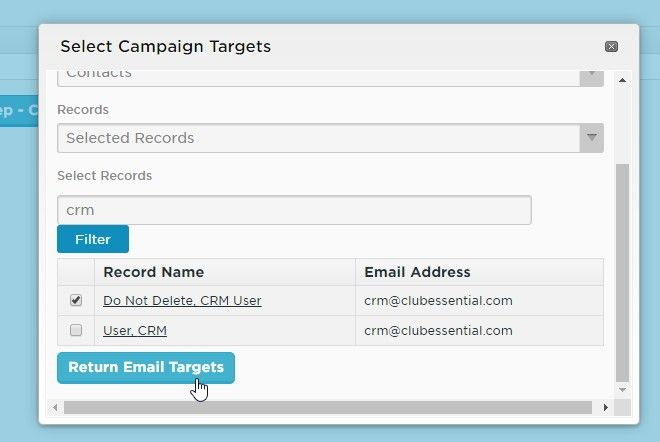
Select Records: This section appears when you select Selected Records in the option above. Search for contacts by name in the search bar, and click Filter to narrow down the list. Check the box next to each contact that you would like to send this Campaign to.
Email Fields: Select the CRM email field(s) that you would like to target for each selected record you’ve chosen.
Return Email Targets: Click this button once you have filled out each of the options above, and your targets will be selected for this Campaign.
Query: This allows you to send an email to the results of a query saved in your system. This is useful for sending emails to groups of contacts in your system that are grouped together by shared criteria, such as Membership Level, Qualification or Age, to name a few.
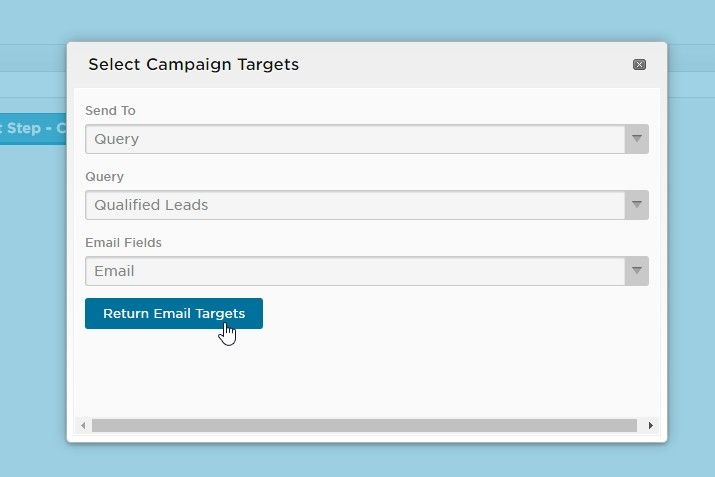
Send To: Choose Query
Query: Choose a query from the list that you would like to target with this Campaign. You may only select one query per Campaign. If you do not see the query that you need listed, it may need to first be created. Please contact your CRM support team for assistance.
Email Fields: Select the CRM email field(s) that you would like to target for each selected record you’ve chosen. Please note that, in order to function, at least one email field must be returned in the selected query chosen as a Campaign target.
Return Email Targets: Click this button once you have filled out each of the options above, and your targets will be selected for this Campaign.
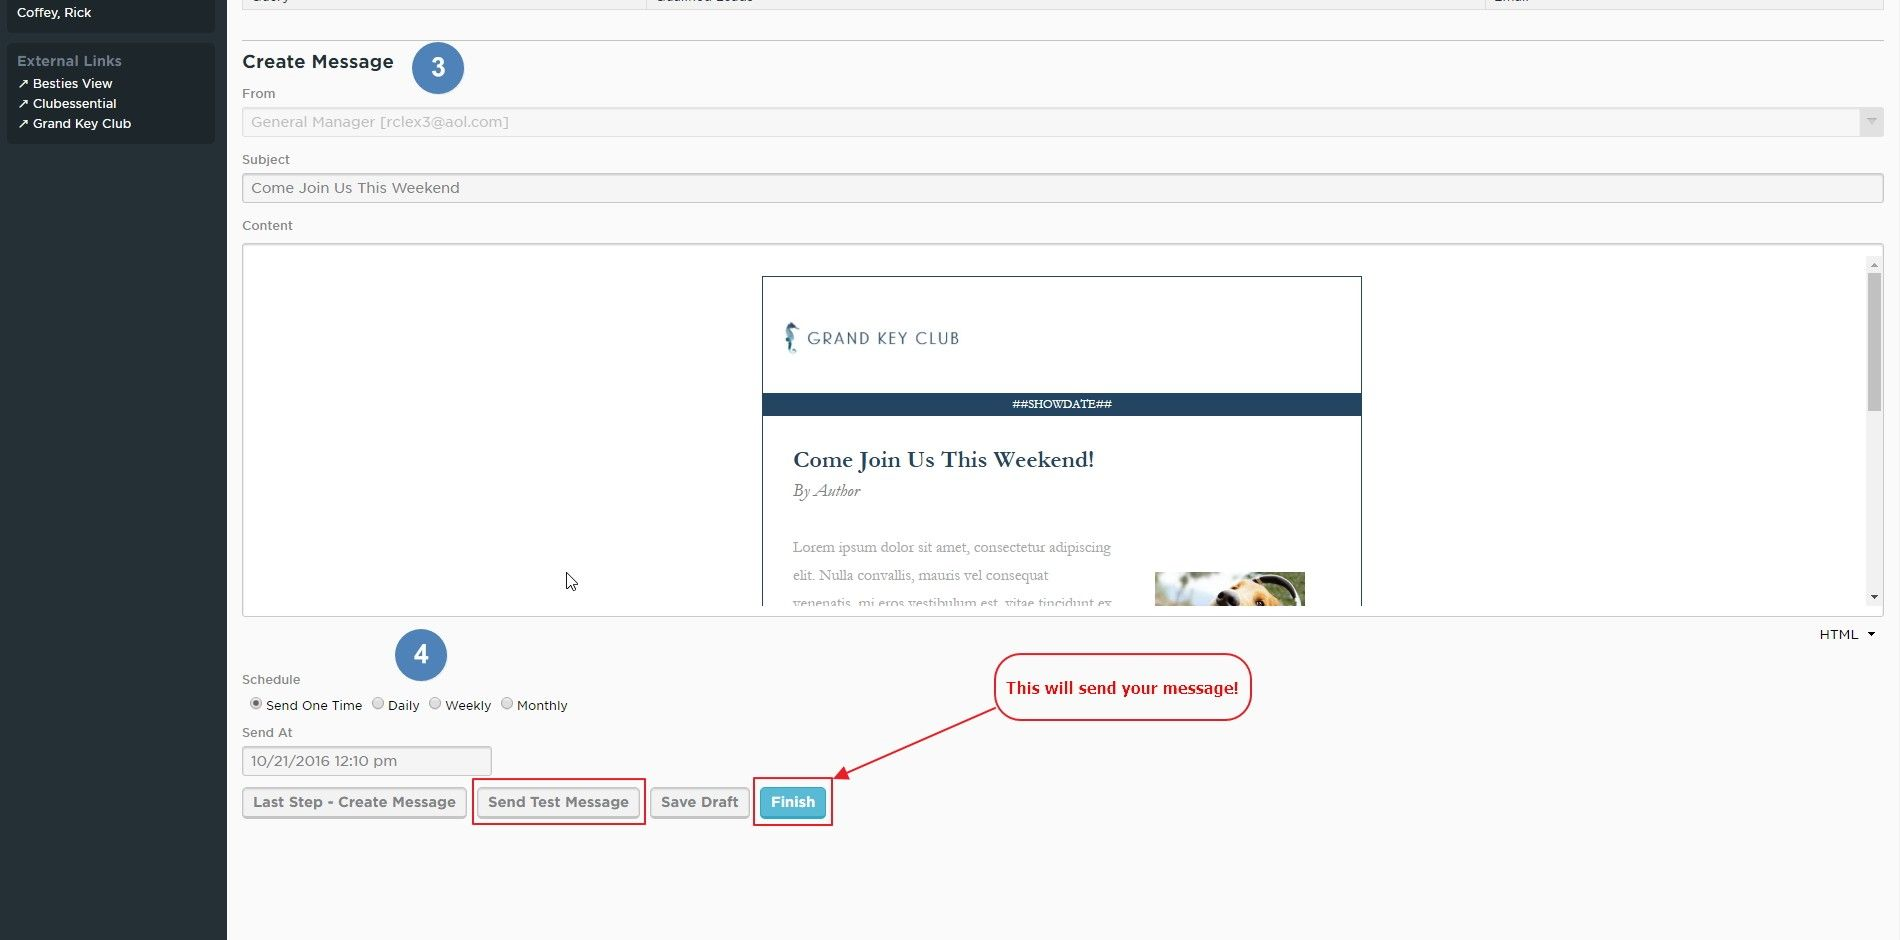
Create Message
In this step you will craft the actual email which will be sent to the selected targets of this Campaign.
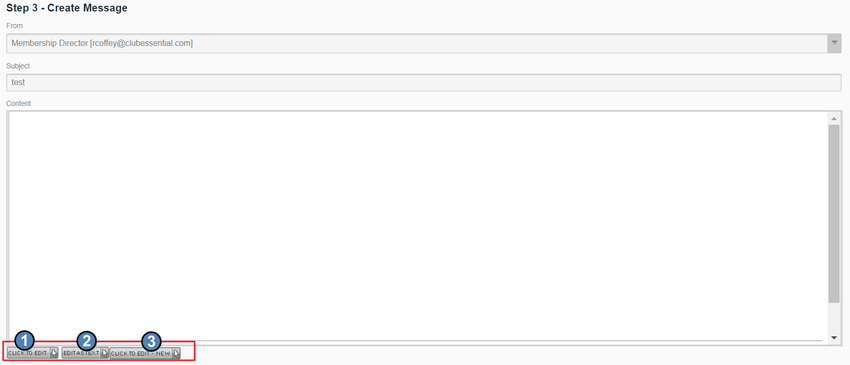
From: Choose an email address from the list that you would like the emails in this Campaign to be sent from (if you do not see your email address on this list, please contact your CRM Support Team).
Subject: Enter the subject of the email. This will be seen by the recipients.
Content: Create the body content of the email that will be sent.
Click to Edit - Opens the legacy editor to create your email
Edit as Text - Opens a window that allows for HTML editing
Click to Edit - New - Allows you to utilize the new email editor for composing your campaign
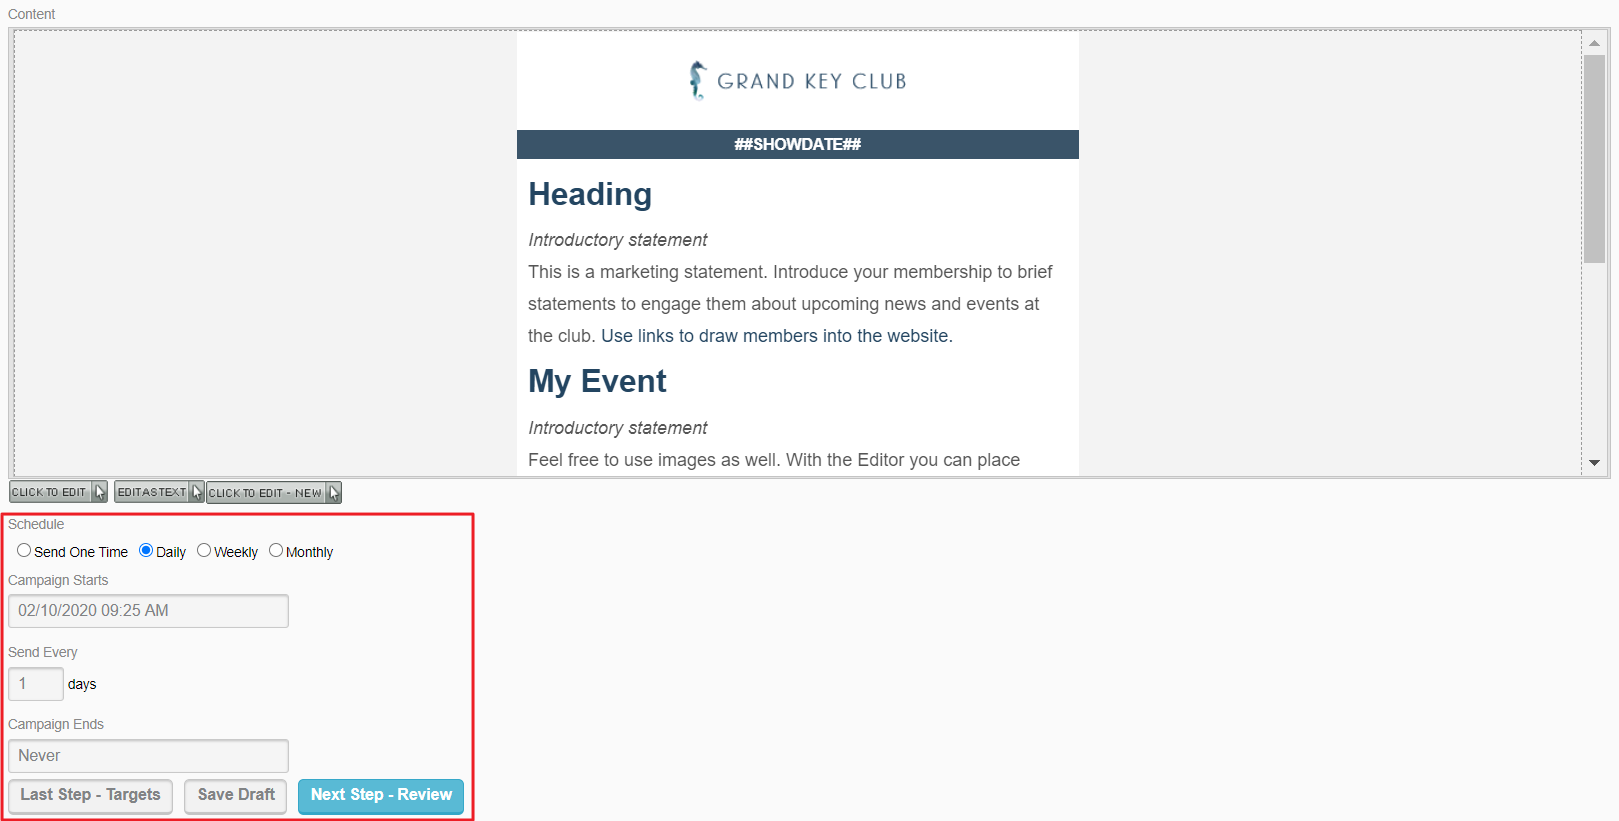
Schedule: Select if you would like the emails in this Campaign to be sent only one time, or on a recurring basis.
Send At: Select the time that you wish to send the emails out (or, if you have set up a recurring email, the time for the first batch of emails to be sent).
Step 4 - Review
In this step you have the opportunity to review your input for all previous steps. If you notice any edits that need to be made, you can easily return back to any step in the process either by clicking on the button at the bottom of the screen labeled Last Step - Create Message or by clicking on the name of the step from the cookie trail at the top of the screen.
Properties: Displays the information entered as Properties for this Campaign. Remember that everything in this section is internal only, and will not be seen by Campaign recipients.
Targets: Displays the set of contacts that you are targeting with this Campaign. You can see the Object or Query that you targeted in the grid, or to view a list of all returned targets, you can click the blue button labelled Show Recipient Listing.
Create Message: Displays the From Address, Subject, and body content of the email that will be sent out via this Campaign. Also displays the selected Schedule and Send At time for the Campaign, at the bottom of the section.
Finally, at the bottom of the Review screen, there are four options:
Last Step - Create Message: This will bring you back to the previous step and enable you to make any changes to the email.
Send Test Message: Displays a small popup window that enables you to send this Campaign to a single recipient - as a test only - so that you can review the format of your email in a live email client.
IMPORTANT NOTE: It is highly recommended that you utilize this feature at least once before officially sending the Campaign.
Save Draft: Saves your current Campaign as a Draft and returns you to the list of active Campaigns.
Finish: This is your Send button. Once you click Finish, the system will queue your email messages to be sent according to the schedule you set earlier. If you chose Now as your desired time, then clicking the Finish button will queue your emails to be sent immediately.
Additional Campaign Resources
Best Practices
Always be sure to send a Test of your message before finishing your Campaign. This allows you to be sure that the formatting of your email is correct when viewed from within an actual email client. Microsoft Outlook is particularly notorious for displaying certain elements of email messages differently than the rest of the internet, so if you have this installed on your computer, it can be beneficial to send yourself a test there to troubleshoot.
If you are sending your Campaign to the results of a Query, run that query before sending, and go through the results to ensure that the contacts returned are exactly who you expect them to be. If you notice any discrepancies, don’t hesitate to contact your CRM Support Team!
The list of available snippets in the CRM is different than those available to you through the Axis Website. When adding snippets to your email in the Axis Editor, be sure to only select snippets from the “Page Specific” section of the snippet dropdown, as these are the only ones that will reference your CRM database.
FAQs
Q: Can I use multiple queries as targets for my Campaign?
A: You are only able to select one Query at a time as the target for a Campaign. If you want to send the same message to multiple queries, you have two options:
Contact your CRM support team to create a new query that targets everyone you need, and use this query as the target for your Campaign.
Copy your Campaign, and change the Target for the new one.
