...
To access the Courts Booking Calendar, go to the Courts Booking Calendar. The location may vary depending on your club’s navigation structure.
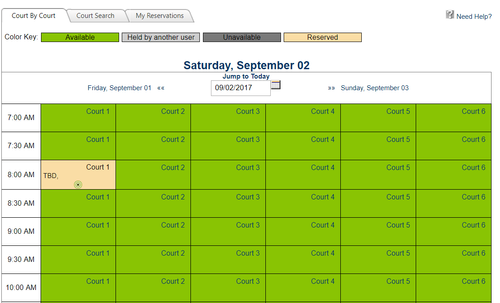

The Courts Calendar will default on today’s date.
Using the datepickers, you can move forward or backward in time as needed.

The calendar is color coded to easily see if the slot is open, booked, or booked for an event.
- Green: open and available to book.
- Light Gray: held by another user.
- Dark Gray: unavailable.
- Yellow: reserved.
- Green: open and available to book.


Booking a Court
Click on any open time slot to begin booking (open time slots are in white or light blue).
This will launch the Booking Window where you will add the reservation details.


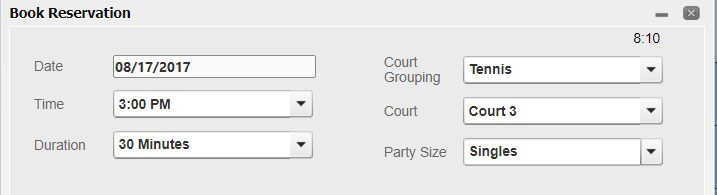
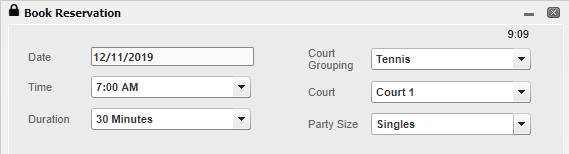
At the top of the Booking Window you can change various settings for the reservation:
- Date
- Time
- Duration of Reservation (typically in minutes: 30, 60, 90)
- Court Grouping - used if you have various types of courts like: tennis, pickleball, bocce, etc.
- Court
- Party Size - this will change the number of plays in the player section accordingly.
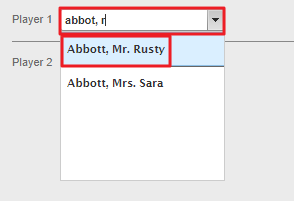
Next, type the player’s names into the player sections. To begin, type the member’s last name then a comma, and then their first name. The member will then appear in the dropdown list, click their name to assign them to the player list.

You can also add other types of guests such as:
- New Guest - stores guest information in the system so they can easily be added next time.
- Guest TBA
- TBD
- Need Player - allows other members to join the reservation.


If a member is bringing a guest and you have the guest information, it is advisable to use the New Guest option in the Player Fields. This will store the guest’s information which allows you to add the guest to a future reservation faster.
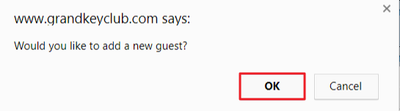
To add a New Guest, click New Guest.


Click OK on the pop-up window to continue.

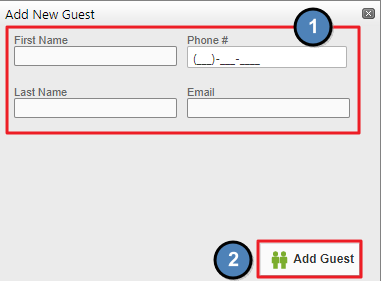
Add the guest’s information accordingly, and click Add Guest.

To the left of the player section there will be checkboxes which are checked by default. These are tied to Notifications. It is best to keep this checked so that players will receive updates on:
- Reservation Confirmations
- Reservation Reminders
- Reservation Edits/Cancellations


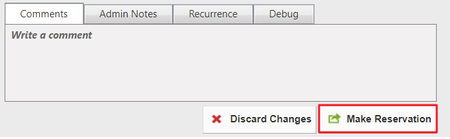
At the bottom of the booking window, you’ll have options to add notes and to set up a recurring reservation.


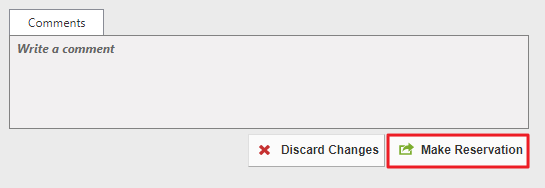
The Comments section is used for member notes, and is visible to members.

Recurrence allows you to set up a recurring reservation based on the current reservation settings.


Click Make Reservation to save the reservation.
Editing/Canceling a Reservation
You can easily edit or cancel a reservation for a member by clicking on the reservation from the Court Calendar within the Court Admin Dashboard.


This will launch the Booking Window where you can make edits to the reservation.
To cancel a reservation, simply click Cancel Reservation.


Downloadable Guide
...