| Table of Contents | ||||||||
|---|---|---|---|---|---|---|---|---|
|
Introduction
The Manage Blocked Times tool is primarily used to prevent members from booking Courts during specific times. Blocks may also be used for adjusting Court times for seasonality. Finally, blocks can use different “templates” or rules for reserving Courts. Use Cases:
|
Video
This video provides an overview on the Courts Reservation System.
...
|
|---|
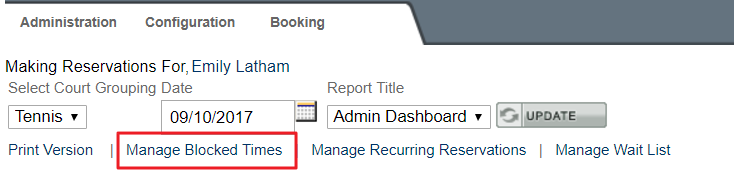
Accessing the Tool
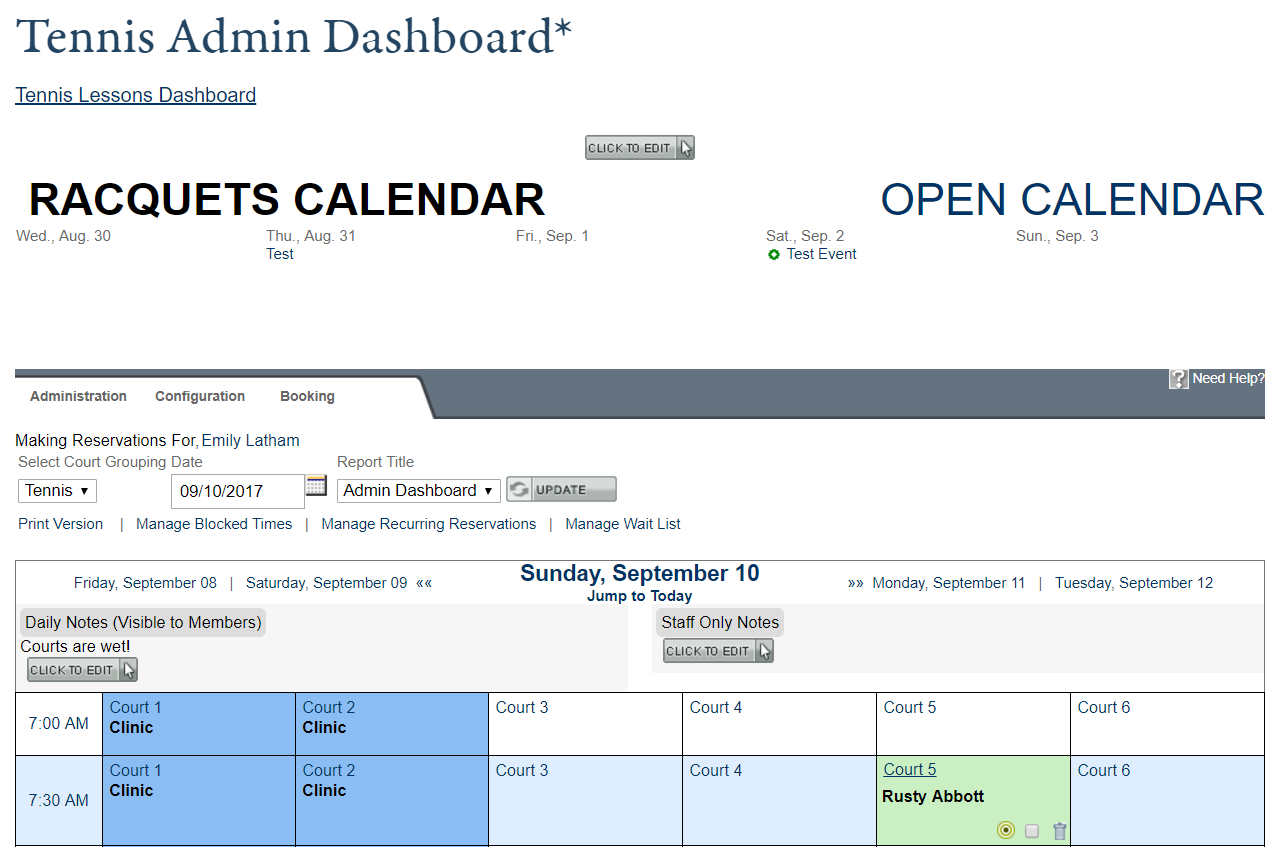
From the respective Courts Dashboard (Tennis, Squash, Racquetball, etc), click “Manage Blocked Times” as shown below.
...
The “Blocked Time Manager” window will appear.
Add a Basic (One-Time) Block
Creating a single block takes only a few steps. This would be done when a Club would like to block Members from playing on a Court or Courts at a specific date and time.
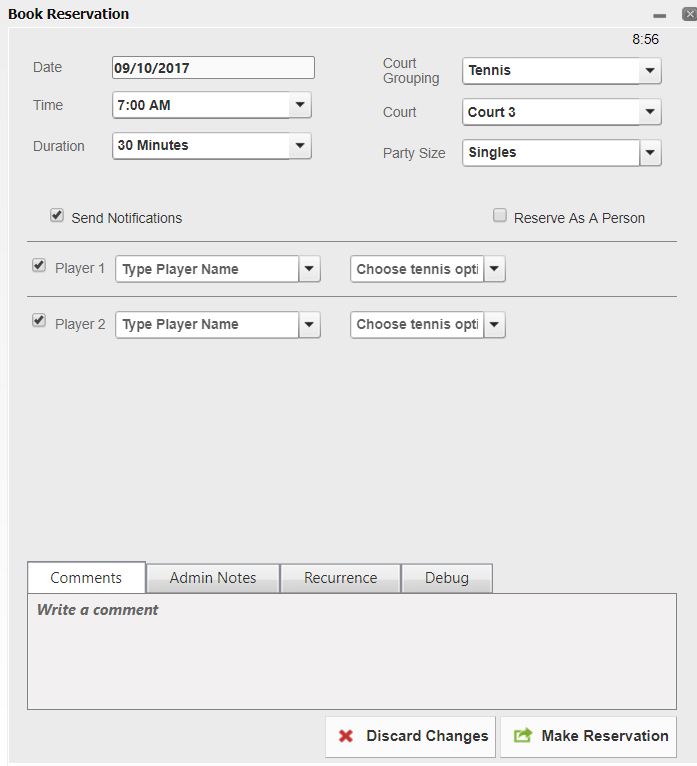
To add a basic block:
Type in the Block Title (Optional). This title will be visible to the Members when booking Court Reservations.
Ensure Court Grouping is proper.
Template should remain on Admin Booking Only. This ensures Members will not be able to reserve Court times during this window.
Select the start date of the date to block.
Enter the 1st and last timeslot to block. Tips: The clock icon can be used to select a 30 min interval. For other intervals simply type in the time. The box is intelligent, meaning you can type in many ways such as “1310” or “110pm” for 1:10pm, or “832” for 8:32am. In other words you don’t need the “:”, or “am/pm”.
Designate where the Block is to occur. To block all Courts in the Court Grouping, uncheck the “Select Specific Courts” option, or check the “Select Specific Courts” option, and choose the “Select All” feature. To choose specific Courts, check the “Select Specific Courts” option, and check the Court(s) where the Block will occur.
To complete the block, click the “Add Blocked Time” button at the bottom-right.
Once added, Block Title will be visible on both the Admin and Member Court Sheets, and will not allow Members to book during the block.
Also note it is possible to control/change how the Court Times will appear on the Court Sheet by utilizing the “Styling” tab.
The Background and Text Color of how the Block appears on the Court sheet can be edited here.
Editing One-Time Block
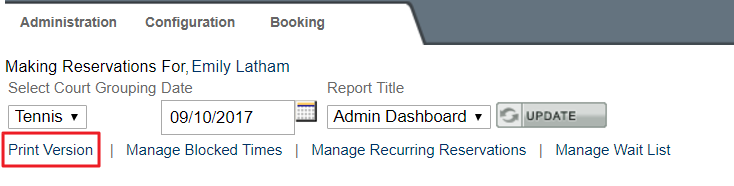
To edit an existing one-time block, click, Manage Blocked Times.
Navigate to the “View Blocks” tab. Then, click on the desired block to edit or delete.
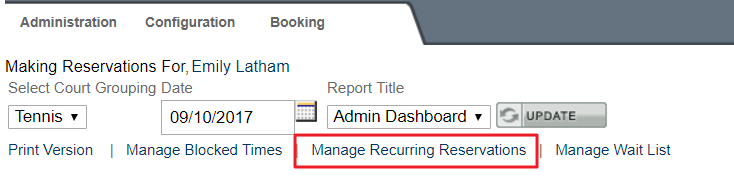
Add a Recurring Block (Block Series)
Frequency
The frequency setting is used to set recurring blocks called a series. For example, Friday Night Couple’s league could be set up as a weekly block series.
End Date
The end date is often important for recurring blocks but it isn’t required. A block series can be set to extend until the Courts Admin removes the series.
Check the “Select end date?” option to open and populate the “End Date” field. Click “Add Blocked Time” when finished.
Editing Block Series
To edit a block series requires removing the series and then re-adding it.
Use Block Templates - Choose Booking Rules
A standard block simply closes the time so members cannot book. However, blocks can be used for more than just closing the time.
By adjusting the block template setting, they can also be used to adjust who can book or what Court times are on the sheet.
For example, seasonal Court times can be controlled using blocks. This can also be done with the schedules for more advanced Court sheet configurations.
Blocks can be also used for basic event sign ups. For example, a “Women Only” block can be set to recur weekly on Thursdays 8am-10am.
This would allow only males to book the Court times during this window.
Shortcut to “Copy” Blocks
Sometimes similar blocks are needed throughout the month or year but not on a regular frequency. For these cases a shortcut may be used to copy blocks, requiring only a quick change to the date.
Steps:
Add a block which takes you to the “View Blocks” tab to see the newly created block.
2. Click the “Add/Edit Block” tab to load the same settings for the block created in step 1.
3. Change the settings for the new block. Often this would be just changing the date.
4. Click “Add Blocked Time”. This copies the block but with the new settings such as the new date.
5. Repeat as needed.
FAQs
Q. How do I set up block templates?
A. Please contact the Res Team or your Project Manager for assistance with creating templates.
Best Practices
Before adding or editing a block it is recommended to load the date on the tee sheet. The block manager automatically starts on the same date as is loaded on the tee sheet.
Downloadable Guide
Courts - Block a Court - Manage Blocked Times
...
Table of Contents
| Table of Contents | ||||||
|---|---|---|---|---|---|---|
|
