Versions Compared
Key
- This line was added.
- This line was removed.
- Formatting was changed.
Table of Contents
| Table of Contents | ||||||||||
|---|---|---|---|---|---|---|---|---|---|---|
|
Overview
The Unified Platform allows Clubs to manage their Events seamlessly from the POS, converting registrations to member charges.
Required Permissions
POS Access
Classic Point of Sale
To view the event registrations within the POS, log in to the proper POS Terminal associated with the Event Area.
Navigate to the Event tab.
Events will default to today’s date. Click Today to launch the Select a Date window, or utilize the arrows to the right and to the left to move forward or backward one day at a time.
Click to Open the desired Event.
To view the Registrations, select the desired Seating for a list of registrants.
Convert Registrations to Member Charges
To convert the registrations into Open Tickets:
Click on the desired reservation, and ticket will be generated to reflect the Fee Assignments designated in the Reservation.
Close out the ticket as normal, based on Member payment preference.
Member Charge All Function
When multiple reservation tickets exist, they have been reviewed for accuracy, and all Members desire to charge to their Member account, the Member Charge All feature may be used.
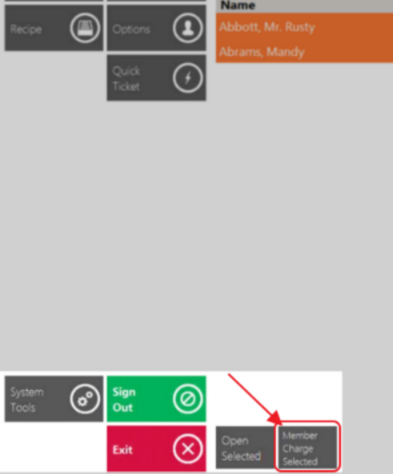
Select Multi-Selectto enable multiple ticket selection.
Select all tickets to be member charged.
Click Member Charge Selected on the bottom of the screen.
All tickets have been successfully closed out.
Mobile POS
To view the event registrations within the Mobile POS
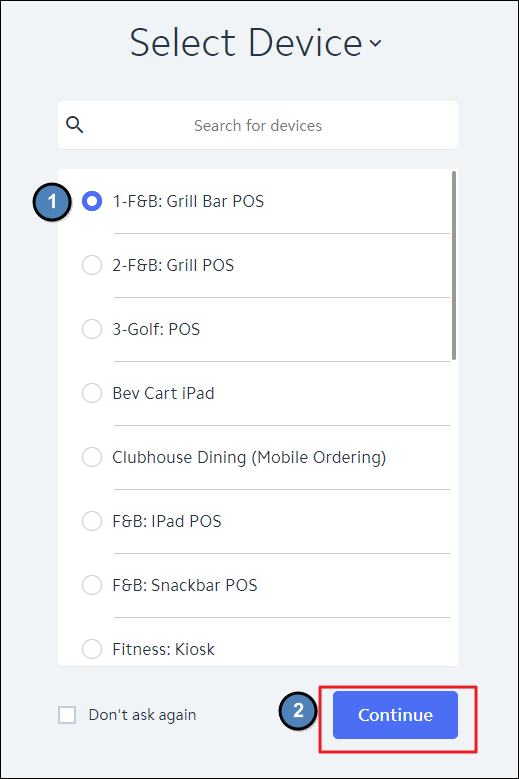
Log in and select a device.
Click on the Events tab.
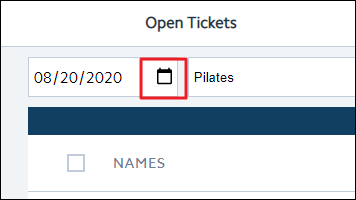
The default date will be Today's date. Click on the calendar icon to change to the desired date.
Use the drop down to select the appropriate event.
This will provide a list of all reservations. Groups of members who share a reservation will appear on the same line.
Convert Registrations to Member Charges
To convert the registrations into Open Tickets
Click on the desired reservation or click the check mark next to the desired registration and select Create Ticket.
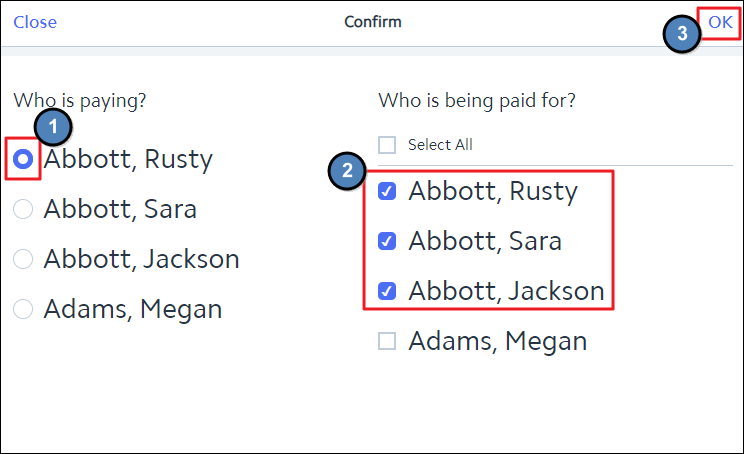
Select who will be paying for this ticket, then select which members will be paid for. Once selected, Click OK.
Additional items may be added if desired. Tickets may be closed out normally from this point, based on member payment preference.
Reservations with Open tickets will change from white to yellow. Closed tickets will be displayed as green.
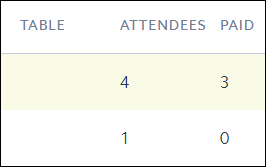
The grid will now show how many attendees have been paid for in each reservation. Creating a new ticket for that reservation again will only allow for tickets to be created for the un-paid attendees.
Member Charge All
The club can also choose to member charge all the registrants into separate tickets if no additional items need to be added.
Click Member Charge All in the upper right corner.
A confirmation message will appear asking “Are you sure you want to member charge all?”
Click OK to create and close tickets for all open registrants.
Navigate to the Closed Tickets tab to view these closed tickets.
Changing Even Price
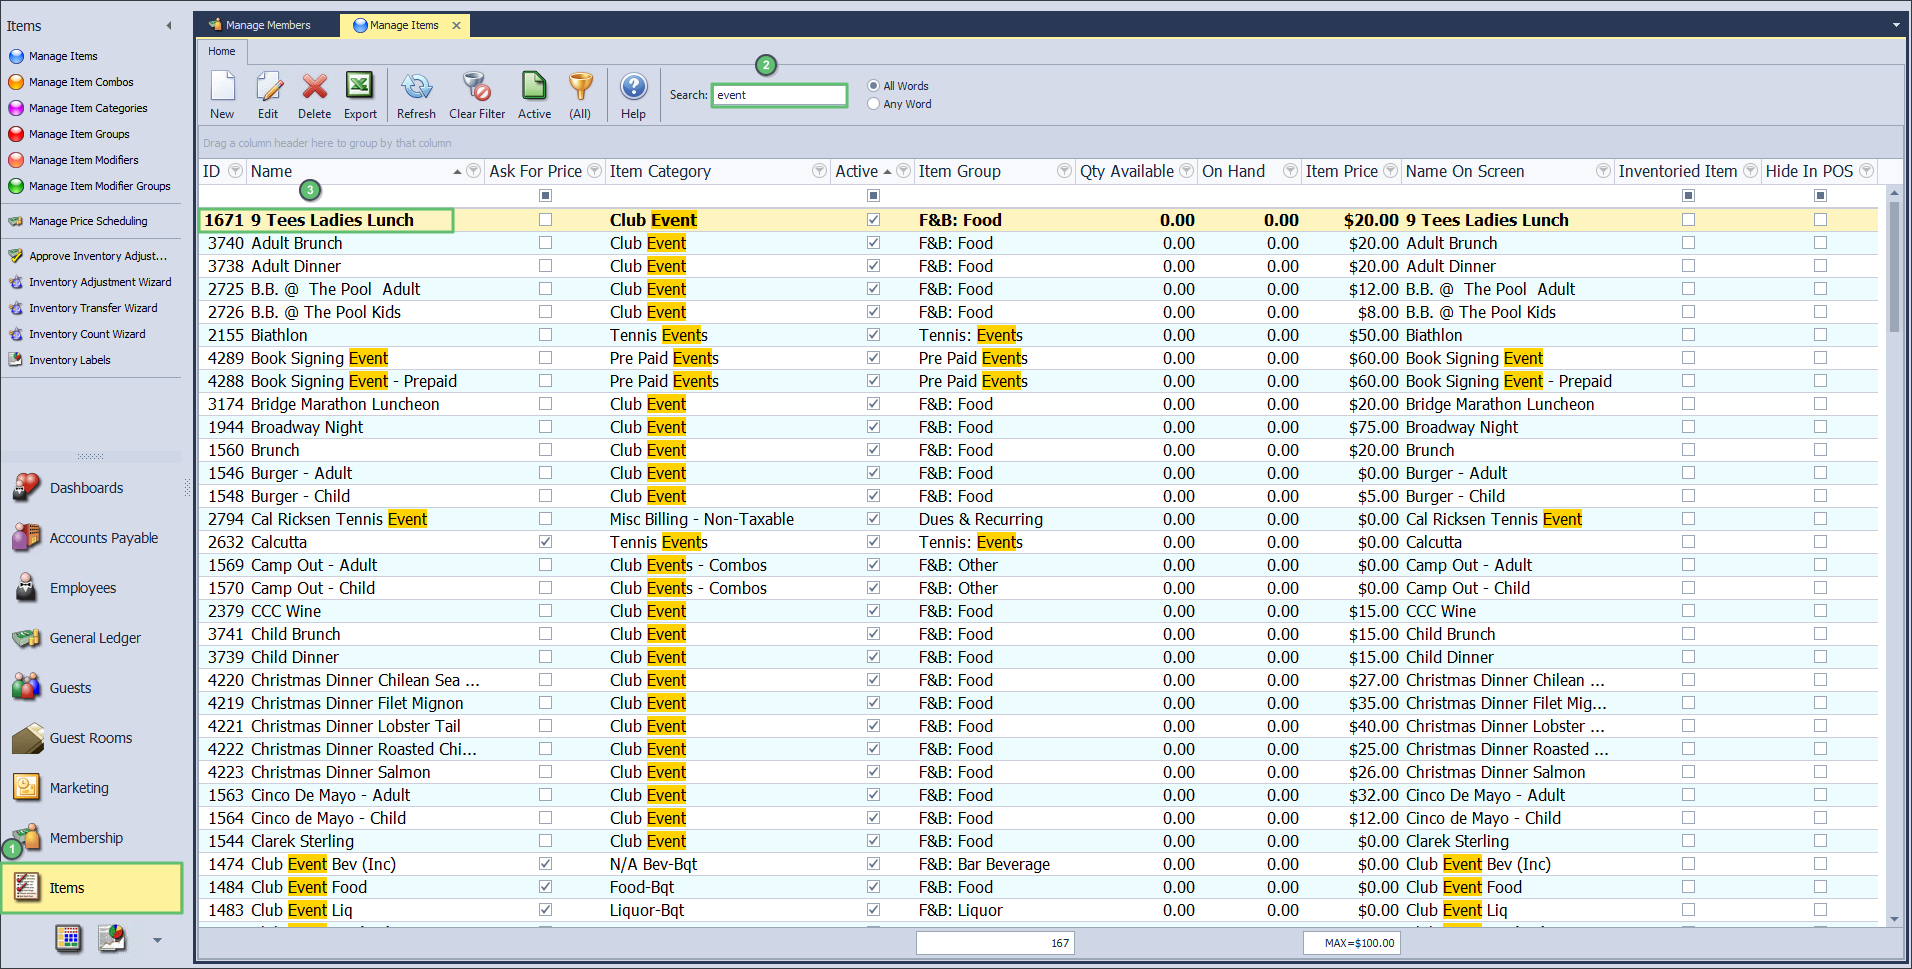
Go into CMA and locate the Items connected to the Event.
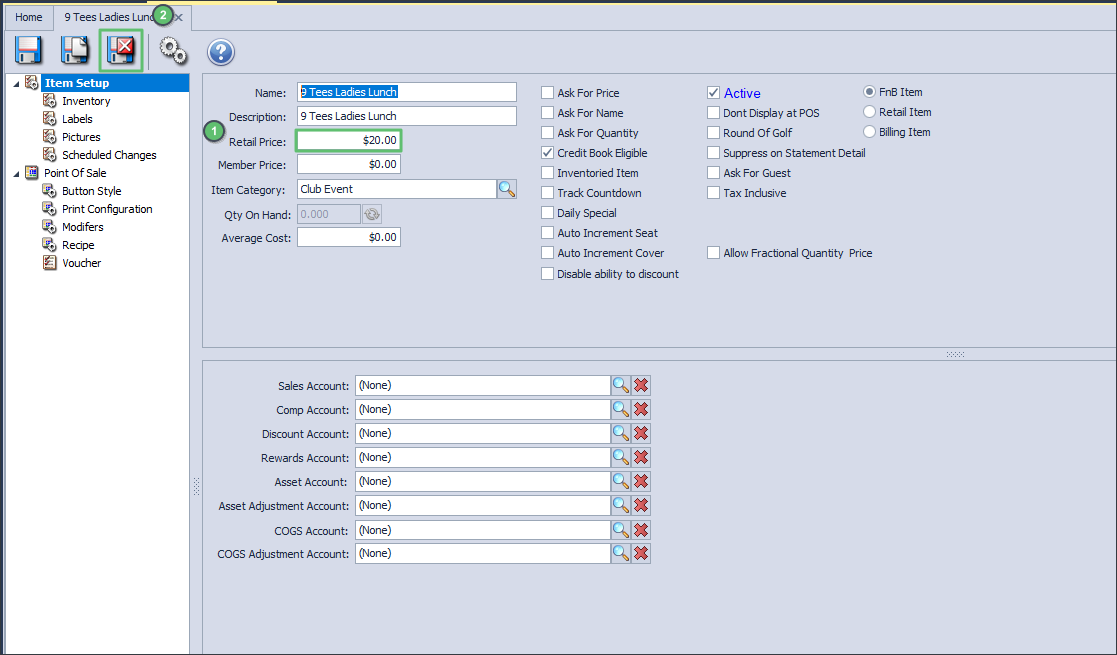
Change the price of the connected Items to reflect the necessary price changes.
This can be to lower or raise the cost.
Save these changes.
On the day of the Event, the POS will reflect the cost of the Items as shown in the CMA.
Please Note: The cost of the Event will show as the original price on the website even after these changes have been corrected. This display price will not change because there are already registrants on the Event.
Best Practices
Use the Member Charge function only after reviewing the Tickets for accuracy.
FAQs
Q: Why doesn’t changing the price of the item in CMA take the price shown on the Website?
A: This part of the program is part of the Suites. For the Event suites, the Club can create an Event on the website. This Event reads back from the website to POS. The POS takes the Items and their prices from the CMA automatically. There are 3 different aspects of the CE software speaking to each other to make this an efficient process for the Club. The price is just text to the CMA and POS. The system settings of the CMA help link the Event to the associated Items which allows the registrants names to auto-populate the Items on the POS ticket the day of the Event. This is how each piece speaks to each other.
The Item is linked to the Event through the CMA> the Website allows Members to sign up for the Event> the POS auto populates the linked Items on the ticket and takes the price from the CMA.
