...
Table of Contents
| Table of Contents | |||
|---|---|---|---|
|
...
Content
...
| Table of Contents | ||||
|---|---|---|---|---|
|
Video
| Widget Connector | ||||||
|---|---|---|---|---|---|---|
|
...
|
| Widget Connector | ||||||
|---|---|---|---|---|---|---|
|
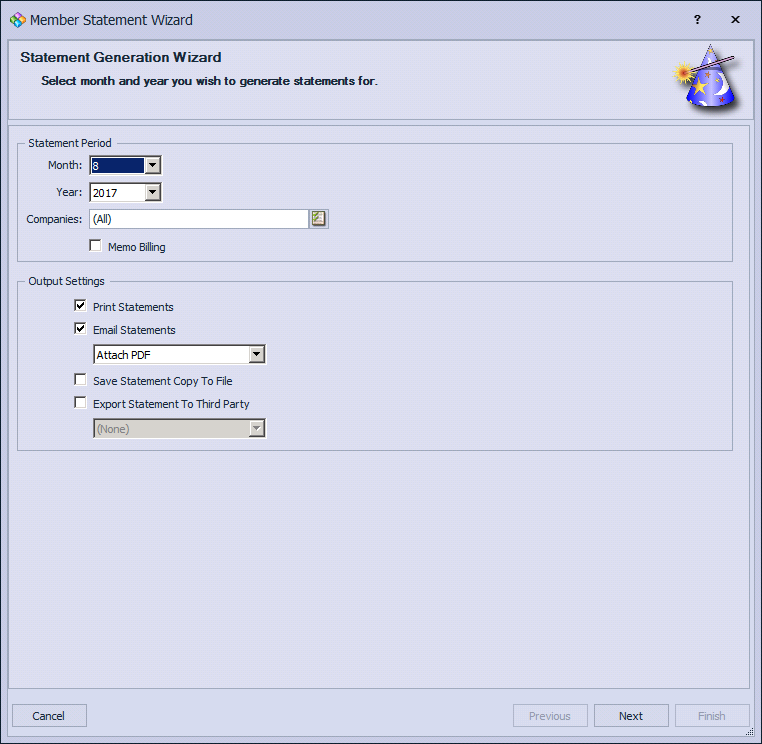
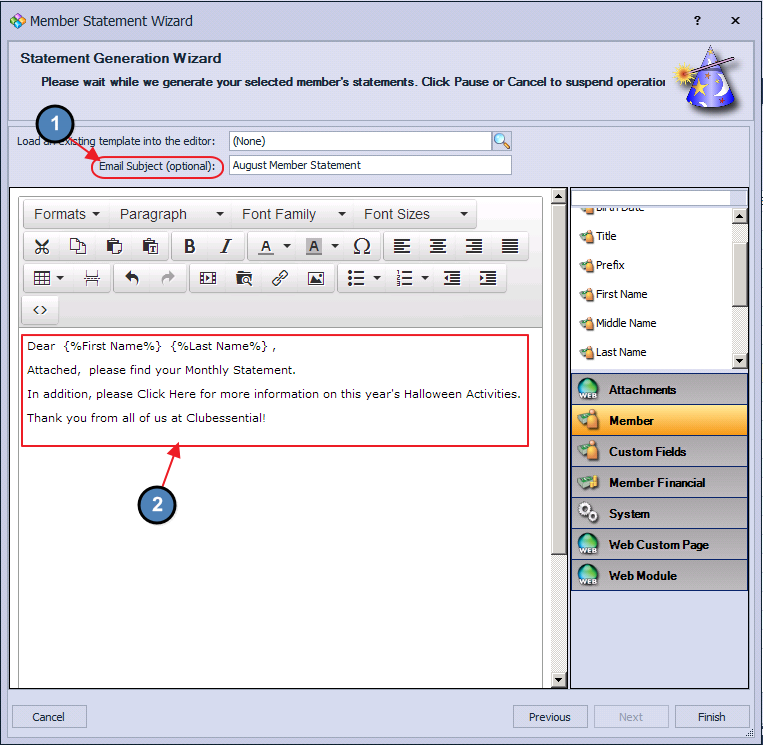
Use Case(s):
A Membership Director wants to send an additional Event Flyer with their Statement Emails.
The Club wants to attach a Newsletter to their Statement Emails.
Event Registration forms are sent with Statement Emails to help accelerate the registration process.
...

...
...
...
...
...
...
...
Please Note: For more information on selecting Members and the Statement Details screen, please see our End of Month - Month End Wizard guide.
...
...
...
...

...
...
...
...
...
...

...
...
...
...
...
...

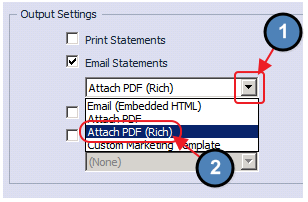
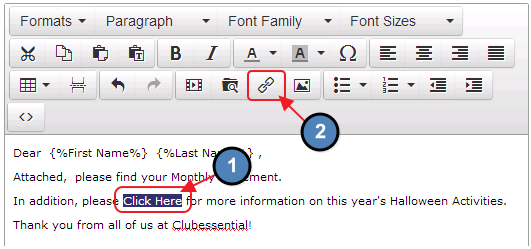
Sending the Email
...
...

Past Due Messages
The Office System has the ability to place canned Past Due Messages on any Member’s Statement who is over 30, 60, or 90 days past due. Please follow instructions below to create/update a Past Due Message.
To create/update a Past Due Message:
1) Select System across the top toolbar and choose System Settings.
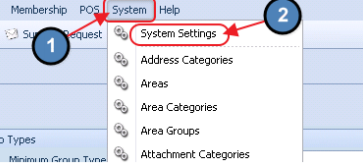
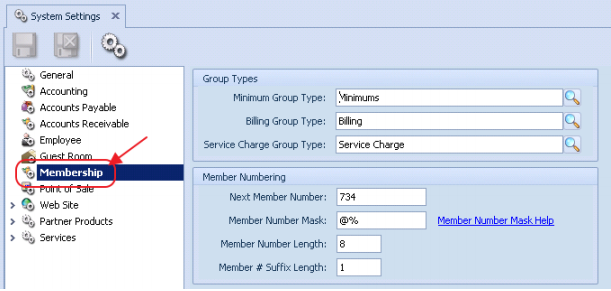
2) Navigate to the Membership tab on the left pane of System Settings.
...
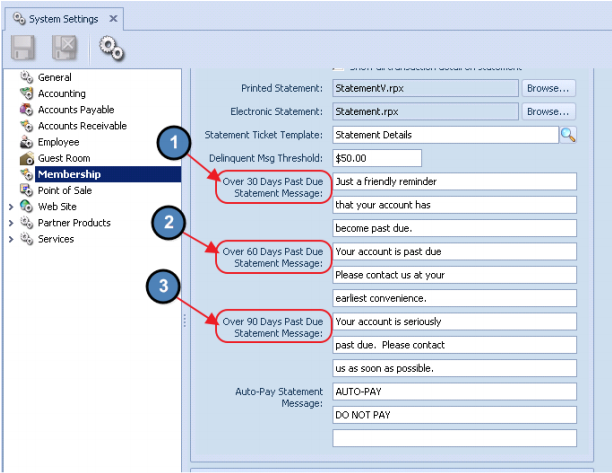
4) Now, the corresponding message will appear on a Member’s Statement if they are Past Due.

...
...
...
...
