Overview
The Office System has the ability to send additional attachments with the Statement PDF when sending Statement Emails. These additional attachments are attached in the form of a Hyperlink within the body of the Statement Email. In this guide, we will walk through the process of adding additional attachments. Please Note: The Office System can only send PDF and JPG files as attachments. Use Case(s):
|
Content
Video
Member Statement Wizard
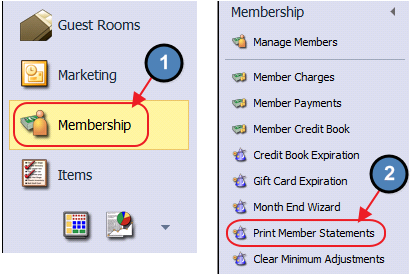
To begin, navigate to the Membership Module on the left-hand user menu and then select Print Member Statements.
The Member Statement Wizard will launch.
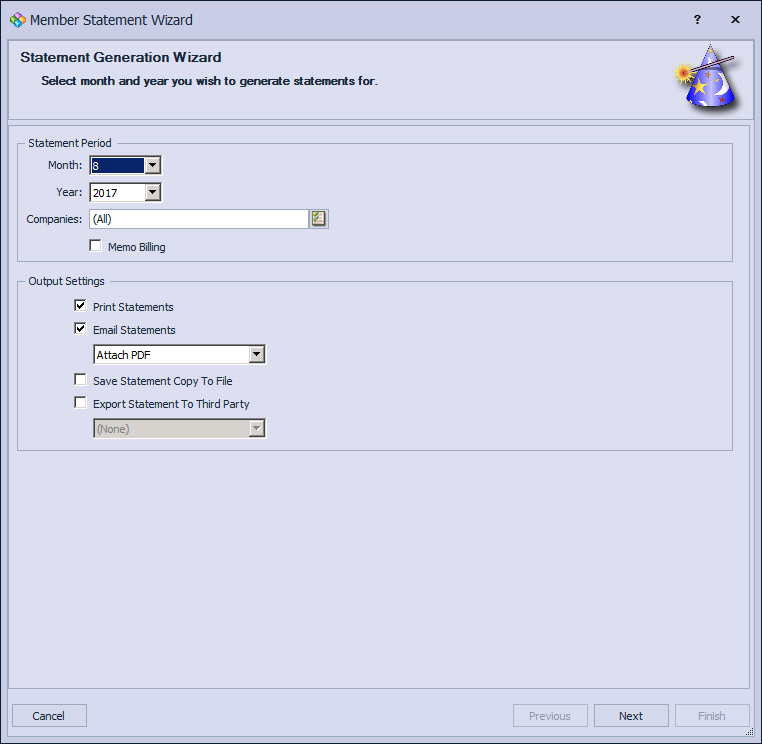
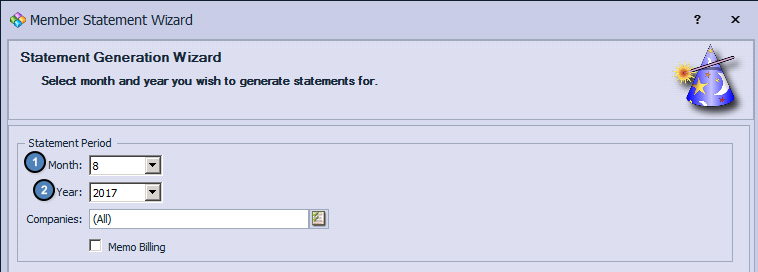
Select the applicable Month and Year of the Statement Email being sent.
Output Settings
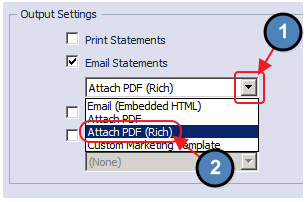
Uncheck Print Statements, and change the Output Settings to Attach PDF (Rich).
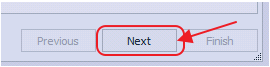
Click, Next.
Member Selection/Statement Details
On the next screens, select Members who are configured for an Email Statement, and the applicable Statement Details settings as normal.
Please Note: For more information on selecting Members and the Statement Details screen, please see our End of Month - Month End Wizard guide.
Adding the Attachment
Attach additional attachments in the form of a Hyperlink within the body of the Statement Email by following the below instructions:
1. Enter a Subject for the Email Message (Optional). Then, write out the Email Message that will be sent along with the Statement.

2. Highlight the Text that will serve as the hyperlink, and choose the Insert Link Icon on the toolbar.

3. Click the Browse Icon to Upload/Browse to the desired PDF or JPG file.

4. To upload the desired file, select the Upload Icon, and then choose Add Files.

5. Navigate to the desired file and choose Upload.

6. Once upload is complete (Finished at 100%), Close the Upload screen.

7. Select the newly uploaded file and choose Insert.

8. The URL to the file will be loaded automatically. Click OK to finish inserting the Hyperlink.

9. The Text highlighted previously will now link directly to the uploaded file.

Sending the Email
Once the necessary attachments have been inserted, select Finish to send the Email.

Past Due Messages
The Office System has the ability to place canned Past Due Messages on any Member’s Statement who is over 30, 60, or 90 days past due. Please follow instructions below to create/update a Past Due Message.
To create/update a Past Due Message:
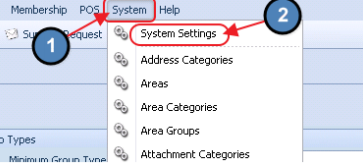
1) Select System across the top toolbar and choose System Settings.
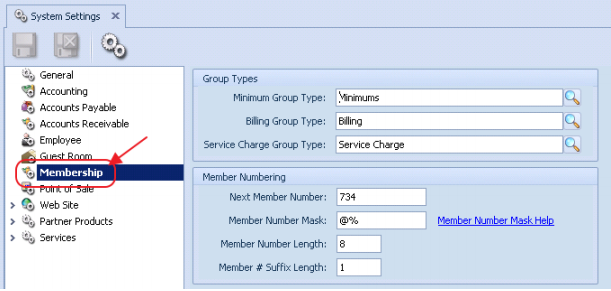
2) Navigate to the Membership tab on the left pane of System Settings.
3) Use the Over 30, 60, or 90 day Past Due Statement Message section to enter your canned message.
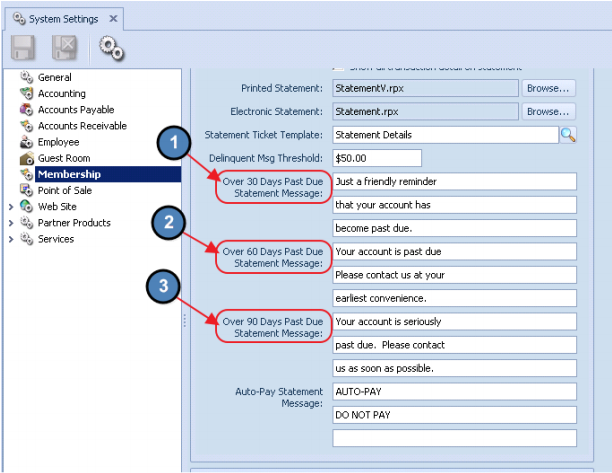
4) Now, the corresponding message will appear on a Member’s Statement if they are Past Due.

Best Practices
The Office System can only send PDF and JPG files as attachments.
Information on Members and the Statement Details screen, please see our Month End Manual.
FAQs
Q: Can I include more than one additional attachment to the statement email, or am I limited to just one?
A: Yes, since the documents are attached as a hyperlink in the body of the email, you can add as many attachments as you like.