Versions Compared

Key

  • This line was added.
  • This line was removed.
  • Formatting was changed.

...

Office Help Home

Table of Contents

Table of Contents

...

minLevel1

...

maxLevel

...

7
exclude

...

Content

...

Table of Contents
maxLevel3
minLevel2
excludeRDP Setup - Hosted Server

Navigation

Table of Contents

Use Case

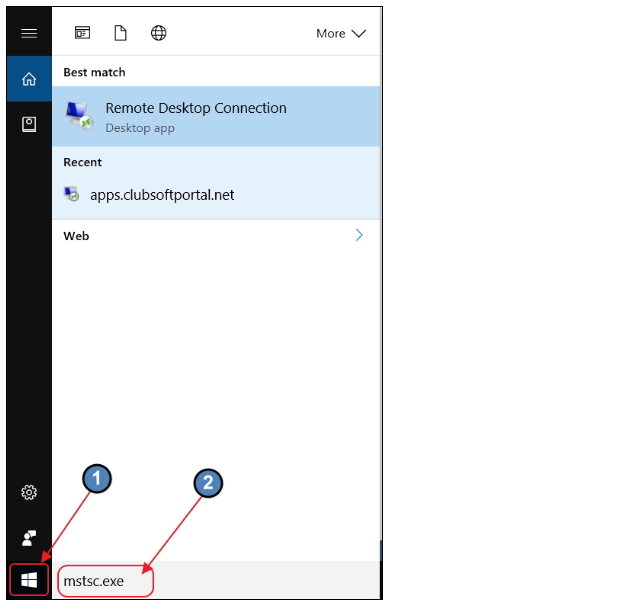
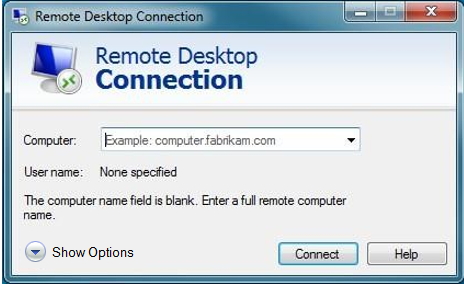
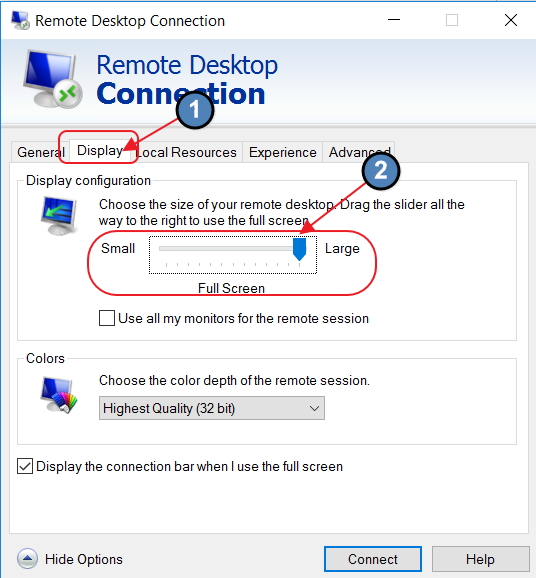
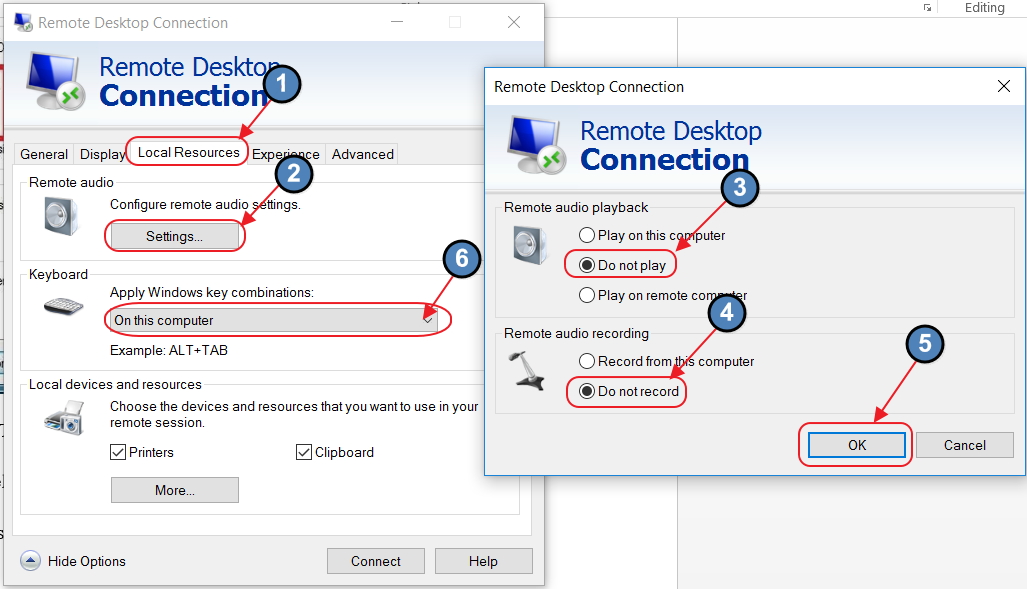
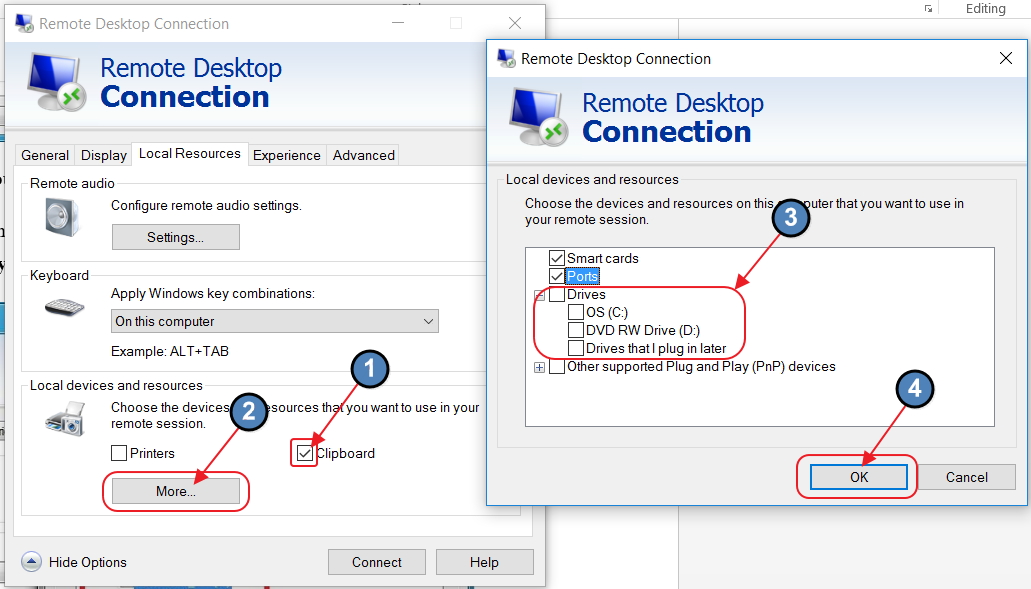
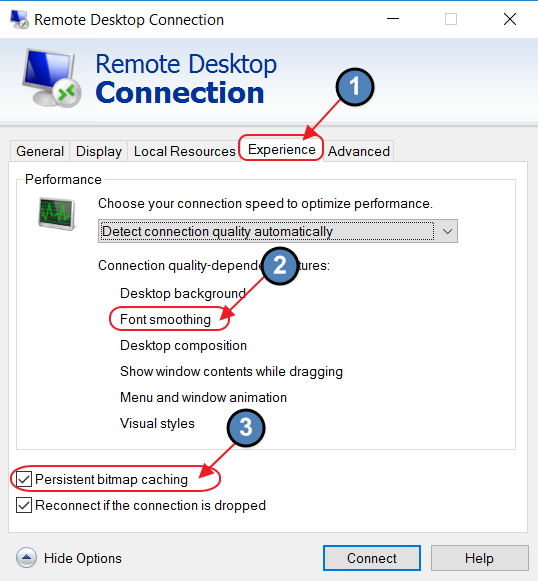
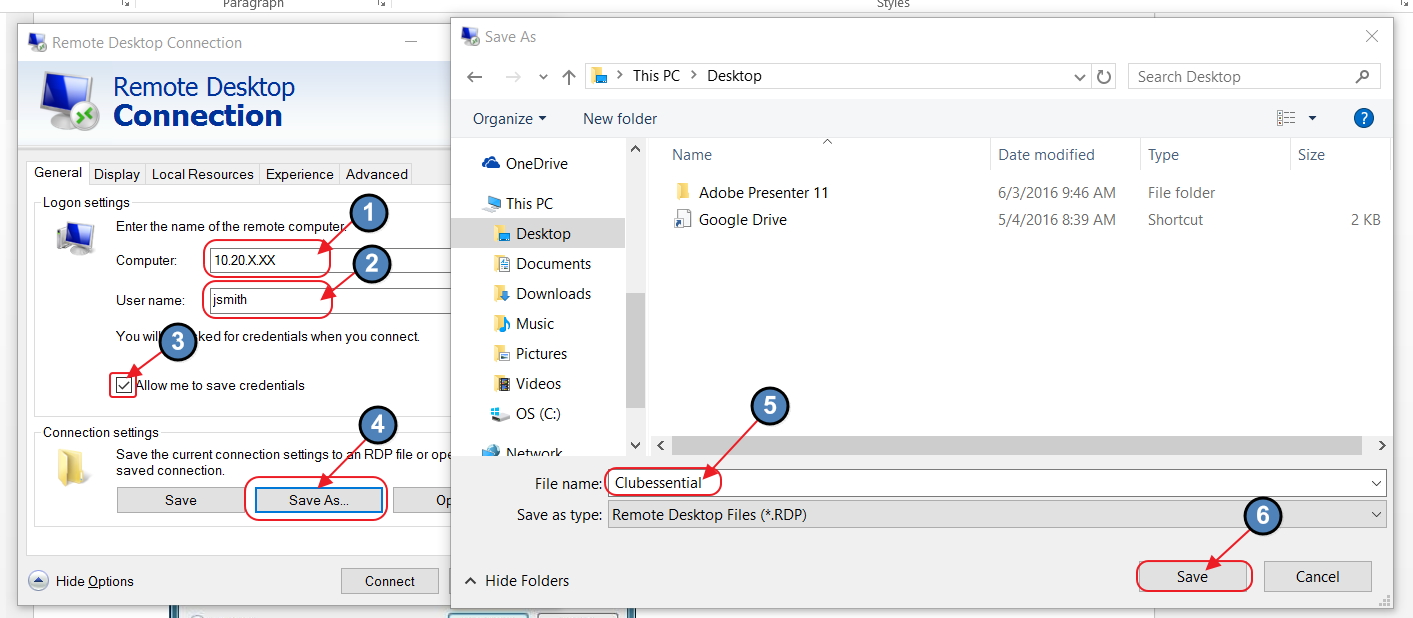
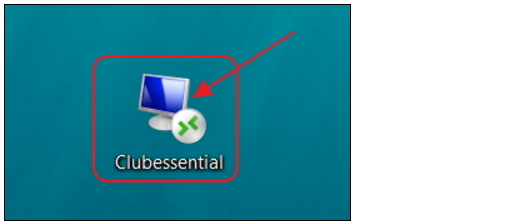
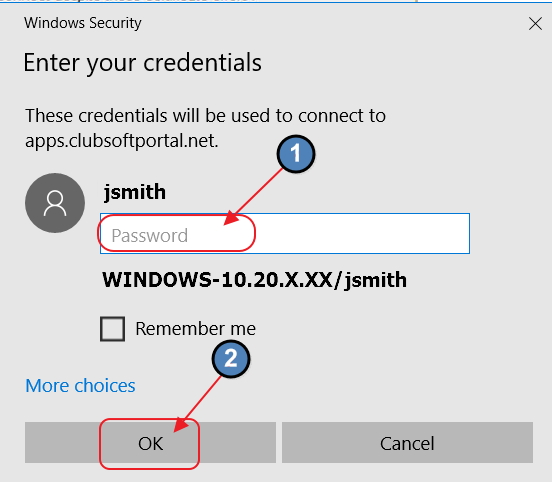
A Club decided it was more cost-effective and efficient to move to a Clubessential Hosted solution, rather than continue to support the server and backups locally at the Club.  To access the hosted solution, the Club now uses a Remote Desktop Connection to access their Office application.


Accessing the Tool

To access the Remote Desktop Tool,

...

  1. Click on the Start Menu

...

  1. .

  2. In the search bar, type mstsc.exe and press Enter on the keyboard.  

Image Removed

  1. A screen similar to this will appear.

Image Removed

RDP

...

Setup 

  1. Click the

...

  1. Show Options button at the bottom left of the window.

Image Removed

  1. The window will expand and show a series of tabs.

Display Tab

Click the Display tab and move the bar to the far right until it shows Full screen.

...


...


Local Resources Tab

...

  1. Click the Local Resourcestab.

...

  1.  

  2. Under the Remote audio heading, click the Settings button.  A new window will appear.  

  3. Select the Do not play and Do not record options,

...

  1. Click the OK

...

  1.  to close additional window.  

  2. Then, under the Keyboard heading, select On this computer from the drop-down menu.

 Image Removed


  1. Still on the Local Resources tab, click the Clipboard option under the Local devices and resources section.  

...

  1. Click the More button to launch a new window.  

    • Check the appropriate box for the drives needed (Note that this is for computers that will use CMA/

...

    • Office only).  

    • If unsure what drives to select, contact your local IT department.

...

Image Removed

    •  

Experience Tab

...

  1. Click on the Experience tab.

...

  1.  

  2. The Font smoothing and Persistent bitmap caching options must be selected.  

    • (Note: It is ok to leave other options enabled if they were already selected.)

...

    •  

...


General

...

Tab 

  1. Click on the General tab.

...

  1.  

  2. Enter the IP address that was provided by Clubessential in the Computer field.  (Ex.  10.20.x.xx)  If the IP address was not received, please reach out to your Implementation Specialist.

...

  1.  

  2. For the User Name field, enter the user name provided by Clubessential.  (Ex. jsmith or Proshop1).

...

  1. Click the Allow me to save credentials box.

...

  1.  

  2. Click Save As and save file to your desktop.  Give the file an easily recognizable Name.  (Ex. Clubessential

Image Removed


First Log-

...

In 

  1. Close out of the window and double-click on the new Remote Desktop icon.

Image Removed

  1. A new window will appear and will ask you to enter your password.  Enter the password provided by Clubessential.  

    1. (The password can be changed after accessing the system by clicking Start, Window Security).

...

    1. To save password, click in the Remember me box.  Click OK to continue.

...

    1.  

  1. Connections will load as access has been granted to the remote server.  Launch the Clubessential Office and/or Point of Sale system, and begin working.

...

  1.  

Subsequent Log-Ins

  1. Click the Desktop icon.

 Image Removed

  1. Enter password (if Password was not previously saved).

...

  1. Launch the Clubessential Office and/or Point of Sale system, and begin working.

...

...

...

Downloadable Guide

...

CE footer.pngImage Added