The Manage Blocked Times tool is primarily used to prevent members from booking Courts during specific times, however in our Lesson systems Blocks are used to create available scheduled hours. Blocks can use different “templates” or rules for reserving Courts instead of using the Admin Only template in this case they will use either the Available or Member Booking template.
Required Permissions
Courts, Reservations, Spa and Other Reservations Administrator
Accessing the Tool
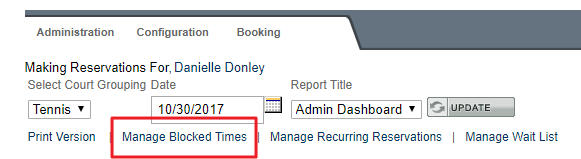
To access Blocked Times, go to the Lessons Admin Dashboard. Click on Manage Blocked Times to begin.
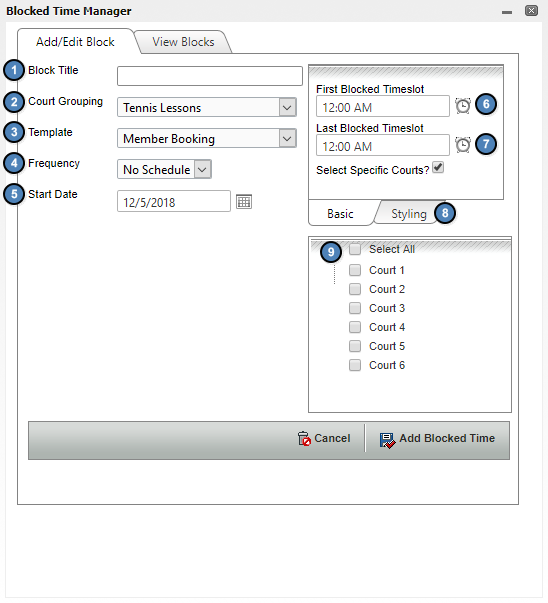
Add a name for the block title, such as 'Available.'
If you have multiple lesson systems, for example one for tennis and one for golf, use the Court Grouping to determine which system the block will be created for. If you only have a single Lesson system, you will never have to worry about this drop down.
The template will determine who has booking privileges during the blocked time. Since we are using the tool to determine the provider's availability, ensure Available or Member Booking is selected.
If this is a recurring availability, use the Frequency drop down to determine a schedule.
The Start Date tool will default to today’s date. You can use the calendar icon to change the date the block will start on or simply type out a different date.
You can click on the clock icons next to First/Last Blocked Timeslot to choose when the block will begin and when the block will end.
The Styling Tab allows you to choose a background color and text color for the block.
The block can occur on all courts or on individual courts. Check off which courts the block should occur on, or select all.
Once you are finished, click Add Blocked Time to create the blocked time.
Removing & Editing Blocks
You can edit an existing block or remove a block at any time.
From the Courts Admin Dashboard, click Manage Block Times.
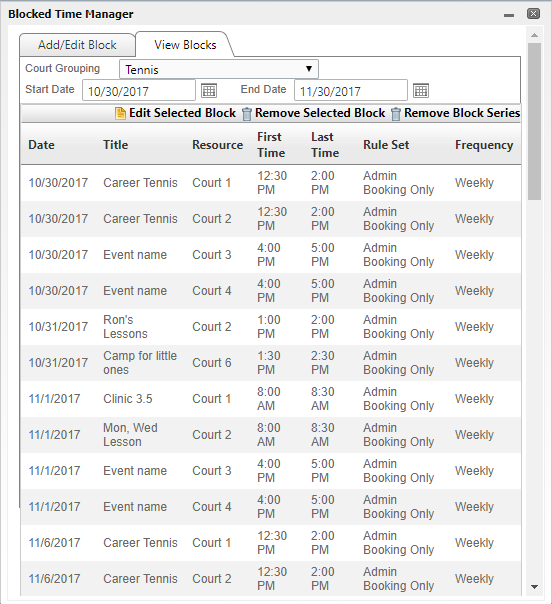
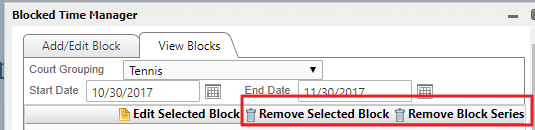
If you have multiple groupings, you can use the Court Grouping dropdown to filter all blocks related to various courts.
Use the datepickers to filter through blocks depending on their calendar date to easily find the block you wish to edit or delete.
Editing Blocks
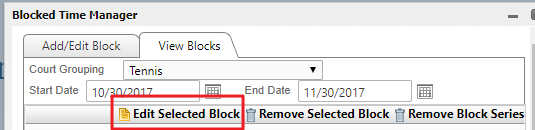
Click on the block you wish to edit and click Edit Selected Block. If the block is part of a series and you would like to edit the entire series, click Edit Selected Series.
This will open the Blocked Time Manager details where you may make updates as needed.
If the block is part of a series (recurring block), click Remove Block Series to remove the entire series at once.
Best Practices
Before adding or editing a block it is recommended to load the date on the tee sheet. The block manager automatically starts on the same date as is loaded on the tee sheet.
FAQs
How do I set up block templates?
Please contact the Res Team or your Project Manager for assistance with creating templates.
