Within the Dining Admin Dashboard you have the ability to alter Dining Schedules using the Scheduling Tool. Various schedules will be set up for you and if you should need more pre-set schedules, please contact Support for further assistance.
Required Permissions
Dining Admin
Accessing the Tool
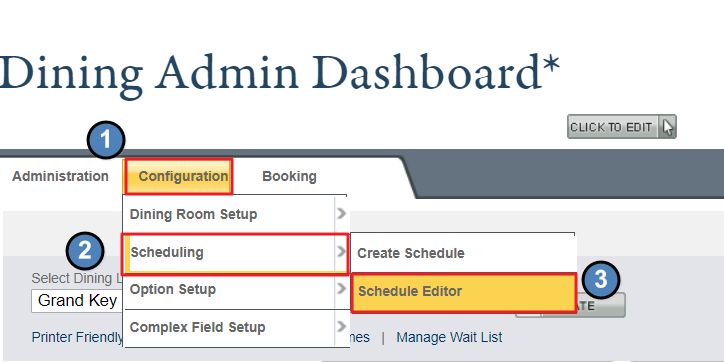
From the Admin Dashboard hover over Configuration, and then hover over Scheduling.
Click on the Schedule Editor.
Applying a Schedule
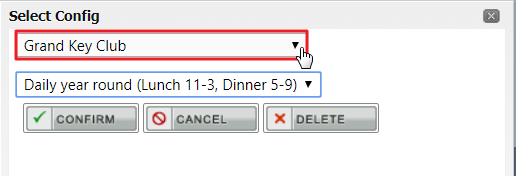
In the first window, choose which Dining location this will apply to.
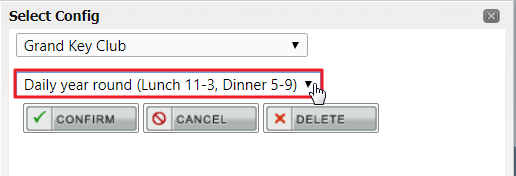
In the second dropdown, choose the appropriate schedule you wish to make edits to.
Click Confirm to continue.
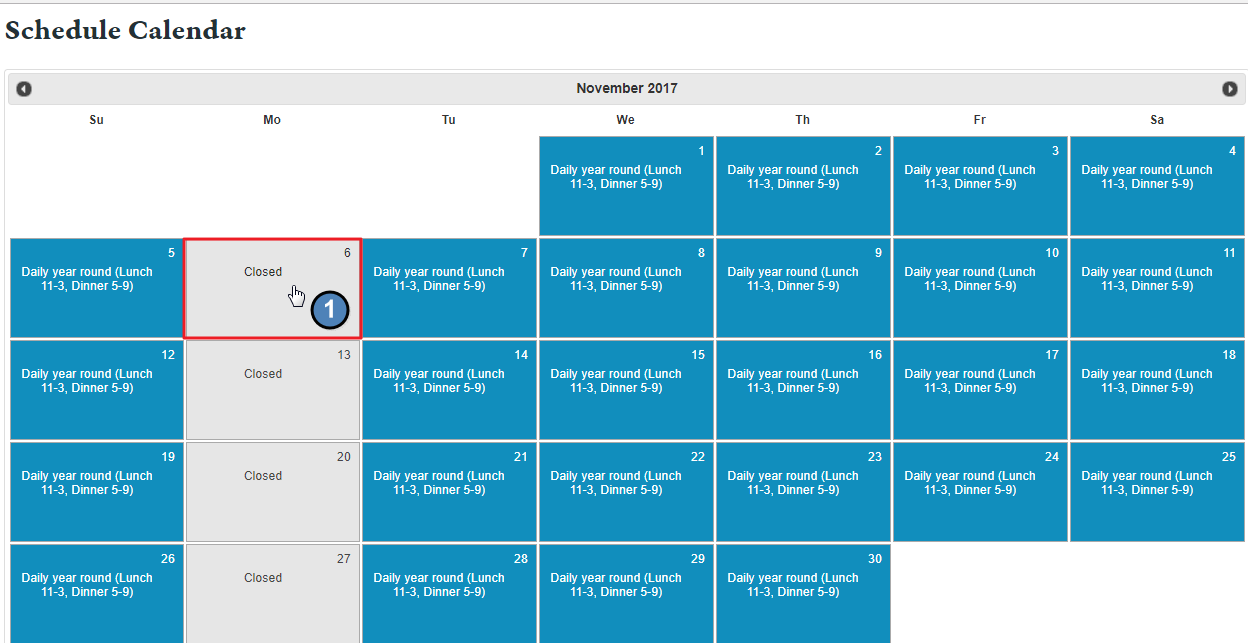
Next, click on the dates on the calendar to apply the schedule to.
Dates highlighted in blue will signify that you have applied the schedule. To remove schedules to dates, click on blue dates.
Once you have finished selected dates, click Save Schedule for the changes to take place.
Save As New Schedule
When you are making a new schedule and do not want to start from scratch, you can use the Save As New Schedulebutton to clone any existing schedule.
Best Practices
FAQs
What if I need a new schedule within the Schedule Editor to use?
To set up a new Schedule within the Editor, please contact Support for further assistance.
