Overview
Item configuration points transactions to the General Ledger Account for financials. All POS and Billing Items are linked to an Item such as: Scheduled Billings, Installment Billings, Store Credits, Gift Certificate, POS Transactions, etc. In this guide you will learn how to setup Item Groups, Item Categories, and Items. Items can be used in various ways such as combos, vouchers, etc. This guide will teach the different usages of items.. Use Case(s)
|
Content
Accessing the Tool
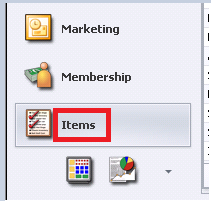
The Items Module is located in the left hand navigation. See image to the right for detail.
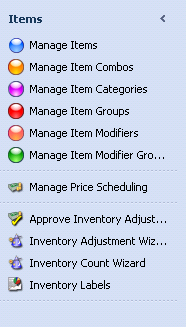
When you select the Items module; the top left panel will list the Item Option menu(s) that we will cover in this guide. Items will open in the Manage Items tab.
Item Rules
The Item Setup consists of three tiers: Items, Categories, and Groups. All Items belong to a Category, all Categories belong to a Group.
Example of a Tier:
Food (Item Group)
Entrée (Item Category)
Lobster Ravioli (Item)
8oz Steak (Item)
Trout w/Crab Sauce (Item)
An Item can only belong to one Category and one Group. You can have unlimited number of Items in a Category and you can have unlimited number of Categories in a Group.
Please Note: The Tax and Service Charge percentages are determined by either the Item Category or Item Group (not the Item level).
You can enter the GL Sales Account on the Item, Category, or Group level.
Please Note:
Item overrides the category and group settings.
The Category can override the Group settings (only if the Override Group Settings is checked).
The Group settings will be used if there is no override on the Item or Category setting.
Standard Icons
.png?version=2&modificationDate=1512983009387&cacheVersion=1&api=v2&width=704&height=64)
The toolbar above all grids list the standard icons:
New, Edit, Delete, Export to Excel, Refresh, Clear Filter Active/Inactive Items, Help (Navigates to Client Facing Knowledge Base), and the Search field.
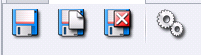
On all maintenance screens the above toolbar lists the standard icons:
Save
Remains on the screen.
Save & New
Saves the record and clears the screen for a new record.
Save & Close
Saves and exits the maintenance screen.
Audit Logs
Shows date of last change, old/new values, and user who made the change.
Manage Item Groups
Select Items, then Manage Item Groups.
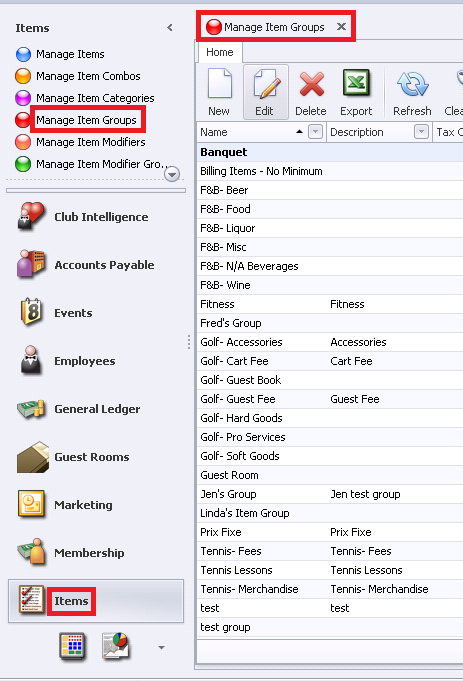
The Grid that displays will vary from user to user. For example, if the user is only allowed to see Retail items they will not see FNB or Billing Items.
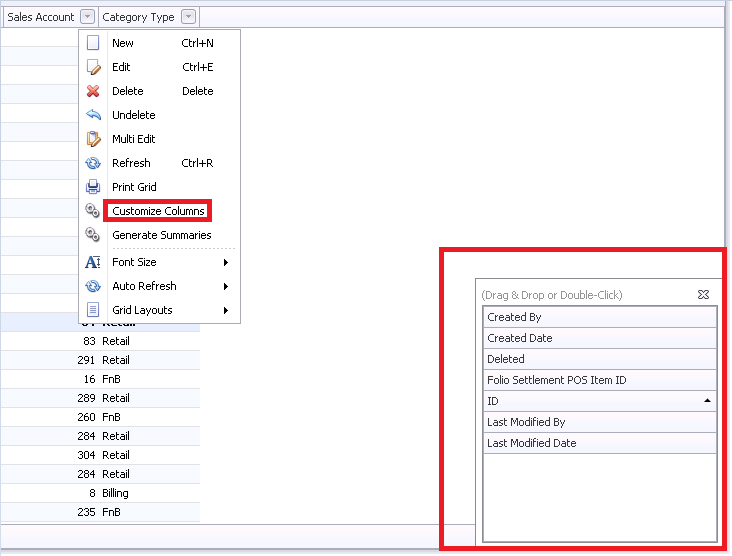
To customize your grid to display different columns:
Right click anywhere on the grid and select Customize Columns. A list of Columns will appear and can be added to the grid by simply double clicking or dragging and dropping the column in question. The columns available will vary by module.
Click on the column heading to sort by any column or use the funnels to filter the information
listed.
To edit an Item Group:
Highlight the Item Group and double-click or select the Edit icon on the toolbar.
To add new groups, click the New icon.
The Item Group screen will appear. See details below.

Name
Enter the name of the group.
Description
Additional description of the group; this is optional for internal viewing only.
Folio Grouping
Relates to Guest Room Items.
Select the Group Category that relates to the Items that will be associated with the Group
Select FnB Category if the Group is for Food & Beverage POS or Banquet Items.
Select Retail Category if the Group is for Retail POS Items.
Select Billing Category if the Group is for Billing Items (these items will not be available in POS).
Area Overrides
Within System, then Areas:
Highlight the Default Area and enter the Account information to the right of the screen (required).
Please Note: Each Area can have different Account allocations by highlighting the Area name and entering the accounts.
Select the Accounts for General Ledger allocations:
Sales Account
Select the revenue account that will be credited when items are sold.
Comp Account
Select the account that will be debited for the amount of comps
made at POS.
Discount Account
Select the account that will be debited for the amount of discounts
made at POS.
Rewards Account
The field is related to a future enhancement and currently not used;
you can use any account but it is required before you can save and exit.
Asset Account
For Retail Items only: select the account that should be debited when
inventory is received and credited when inventory is sold.
Asset Adjustment Account
For Retail Items only: Select the account that will be used
when making Inventory Adjustments (can be a debit or credit based on the adjustment).
COGS Account (Cost of Goods Sold)
For Retail Items only: select the account that should be debited when inventory is sold (that offsets the credit to the inventory asset account).
COGS Adjustment Account
For Retail Items only: select the account that will be used
when making Inventory Adjustments (can be a debit or credit based on the adjustment).
Tax Code
The tax code selected will determine the amount of tax and service charge
that will be added to items when sold. (You may refer to the Tax and Service Charge Setup Manual for more information).
When finished select Save & Close.
Downloadable Guide
Inventory Adjustment Wizard - Guide