...
Table of Contents
| Table of Contents | |||
|---|---|---|---|
|
...
|
| Widget Connector | ||||||
|---|---|---|---|---|---|---|
|
...
Video
This video provides an overview of how to use the New Editor.
Note: Sections of the video have been referenced below with corresponding times in the video for ease of access
...
| Widget Connector | ||||||
|---|---|---|---|---|---|---|
|
Content
...
| Table of Contents | ||||||
|---|---|---|---|---|---|---|
|
...
Use Case(s)
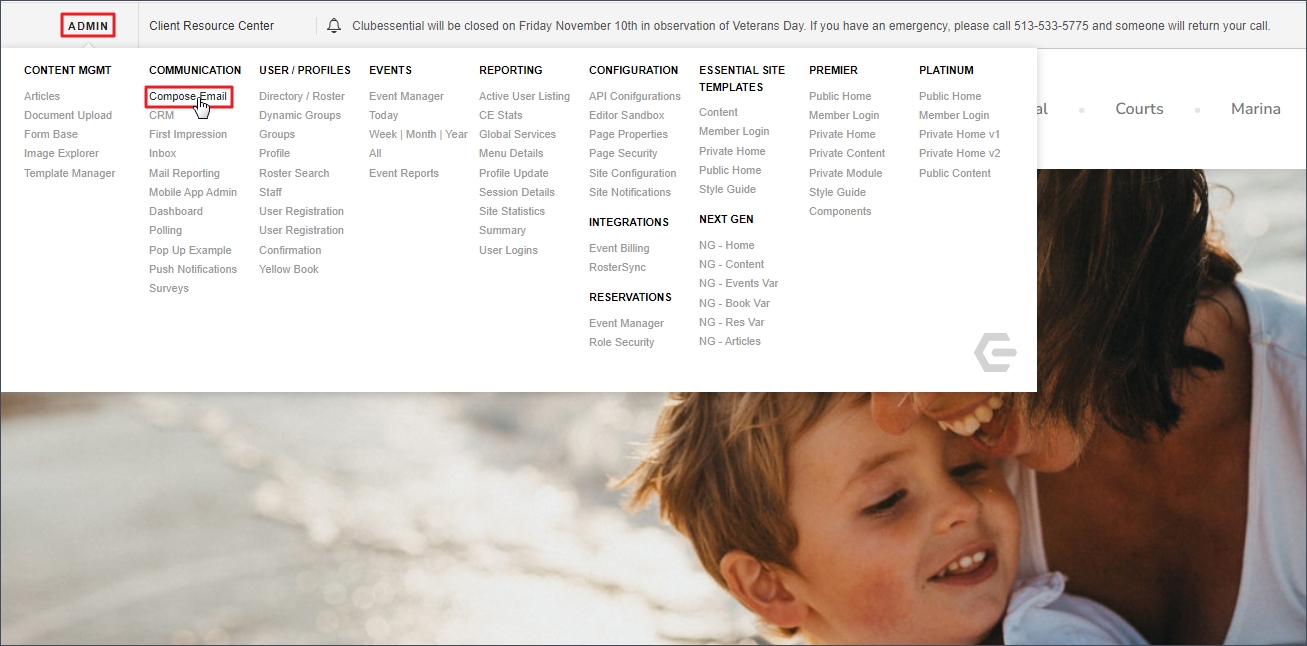
Website Admins and Editors will use the New Editor when updating content and imagery in Emails.
...

...
Saving Templates
To save your email as a template for future use, use the “Save as Template” option under the Actions menu at the top left.

While the template functionality has changed, you can still save your email as a draft as you would have with the Legacy editor.
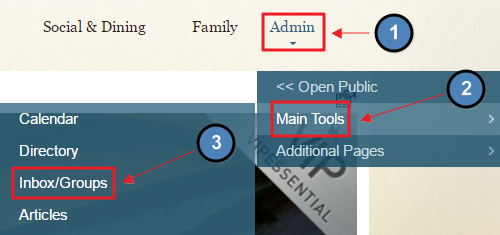
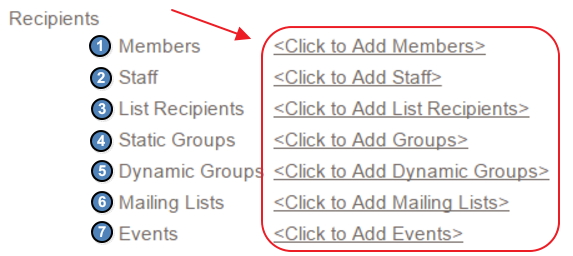
Choose the recipients of the email, by clicking on the desired method to assign recipients.
...

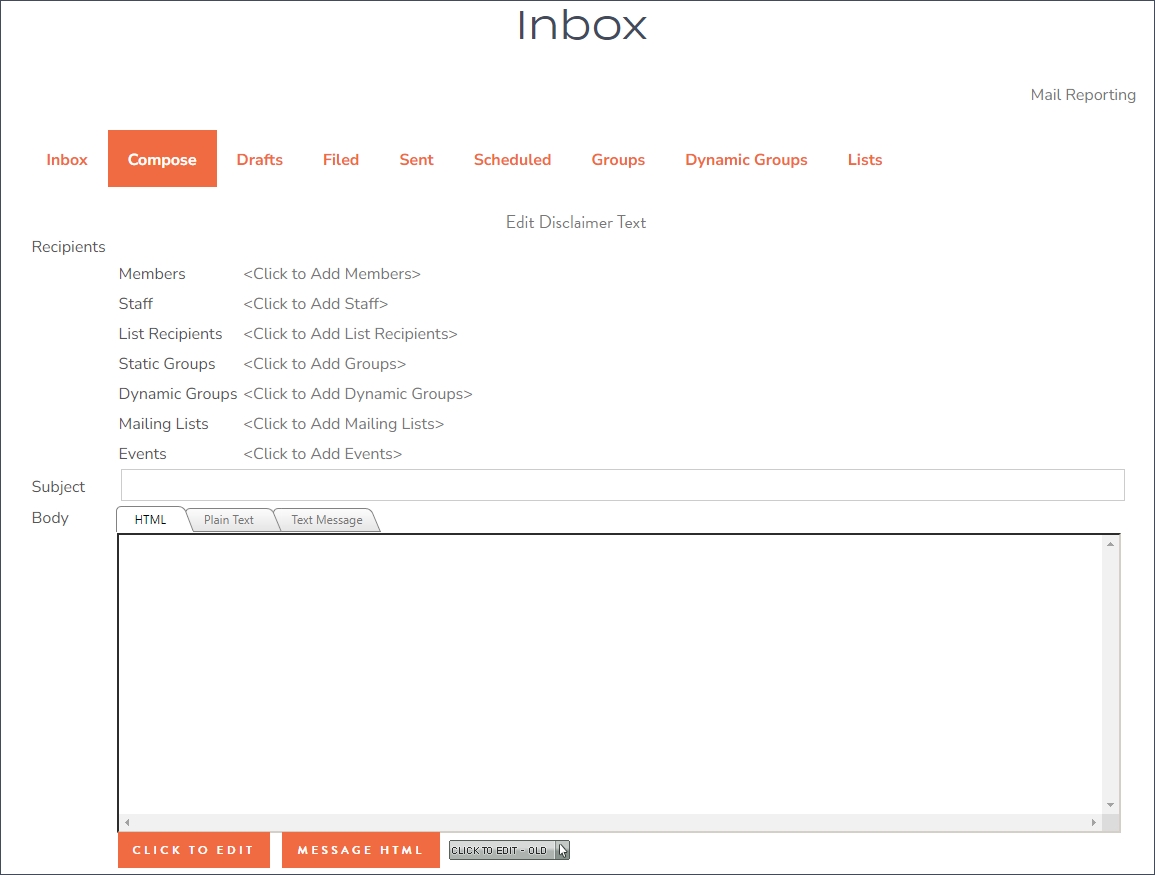
To create an email using the new email editor, begin by clicking the “Click to Edit - New” button on the email compose screen:
![]()

Working With Templates
When you first access the new Clubessential Email Editor, you will be taken to the Template Manager. This allows you to quickly start an email from a template.

The all-new template manager functions as a repository for all of your new editor email templates, and you can save and categorize all of your templates.
We’ve also provided a number of themed templates for newsletters, events, and more. You can change the logos and colors on these messages to match your brand to quickly and easily compose a great looking message.
Once you’ve chosen a template, you can easily edit content, images, and hyperlinks within the template.
Composing an Email
To begin formatting your email, choose your desired content options by dragging them to the center of the content panel.

Body
The Body of the email is the foundation, by which general settings are applied and inherited by the structure and content blocks. For example, if you choose a certain font within the message settings on the Body tab, then all content will inherit the exact same font type.

Please Note: While the new Clubessential Email Editor offers the flexibility of customizing your email design, it is important to keep consistency with your designs that reflect the branding for your private club. To access your branding guide for specifications on font and colors, hover over Admin > Click on Style Guide.
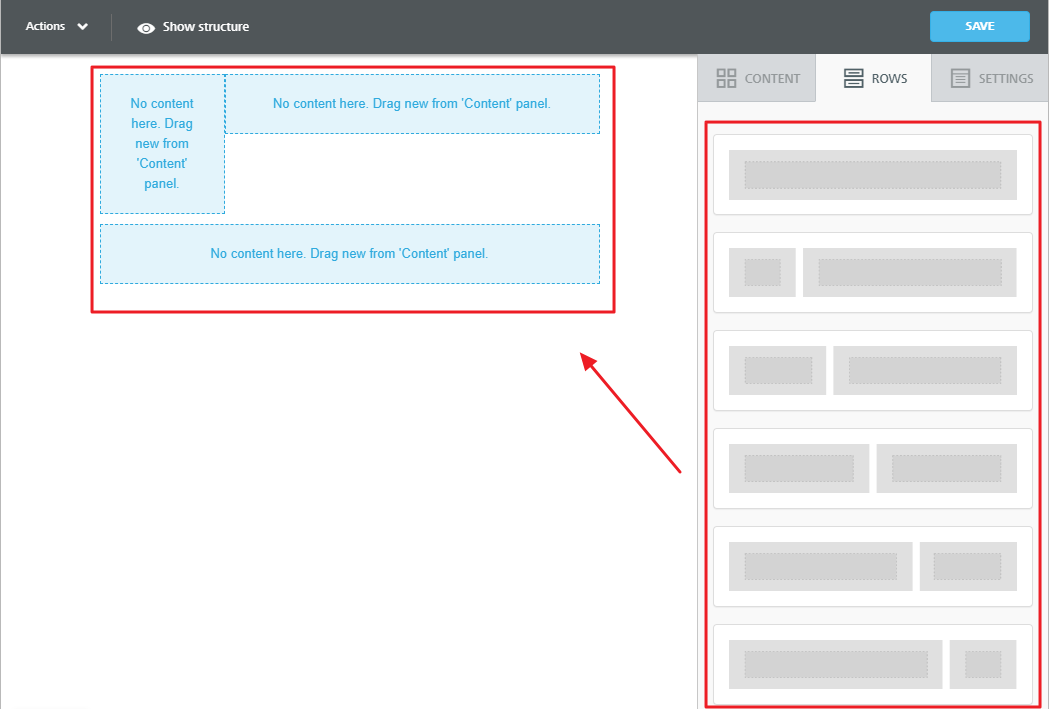
Structure
The Rows tab is where you can determine the types of rows you would like to add to the message. The rows will hold various content types within it. Using the row options, easily create one column, two columns, and various sized columns for the body of the email.
Every row will have its own settings, which allows for flexibility in your design. For example, you can select a background color for the entire row, just the message area, or a specific column within it.
Content
The content tab is where you will add various content elements to the structure. Drag and drop your content options, like text, hosted video(s), images, a button, etc. to your structure and then you can begin editing.

Images
All images used with the new Clubessential Email Editor will be separate from the Image Explorer from the website. Once an image block is added, you can add images by clicking “Browse” or by simply dragging images from your computer to the image block.

Editing Images
Once an image is selected, the following menu will populate on the right-hand side. To make any changes, select Apply Effects & More.

The Apply Effects menu will open, allowing you to filter, crop, resize, and more.

Styling Text
Selecting any text in the email will open a text editor menu, shown here. This menu allows for text stylings like font, sizing, alignment, color, and more.

Hyperlinking Text
To hyperlink any text in your email, simply highlight that text and select the Insert/Edit Link button on the text styling menu, shown here (1). Next, paste the hyperlink needed into the URL field in the Insert/Edit Link menu (2).

Inserting Snippets
Place your cursor within the email text where you would like to insert the snippet. Next, select More from the text styling menu. Then select Snippets.

The Snippets menu will open. You can then select from a full list of snippets to include anything from Member Name and number to date and time with specific formats.

Once a snippet is selected, click Add Snippet. The snippet will show in the body of the email. See example of Member First Name snippet below.

Buttons
Buttons can be added to any email by selecting Button from the content section and dragging it anywhere in the email body.

The button can be styled to your liking by clicking the button content in the body of the email. A formatting menu will populate on the right-hand side. From here you can change the color, alignment, hyperlink, padding, and more. The text styling menu will also populate above the button to change font, size, and style.

Message Preview
Preview your messages before sending them out with the Message Preview feature. This will allow you to see how the email will display on mobile and on a desktop. Click Actions > Preview.

Saving the Message
Once your email is composed, you can click the save button at the top right and continue to send the email as you would with the old editor.

...
...

...
![]()
...
...
...
Email Delivery Options
Once reviewed, the message can be either sent or saved for later sending. Additional options also exist to assist with tracking.First, designate whether to use Primary Addresses, Secondary Addresses, or Both (as defined in the Member setup). Most common (and Default) option is Primary Address Only.

Next, designate whether to Track the Message (for viewing/delivery statistics), and whether you would like to receive a notification email when sending is complete.

Finally, choose from the following options to define the next steps.

- Send Message Now - Sends the message. After sent, it will show in the Sent tab.

- Save Changes - This will place the message in drafts to revisit later.

...
