Reporting as a Provider
- Emily Carlson
Table of Contents
Overview
The reporting tool can be used to find specific data about existing bookings as well client information.
Required Permissions
Provider Admin
Accessing the Tool
The Reporting tool can be used to find specific data about existing bookings as well client information. The generated reports can be filtered as well as exported to csv files or printed when hitting Export. To access, while viewing the dashboard, select Reporting under the Scheduling column. Within the left hand panel the four types of reports are listed:
Reservation List - This report will display a summary of filtered reservations within a given time period. You can run this report for past or future dates.
Spa Statistics - This report displays reservation details such as cancellations or no-shows within a time period. It can also display client, provider, and payment details as well.
Client Details - This report allows for the search of a single client and displays details of various appointment types.
Commission - This report will display a summary of filtered commission data within a given time period.
Running the Reservation List Report
First select the location. You can pick a single location or be left on All.
Next, choose a specific Room/Resource. A specific room can be chosen to generate a room-specific report or all rooms can be selected at once.
The next dropdown allows you to select a single or multiple service categories to view.
The next field is Provider. This will default to and be locked-in as the provider who is logged in.
Lastly, set the Start and End Dates. This is the time range the report will show reservations within.
Select the radio button for the order you would like the report to appear in:
Provider - The reservations displayed will be grouped by provider
Resource - The reservations displayed will be grouped by the resource/room
Service Category - The reservations displayed will be grouped by the service categories selected
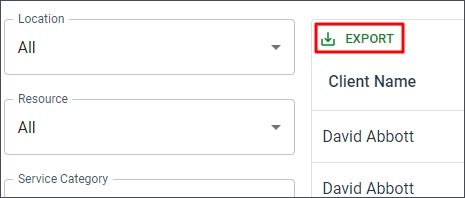
Once all settings are selected, click Run Report. The report will be displayed within the internet browser. Select Export to download as a CSV file or produce a printable version useful for printing.
Running the Spa Statistics Report
First select the location. You can pick a single location or be left on All.
The next dropdown allows you to select a single or multiple service categories to view.
This report can show specific Client Types. Use the drop down to display details about members, guests, or TBD bookings.
The next field is Provider. This will default to and be locked-in as the provider who is logged in.
Then, set the Start and End Dates. This is the time range the report will show reservations within.
Next, choose which appointment statuses to be displayed. This can be a certain status or multiple can be selected:
Reservations - Bookings that are still active.
Cancellations - Reservations that have been canceled.
No-Shows - Bookings where the client did not show up to the reservation and an admin marked the reservation as a No Show.
Lastly, choose the details to be displayed:
Service Details - The name of service for that appointment.
Client Details - The name of the client.
Provider Details - The provider’s name for that booking.
Payment Details - The payment status of the appointment.
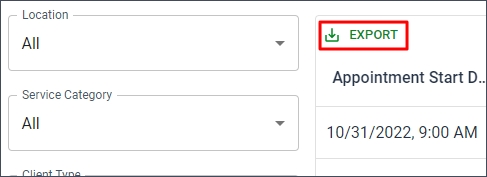
Once all settings are selected, click Run Report. The report will be displayed within the internet browser. Select Export to download as a CSV file or produce a printable version of the report.
Running the Client Details Report
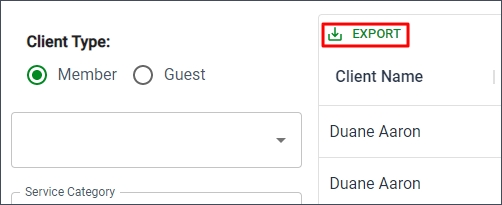
First, select either Member or Guest. The dropdown will only display options based on the radio button selected. Use the dropdown to choose a single member or guest to view details regarding their bookings. Find the member/guest by scrolling to their name, or typing in their name or member number.
The next dropdown allows you to select a single or multiple service categories to view.
The next field is Provider. This will default to and be locked-in as the provider who is logged in.
Next, choose the appointment type to be displayed. This can be one type or multiple:
Reservations - Bookings that are still active.
Cancellations - Reservations that have been canceled.
No-Shows - Bookings where the client did not show up to the reservation and an admin marked the reservation as a No Show.
Then, set the Start and End Dates. This is the time range the report will show reservations within.
The report can ordered in a few different ways:
Start Date - Earlier reservations will be listed at the top and descend based on date.
Provider - The reservations displayed will be grouped by provider.
Resource - The reservations displayed will be grouped by the resource/room.
Service Category - The reservations displayed will be grouped by the service categories selected.
Once all settings are selected, click Run Report. The report will be displayed within the internet browser. Select Export to download as a CSV file or produce a printable version useful for printing.
Running the Commission Report
First select the location. Can pick a single location or be left on All.
Next, choose a specific Room/Resource. Once again, a specific room can be chosen to view reservations for or all rooms can be selected at once.
The next dropdown allows you to select a single or multiple Service Category to view.
Next, is the Provider field. This will default to yourself.
Then, set the Start and End Dates. This is the time range the report will show commissions within.
The report can ordered in a few different ways:
Provider - The commissions displayed will be grouped by provider
Resource - The commissions displayed will be grouped by the resource/room
Service Category - The commissions displayed will be grouped by the service categories selected
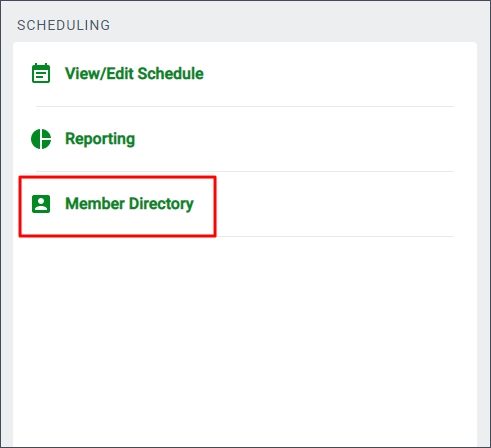
Member Directory
While viewing the dashboard, select Member Directory under the Scheduling column
Select a member from the list or use the search bar to find a specific member. Search by first name, last name, or member number.
Click on a member’s name to view details.
Notes can be added in the system notes section by clicking Edit. This is a handy spot to include notes about the member that will show anytime they are included as part of an appointment. These will only be visible to staff.
Upcoming and Past Appointments will be displayed.
Select “Edit Appointment” to view the full booking details.
Select Edit Booking to make changes.
Select Cancel Booking to cancel.
Any changes to the appointment can be seen by selecting “Change Log.”
Note: The Member Directory may not be visible depending upon your spa’s Admin settings.
Best Practices
FAQs
The Member Directory may not be visible depending upon your spa’s Admin settings.
