How Admins Book a Dining Reservation
- Emily Latham
- Emily Carlson
- Danielle Donley (Unlicensed)
Overview
Making Dining Reservations on behalf of members can easily be done within the Dining Admin Dashboard. Whether a member needs assistance, or if an event is restricted to Admin Booking Only, you will likely be using the Dining Admin Dashboard for adding, editing, or deleting reservations often.
Required Permissions
Dining Admin
Accessing the Tool
To get started, access the Dining Admin Dashboard. The locations of your Dining Admin Dashboard may vary depending on your website navigation, however, this is typically located under the Dining Dropdown on the private side of the website.
Dining Calendar Overview
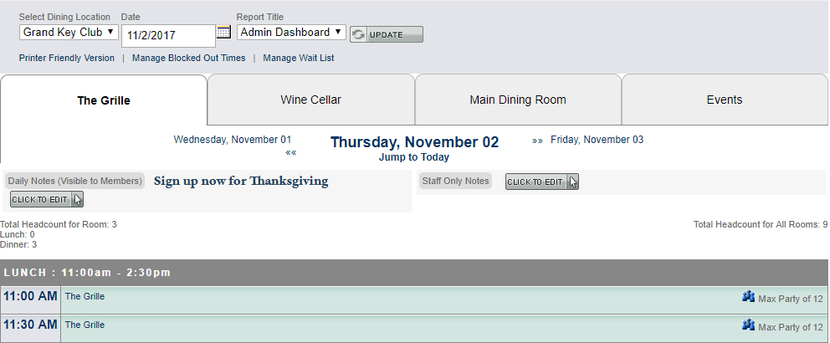
The Admin Dining Calendar mirrors the Member Dining Calendar, except you will have more options and varied styling.
The calendar will default to today’s date, but you may use the datepicker to alter the dates.
Above the calendar, you can view the total headcount for each room broken down by schedule like lunch or dinner.
Book a Reservation
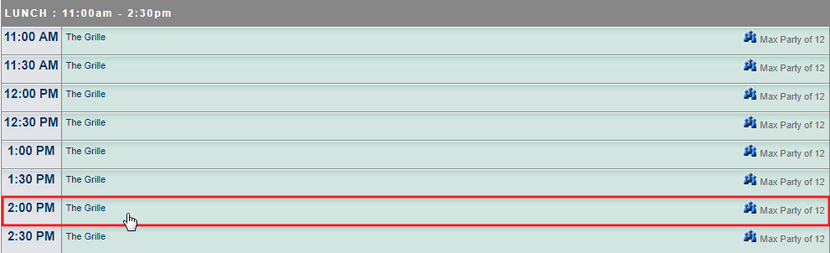
To being booking, click on any open time slot. This will launch the booking window.
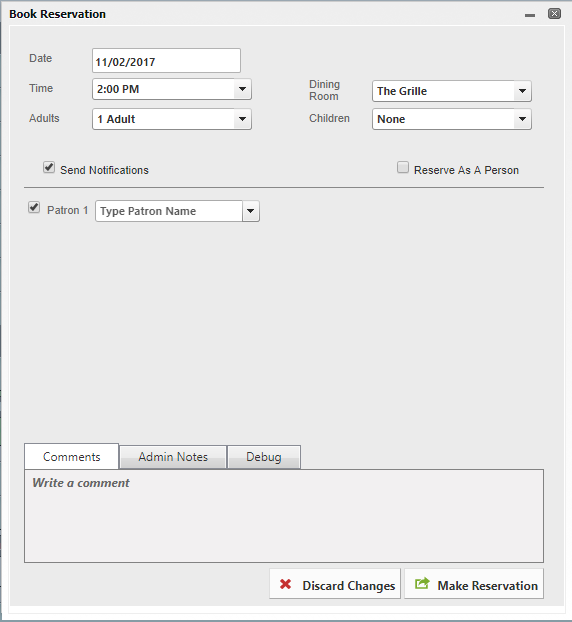
At the top of the booking window, you may change the date, time, and dining room if needed.
Determine the party size by using the adult drop down and the children dropdown. Once you set the party size, the patron section below will update accordingly.
Add the member whom you are booking on behalf of in the first patron slot by typing their first name, then a comma, and then their last name. Click on the member’s name to add the member to the reservation. The member added to the Patron 1 field will be the owner of the particular reservation.
Continue adding known patron’s, or you may leave the slots as ‘Patron’ which will convert to TBD’s.
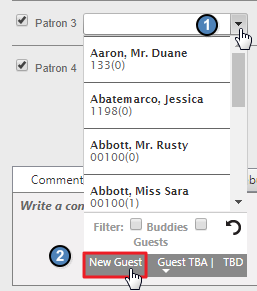
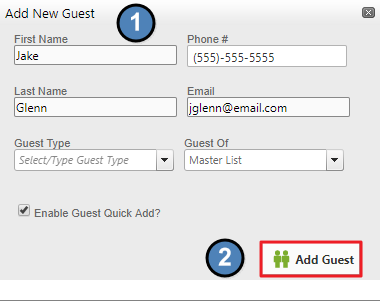
You can easily add Guests to reservations by clicking on the Patron dropdown and choosing New Guest.
A pop warning will launch, click OK.
Add the Guest’s information and then click Add Guest. This will allow you, or the member, to easily select the Guest in the future for reservations.
Once the Guest information is added, click on the Guest’s name in the dropdown to add the guest to the reservation.
To the left of each patron’s name there will be a checkbox which is tied to event notifications. It is best to leave this checked so patrons will receive email notifications on their reservation.
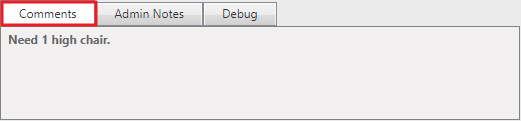
At the bottom of the booking window, you can add two types of comments: member comments and Admin Notes.
Member comments are visible to members, and is typically just filled out by members.
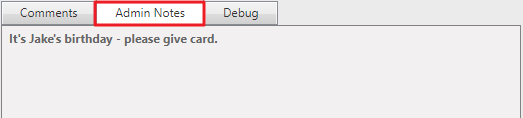
If you would like to make Admin Notes that will be visible to Admins about the reservation, please use the Admin Notes section.
To make the reservation, click Make Reservation.
Changing a Reservation Status
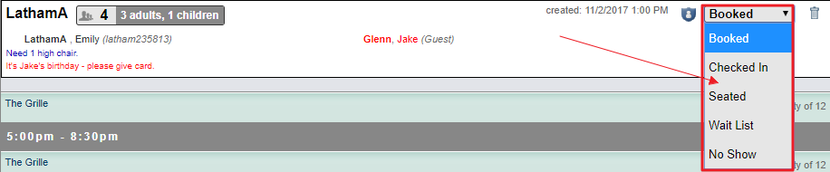
Once the reservation is on the calendar, you can easily change the reservation status to help manage seatings.
To the far right of the reservation there will be a dropdown that you may use to signify when the patron(s) arrive, when they are seated, and when they leave.
Canceling/Edit Reservations
You can easily cancel a reservation directly on the Admin Dining Calendar. There will be a trashcan associated with each reservation. Click the trashcan to delete the reservation.
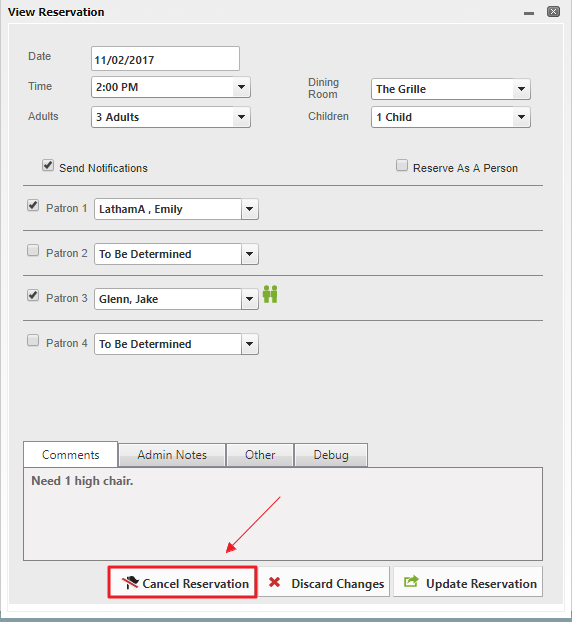
You may also edit the reservation by clicking on the reservation. From here, you can either make edits to the reservation or you may cancel the reservation.
Best Practices
Be sure to not make reservations, edits, or cancel a reservation before speaking with the member.
Navigate to the day of the reservation on the calendar before making reservations so you may review the schedule before adding additional reservations.
FAQs
As an Admin, if I make a reservation on behalf of a member, will they still receive email notifications?
Yes! So long as the notification checkbox is left enabled, the member will receive a confirmation email once the reservation is made. The member will also receive any further communications such as if the event is edited or canceled.
