How Members Book a Dining Reservation
- Emily Latham
- Emily Carlson
- Joshua Morrison
To share this video directly with your members, please copy this URL: https://player.vimeo.com/video/698414818
Overview
Booking a dining reservation using the online dining system is an extremely easy way to sign up for dining reservations. Dining reservations will allow you to access events, see event details, reserve a spot, receive email communication on the event, and link events to your own personal calendar. Simply follow the steps below to begin using the calendar today.
Required Permissions
Website Member Profile
Calendar Location
Before you can make a reservation, you’ll first need to access the dining reservations page. Login to your website to enter the private member portion of the website. Once you’re logged in, you may access dining reservations from several spots. The dining reservations pages will vary depending on your site's navigation. Contact your Club Admin in order to locate the dining reservation pages.
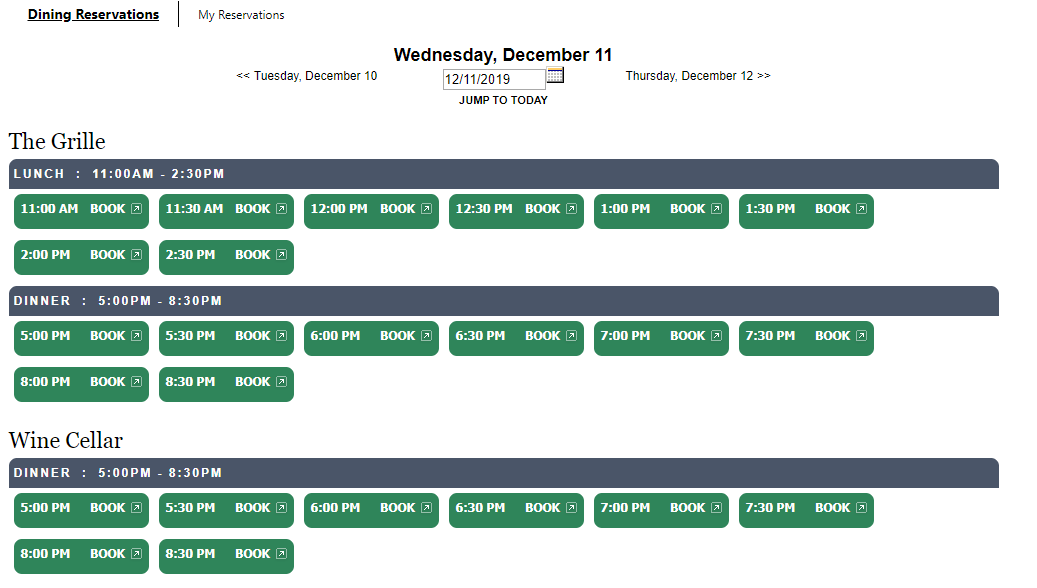
Dining Reservations Overview
The dining reservations view will default to the current date. You may change the date by using the datepicker.
You may also change the date by using the date links on either side of the datepicker to move forward or backward in time.
Time slots will be listed on the dining reservation calendar which you may reserve.
If the time slot is in green, then the spot is available to book. Reservations can be made X days in advance. Same day booking ends at Xpm the day of the reservation.
If the time slot is in gray, then the spot in unavailable to book.
If the time slot is in blue, then you have already made a reservation for this time slot.
Make a Reservation
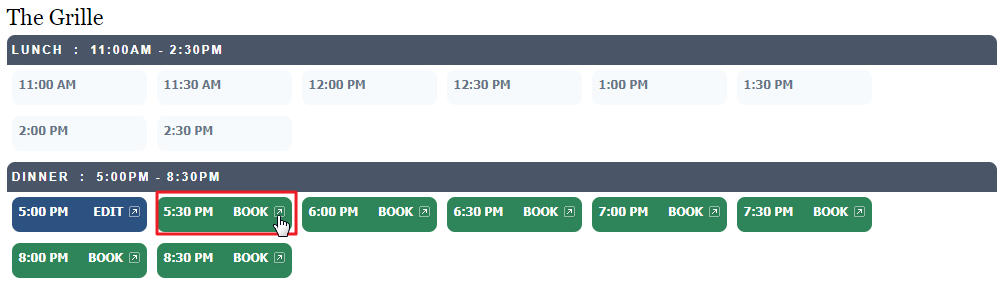
Now that you’ve reviewed the dining reservation tools, you can start booking dining reservations.
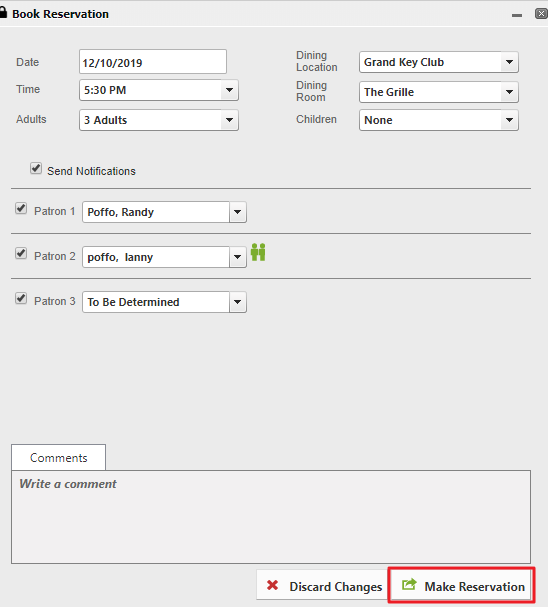
Click on the time slot that you wish to make the reservation for (available time slots for booking will be in green). This will launch the Book Reservation window where you can add details to your reservation.
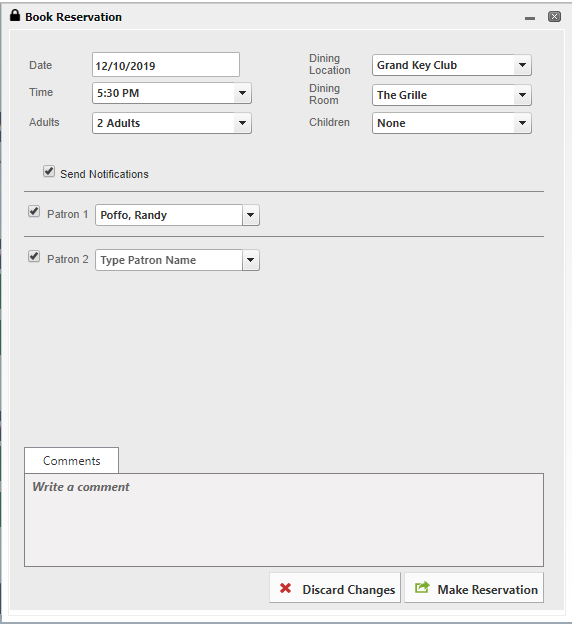
At the top of the Book Reservation window, you can also change the reservation date, time, and dining room if needed.
Using the dropdown menu, choose how many adults and how many children will be attending. Once you have selected the party size, the listing of patrons will expand to match our selection. Add the names of the other members or guests joining you.
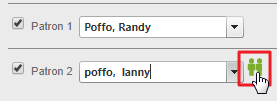
To add another member to your reservation, start typing their last name, a comma, and then their first name into the patron field and click on their name when it populates in the listing.
To add a guest, enter a guest’s first name and last name and hit enter. Guests that you have included in the reservation in the past will display in the dropdown list for you to select.
If the guest is not in the system, you may easily add this guest so that the guest is easier to find on your next booking reservation. Simply click the green person icon next to the patron section. Add the guest’s information and click Add Guest.
You may also leave fields as ‘Type Patron Name’ and these will be converted to TBDs, or placeholders, for your reservation.
To the left of each person, check the boxes to select who will receive an email confirmation for this reservation.
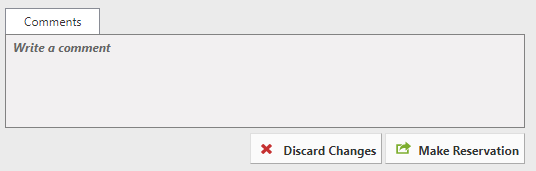
If you would like to include comments with your reservation, please feel free to do so by typing in the comments section.
Once you are ready to confirm your reservation, click Make Reservation.
Editing an Existing Reservation
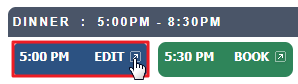
You can make edits to existing reservation by navigating to the date the reservation is on and clicking the blue Edit button.
The Book Reservation window will launch. From here, you may alter details on your reservation.
Once you are ready to confirm the changes to your reservation, click Make Reservation.
Need to Cancel?
You can cancel a reservation by navigating to the date the reservation is on and clicking the blue Edit button.
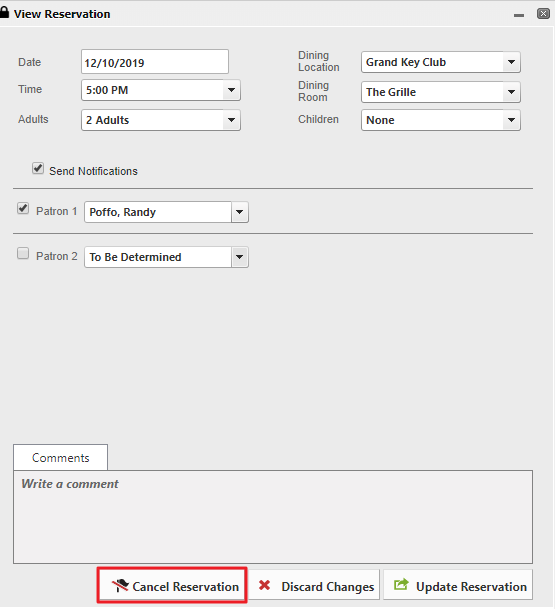
The Book Reservation window will launch.
Click Cancel Reservation at the bottom of the booking window.
Best Practices
FAQs
