Dining Reservation History
- Emily Latham
- Emily Carlson
- Stacy Zak
- Kelsie Livingston
Table of Contents
Overview
Within the any Reservation Admin Dashboard, you can easily review specific member’s reservation history and export the history details to an excel file. This article will show how to use the Reservation History using the Tee Time System.
Required Permissions
Dining Admin
Accessing Reservation History
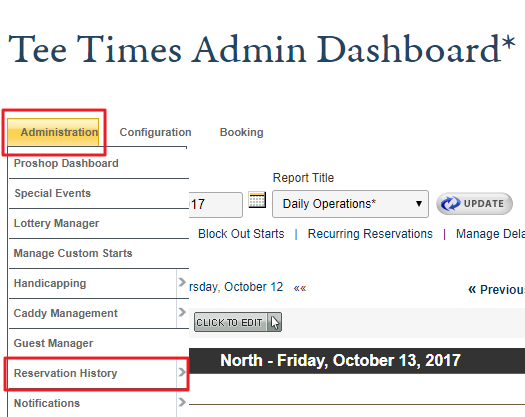
From the Admin Dashboard of any Reservations system, hover over Administration. Then, choose Reservation History.
The notification menu is accessible from any Reservations System. For the examples used in this guide, we are using the Tee Times dashboard. The other Reservation System notifications will use the same path and tools.
Selecting the Member
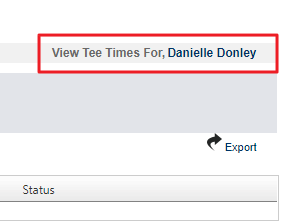
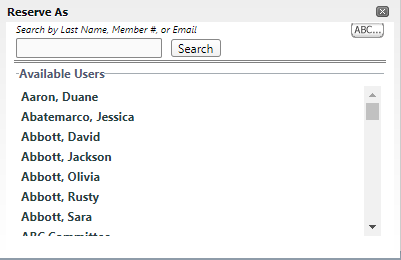
The Reservation History module will default to the Admin User's own history. To view a specific member, click on the name in the top right of the dashboard screen. This will populate a member picker, to select the appropriate member and their Reservation History.
Manage Reservation History
All reservations set up within the system will show here. Users can search through the Reservation History by location, status, or date. Also, within the Tee Times module, users can search my specific member history as well.
Best Practices
The SMS notification is limited to 160 characters, the message will need to brief here.
Users can create additional emails to send to Members or Guests by using the Add New links as well.
When using Snippets, make sure they are always capitalized and use two pound signs before and after the snippet. Example: ##MEMNAME##.
FAQs
Do members need to sign up for text messaging or will they automatically receive notification messages?
For more information on how to set up Text Messaging and how to manage member accessibility, please see the Text Messaging Guide.
