Office - IT - Citrix - Importing Documents
- Benjamin Hacker
Table of Contents
Overview
In this guide we will cover importing documents into CMA within the Citrix interface. The process is identical to the old process you used to use as a non-Hosted club but the process for Hosted clubs has changed slightly. As a Hosted club you transferred your documents from your PC to your Hosted RDP, with Citrix, this is no longer needed.
Required Permissions
Add/Edit/Change for the Module in use.
Accessing the Tool
Log into your Citrix account. For instructions on installing and logging into Citrix, please click here.
Uploading Documents
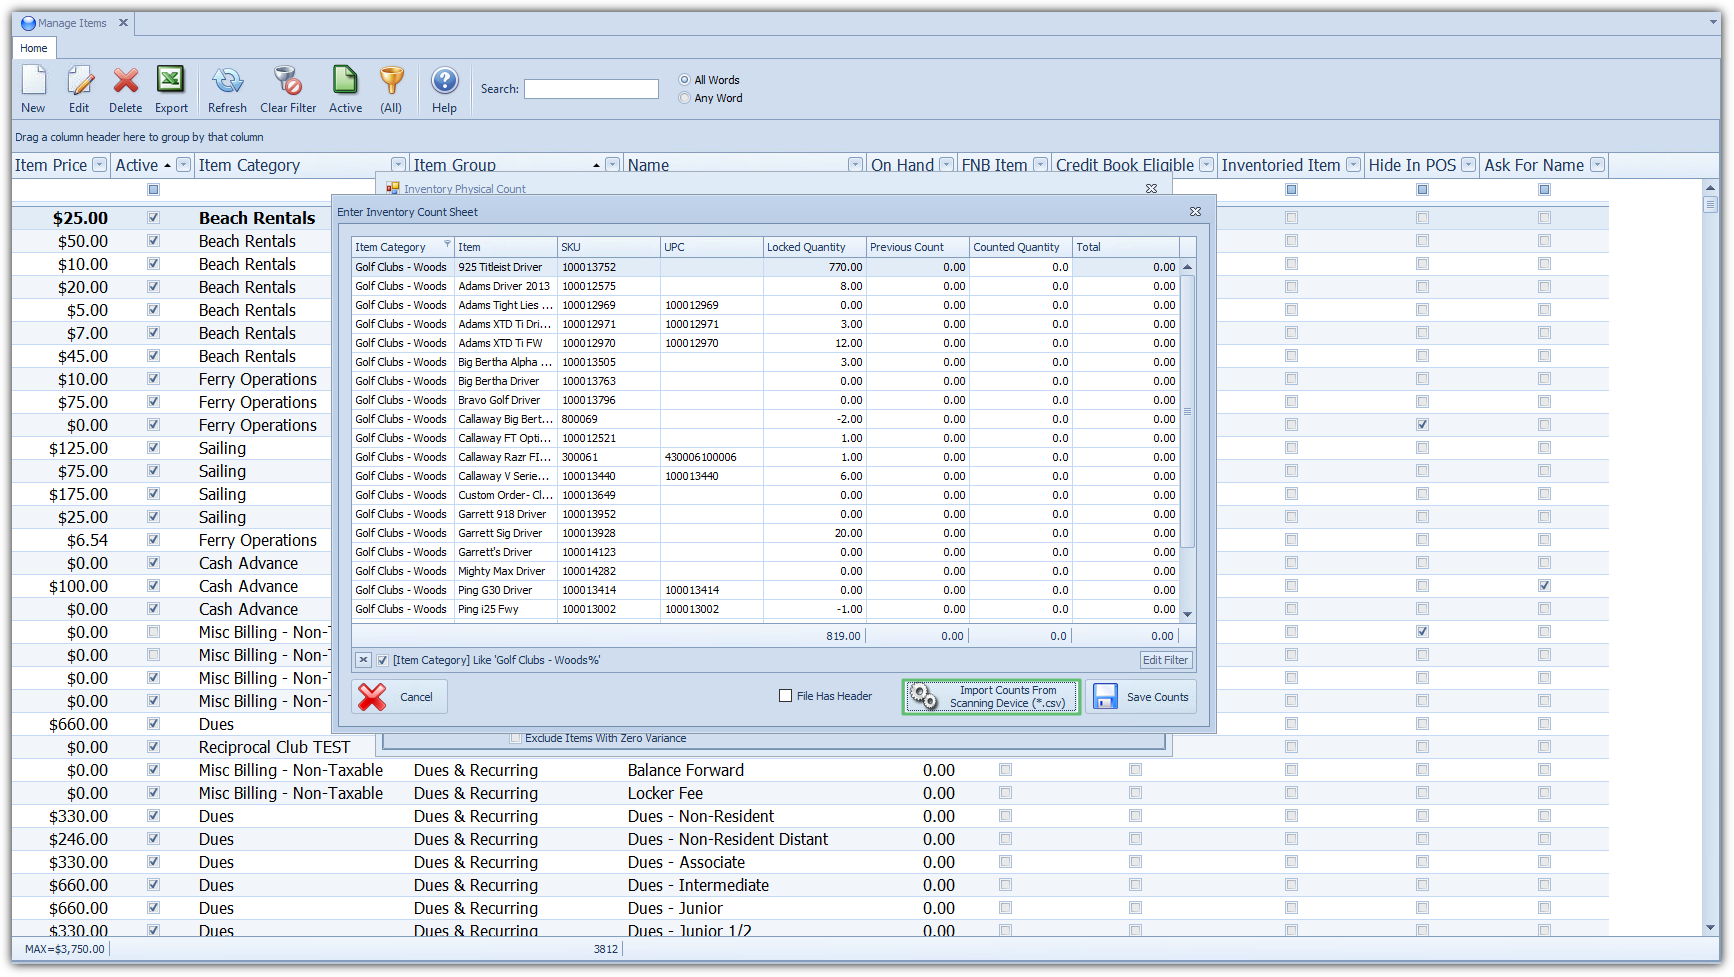
In the following example we are going to import scanned SKUs into the Inventory System.
Complete your scanning process and produce a .CSV capable of being imported.
Lock the Categories you wish to import.
Choose to Enter the count sheets.
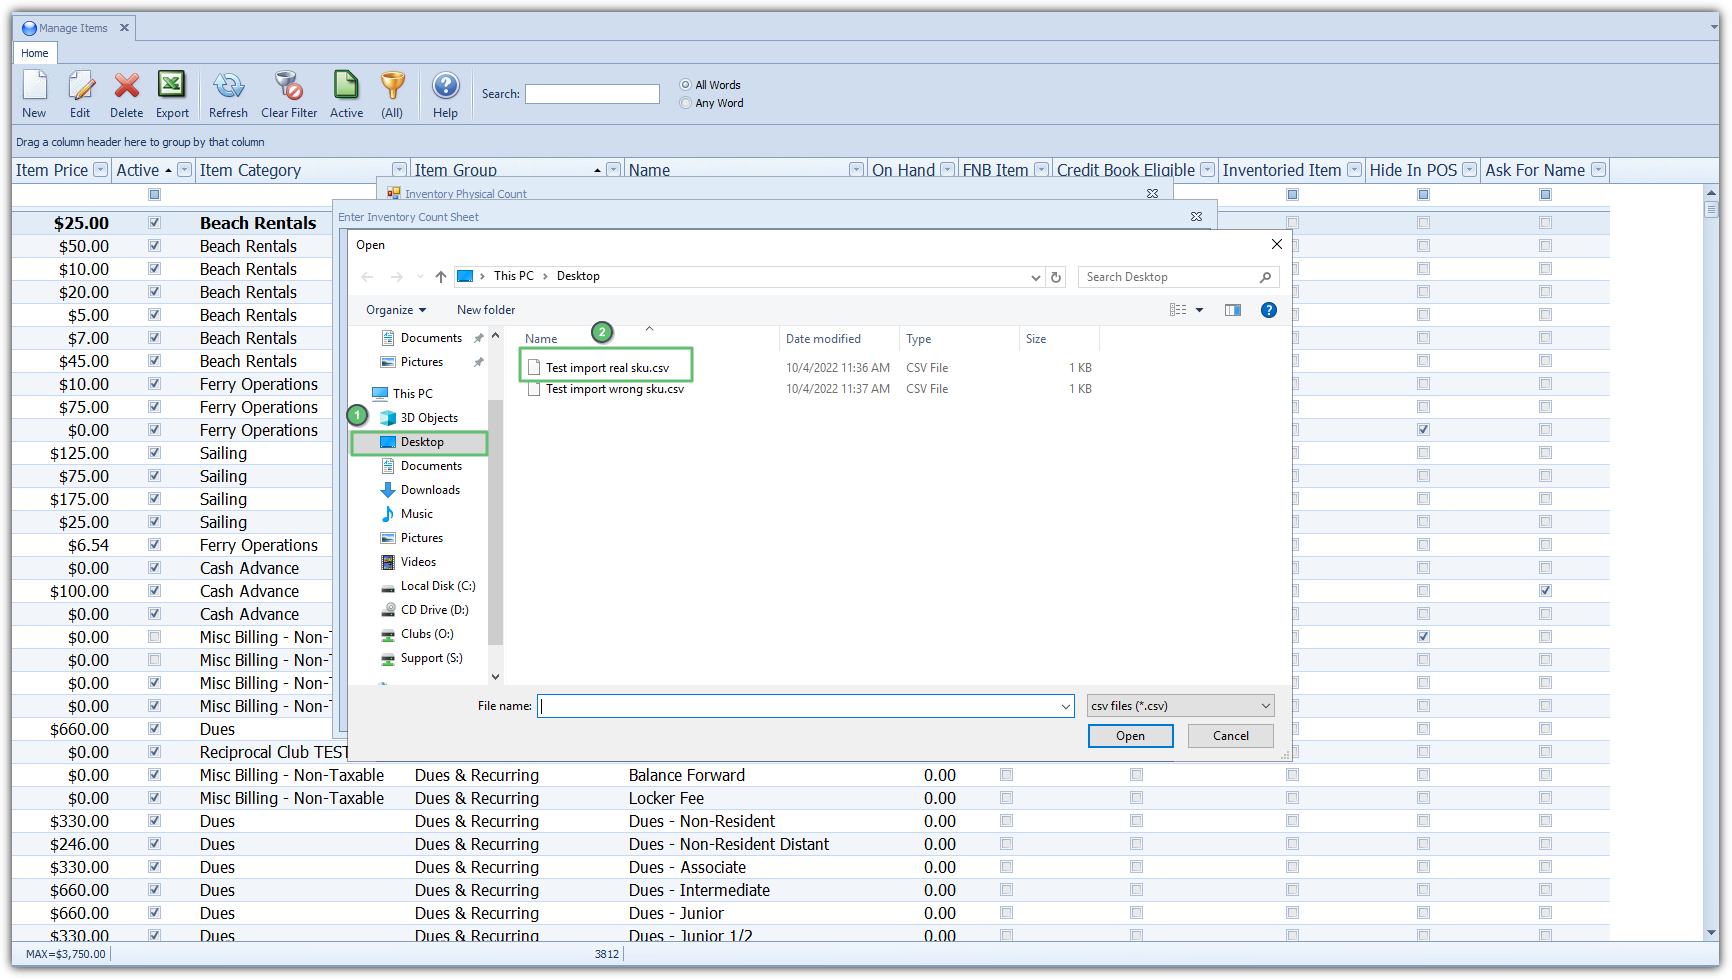
Locate the file path of your document.
Note: The document can be saved to your local PC or saved to a shared drive. Simply locate where you have saved the document. In the above example, we saved the document to the desktop.
Complete the import process and your count will be updated for competition.
Uploading Images
To upload images,
Locate the member you wish to update an image for.
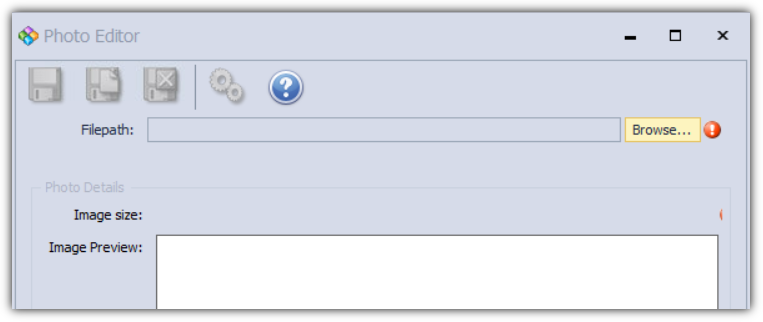
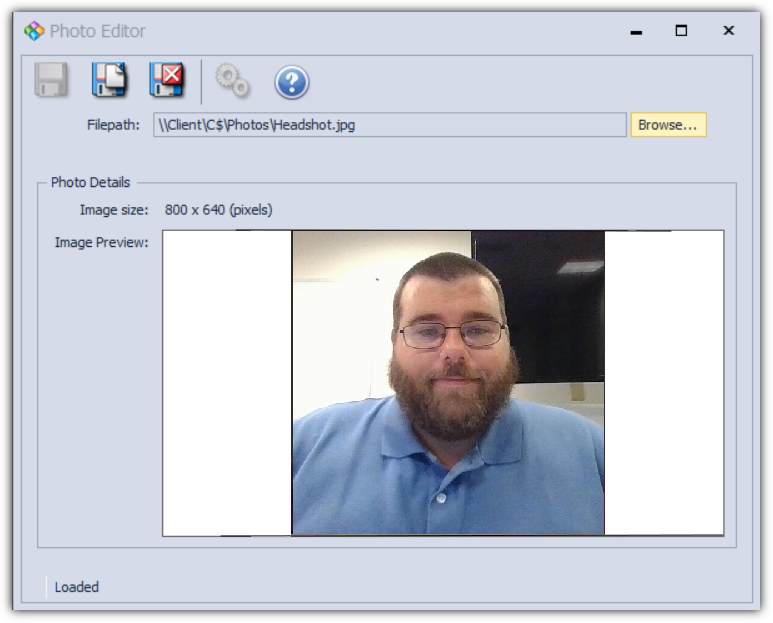
Click the Browse button
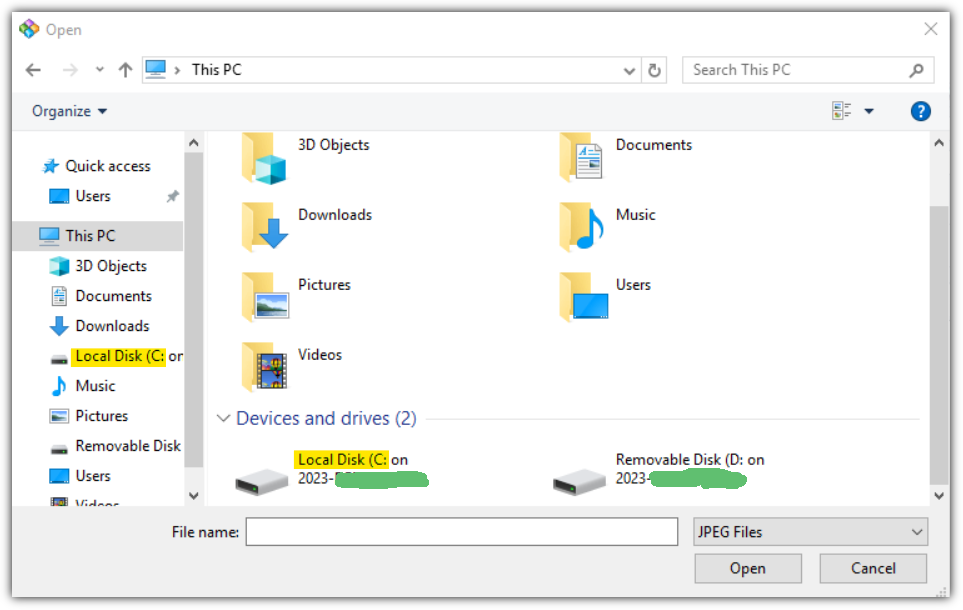
In the left frame, select This PC and expand it. Select the C drive either in the list on the left or in the main window.
Select the folder containing your photo files and the photo you want to upload. The photo details and preview will populate as before.
Best Practices
This guide is simply and example of the process to import documents. Each module that allows importing will have it’s own import wizard and in some instances a template will need mapped. For assistance mapping templates, please reach out to support. For examples of template formats, please click here.
FAQs
