Placing Images on a Page
- Kelsie Livingston
- Emily Carlson
Table of Contents
Overview
Photos and Photo Albums are managed completely through the Image Explorer. This article will review how to upload and manage the Image Explorer, access Stock Images, how to crop and resize images, and how to manage Photo Albums.
Required Permissions
Admin
Editor
Placing Images on a Page
Navigate to the page you wish to add the photo and open the click to edit in the desired area where you would like to add the image. Note, this may be in a content area, sidebar marketing area, or a banner image. Once the Editor is launched, images can be added in two ways.
Choose Insert > Image:
Or, click the Image Explorer icon from the Quick Tab Toolbar.
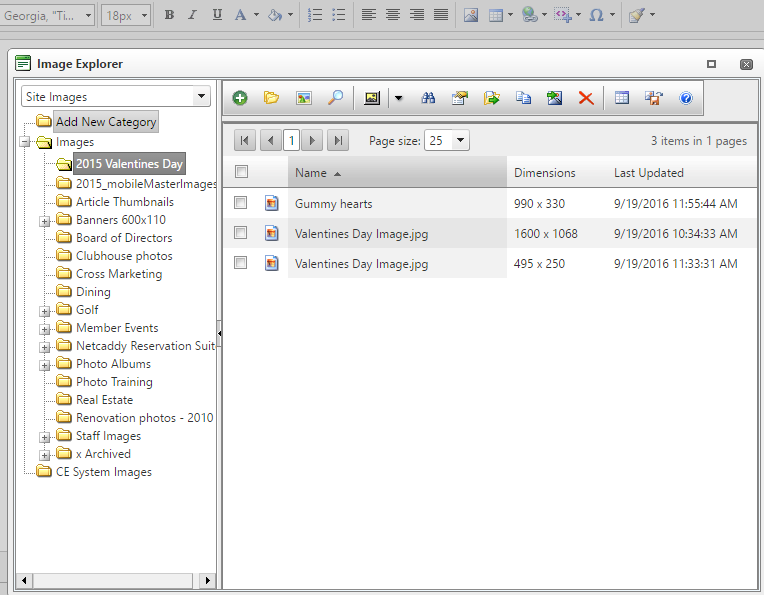
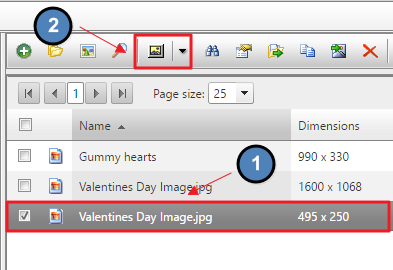
Either option will launch the Image Explorer interface. Choose the folder in which the image is placed and click the image.
Images can be inserted in two ways, by double clicking on the image or using the Image Icon in the Image Explorer Toolbar
Once the image has been added, click Save.
Styling Images
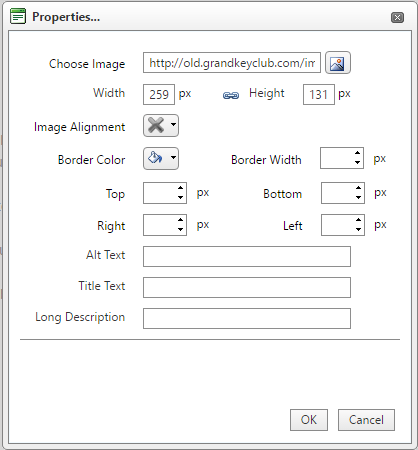
Images can be styled alongside page content in several ways. Adding imagery enhances the site design and helps to reinforce the website’s message, however, if imagery is not styled properly on a page it may not be as effective. Image Styling can be applied by using image Properties.
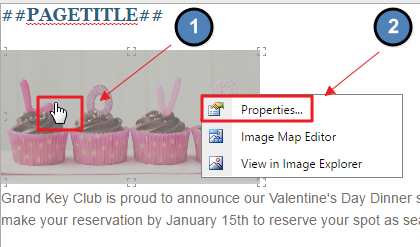
First, open the click to edit of the page the image is on that needs Image Styling. Right Click on the image and choose Properties. From the Properties, styling such as text alignment and padding can be added to the image.
Text Alignment: this allows for text to be wrapped around the image. Choose the text orientation by clicking the dropdown on Image Alignment.
Padding: this allows space to be added between the image and the text. By adding padding, the readability of the content on the page is increased. Add a desired pixel amount to either the top, bottom, right, or left box to add padding to the top, bottom, right, or left of the image.
Pixel Amount: standard pixel amounts are typically 5, 10, or 15 px.
Click OK once finished to apply the styling. Save image and content on the page.
Best Practices
Resizing and cropping images ensures that imagery to sized to the proper dimensions for the site design. It is not recommended to resize imagery on the page as this could cause the image to become pixelated.
FAQs
I am seeing a black box where an image once was, what happened to it? A: If an image is deleted from the Image Explorer and in use on page, this will cause a black box on the page. It is best to never delete imagery, but rather create an Archived folder where images can be moved to when not in use.
