Banquets - Social Tables Interface
- Emily Latham
- Benjamin Hacker
- Ali Duncan
- Kelsie Livingston
Table of Contents
Overview
This document explains how to setup and use the Social Tables interface through ReServe Cloud. This interface is available for organizations in the Enterprise tier.
Required Permissions
CMA Admin Access
Social Tables Account
A Social Tables account is required to use this interface. Social Tables must be purchased separately. Go to http://socialtables.com to register for an account. A unique Social Tables account is required for each organization user that will use the interface. All accounts must be created within the same Social Tables team to ensure that diagrams will be accessible by all interface users.
Social Tables must create diagrams/venues for your rooms before you can use the interface. Contact Social Tables support for assistance.
Accessing the Tool
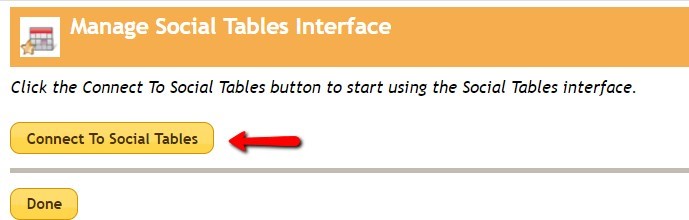
Click the Connect to Social Tables button.
You will be prompted to log into Social Tables. Click Allow to enable the ReServe Cloud connection to your Social Tables data.
Initial Settings
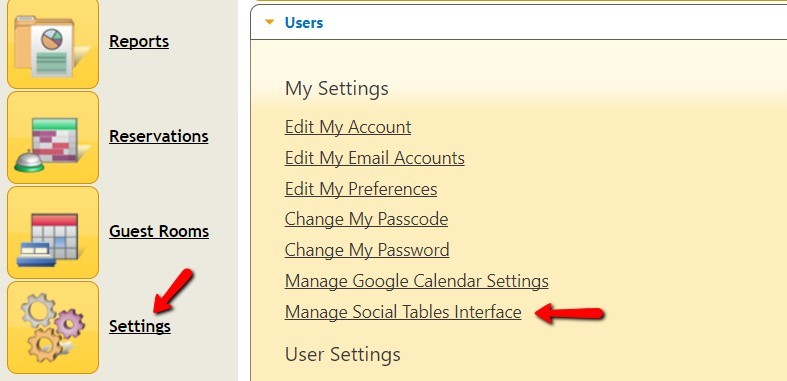
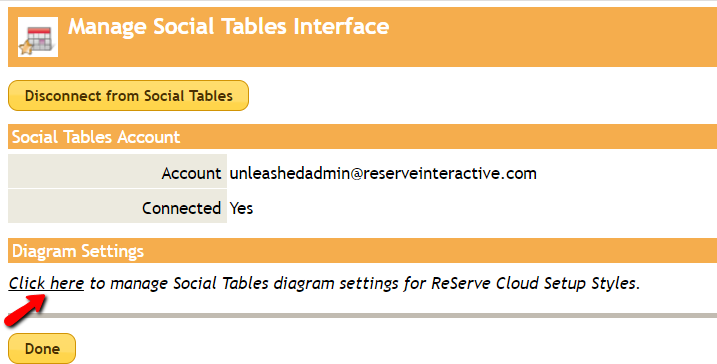
Once connected, you may use the Click here link under the Diagram Settings header to manage your initial diagram settings. (Setup Styles can also be managed by going to Settings > Events > Setup Styles.)
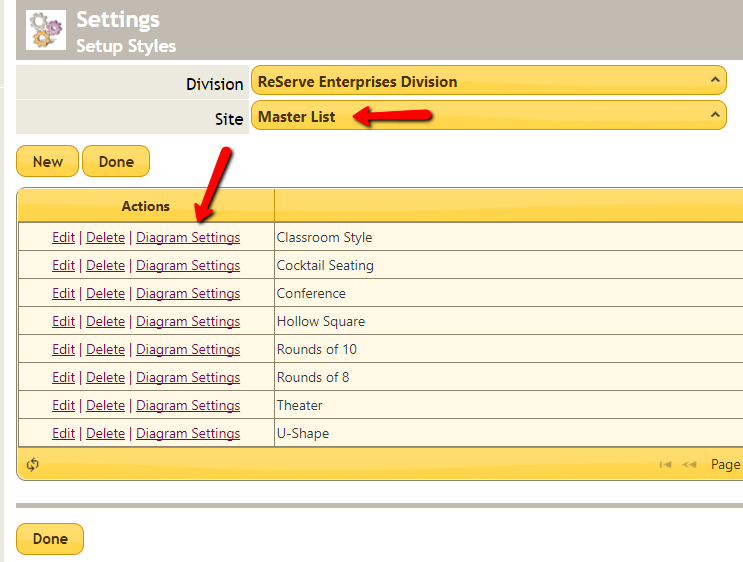
Change the Site dropdown to indicate Master List if your Setup Styles are managed at the Master level or select an individual Site, if Setup Styles vary by site. (Red action links should display.) Click on the Diagram Settings link next to the first ‘style’ that you would like to manage.
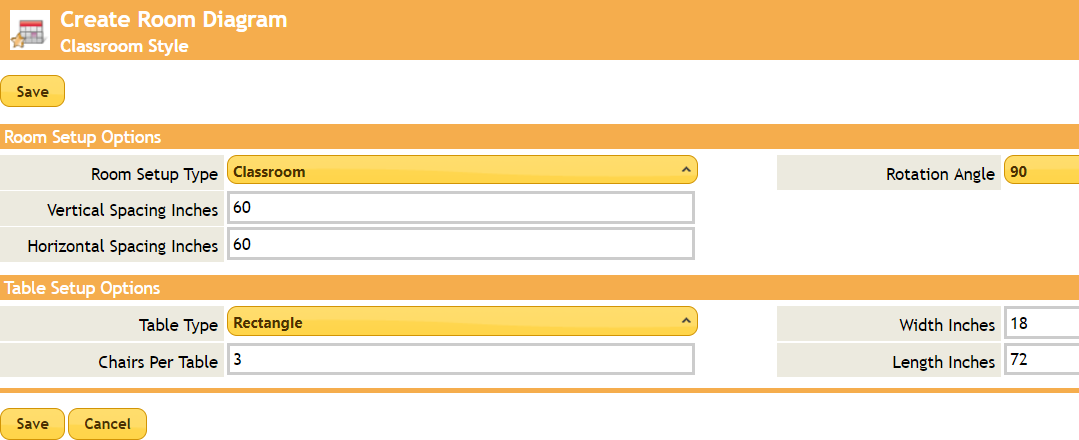
Enter Room Setup and Table Option information into the Diagram Settings area.
Room & Table Set-up Options
It is possible to edit fields on the fly when a diagram is created in an Event.
Room Setup Type: Standard in Social Tables and indicates the arrangement of tables within the room
Vertical Spacing Inches: Distance between tables up and down Horizontal
Spacing Inches: Distance between tables side to side
Rotation Angle: Angle of the table
Table Type: Standard in Social Tables (Choose Chair for Theater)
Chairs Per Table: Number of chairs per table
Width Inches: Width of square or rectangle tables
Length Inches: Length of square or rectangle tables
Radius Inches:: Measurement of round tables. The Radius value is equal to half of the diameter (ie. a 72” table has a radius of 36)
Create a Diagram
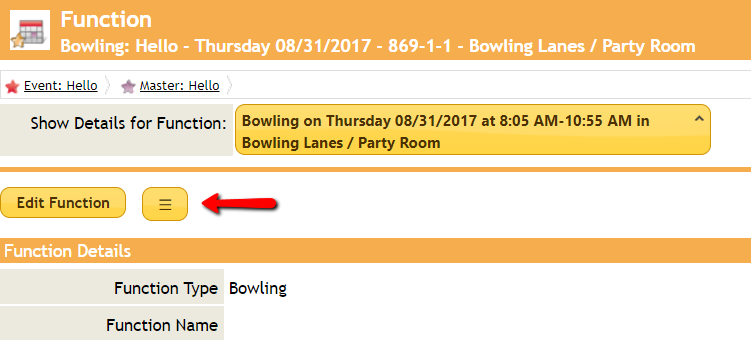
Go to the Function Details page. Hover over the fly-out (hamburger) button and click on the Room Diagrams button.
If you click on the Room Diagrams button in the Functions area of an Event, prior to Managing your Social Tables Interface in Settings > Users, you will be presented with the three options listed below.
If you DO NOT have a Social Tables account, you can click on the email address to request information about the Social Tables Interface.
If you DO have a Social Tables account, you can use the ‘click here’ link to connect to Social Tables. (Refer back to Initial Setup Instruction above.)
The final ‘click here’ link, directs users to this document.
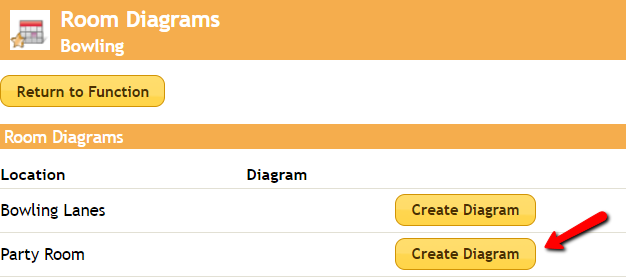
A list of Locations will be displayed. Click the Create Diagram button for a Location.
The Create Diagram page will display. Enter, or edit, the room diagram parameters. (If Location name matches room name in Social Tables, the Social Tables Room field will auto-populate. If not, select from available rooms.)
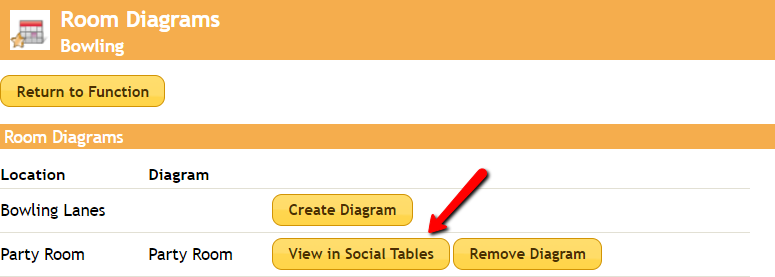
Click Create button. The room diagram be created based on the input parameters. Click the View in Social Tables button.
Existing Diagrams
Click the View in Social Tables button for a location on the Function Details > Room Diagrams page.
Remove an Existing Diagram
Click the Remove Diagram button for a location on the Function Details > Room Diagrams page.
Best Practices
FAQs
