Office - Member Payment Transfer Wizard
- Stacy Zak
- Benjamin Hacker
- Emily Latham
- Ali Duncan
Table of Contents
Overview
The payment will transfer using the same date, check number, and amount. If the payment was made in the previous month the transfer will be applied to the same month. The system will look at the member’s outstanding balance for the month the original payment was made (in other words it will not apply to the current month unless the original payment was made in the current month). There will be no batch posting when transferring payments since you are simply moving the payment from one member to another; the transfer will not affect your GL (bank or receivables).The payment will be seen in the AR Activity screen for the member you transferred TO. The original member who the payment was applied incorrectly will no longer see the payment in the AR Activity.
Required Permissions
Accessing the Tool
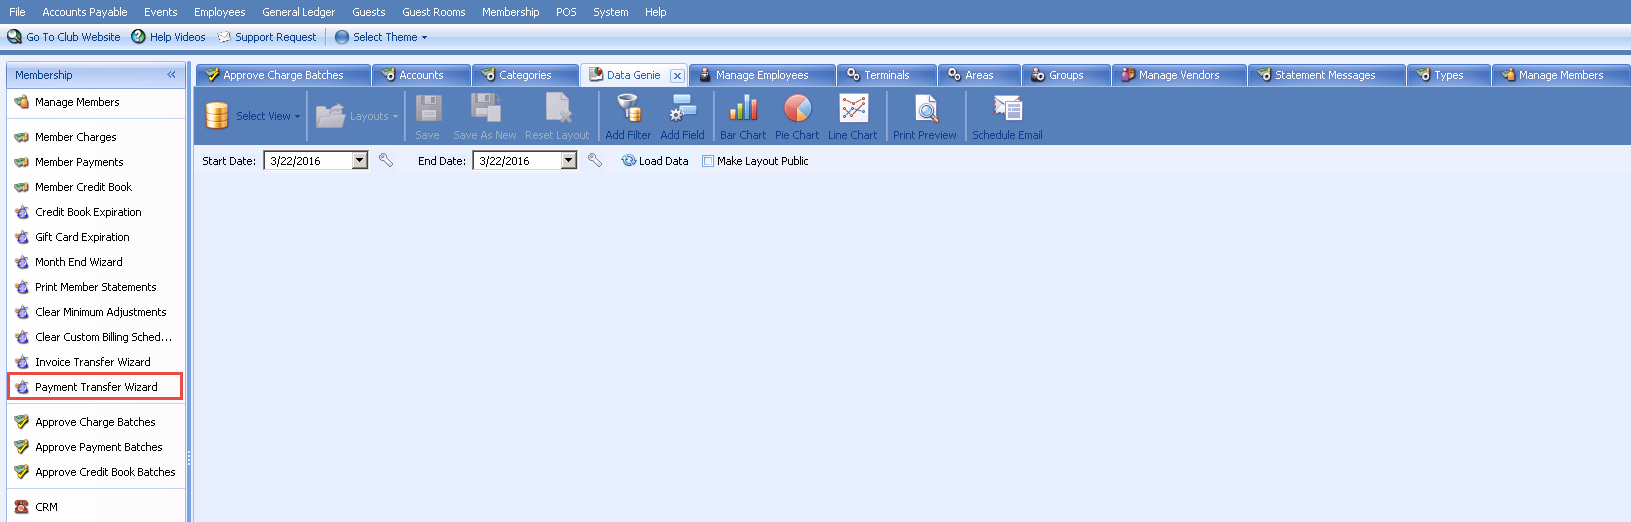
Select the Membership module and then select Payment Transfer Wizard.
Payment Transfer Wizard
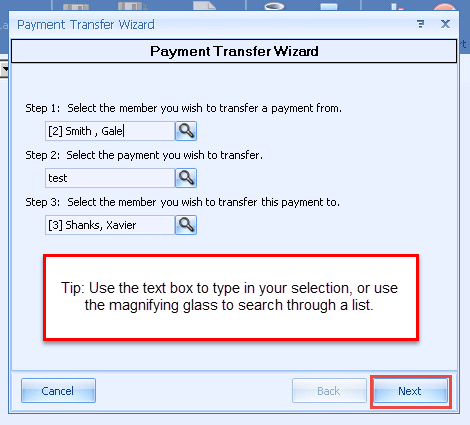
Enter the member to transfer the payment from.
Click the search icon, A list of all payments applied to this member will be listed (you can sort by any column by clicking the column heading) > select the payment to be transferred
Select the member to transfer to, click Next. You will receive a message Payment Transferred (the transfer is complete).
Researching Cash Receipt Transactions:
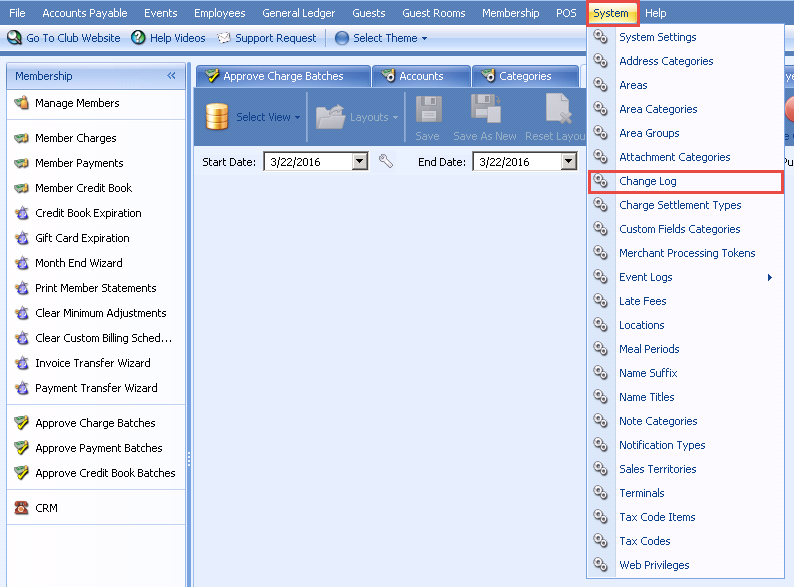
From the Top tool bar:
Select System.
Select Change Log.
Enter the date range
You can enter a specific user.
Module is Cash Receipt.
Click View Report
To see the details of the changes made, double click on the line. In the screenshot below, it shows the old value, which is the member transferred from, and new value, which is the member transferred to. It will also show the user who made the change.
Note: Every time you click on a line, it creates a tab. You can switch between tabs by clicking on them.
Best Practices
FAQs
